Go back to Steins Pillar.
18 Months Prior
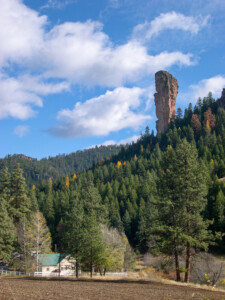
The Pillar.
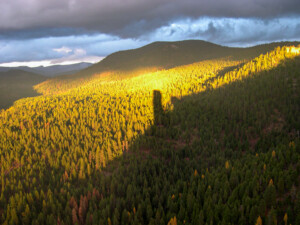
Shadow Of The Pillar.
4 Weeks Prior
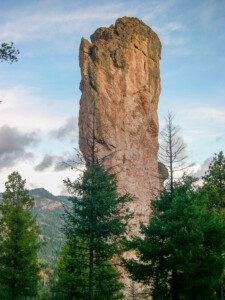
SE side of Steins Pillar.
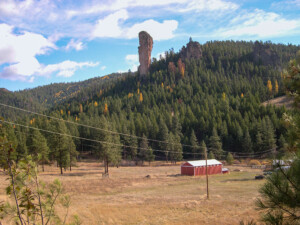
The Pillar.
1 Week Prior
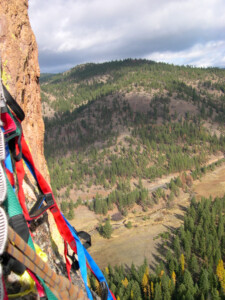
NE Face.
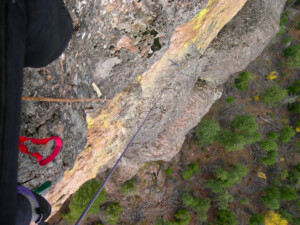
View Down.
October 30th, 2004
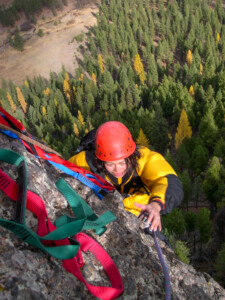
NE Face.
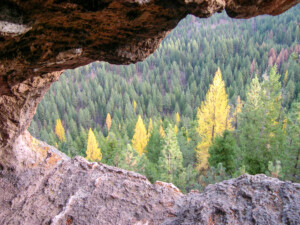
NE Face.
.
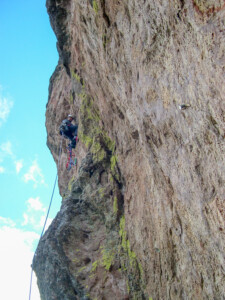
Pitch 3.
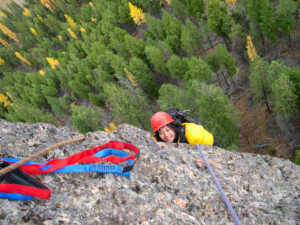
NE Face.
.
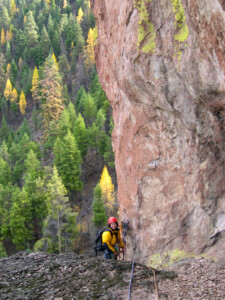
Pitch 3.
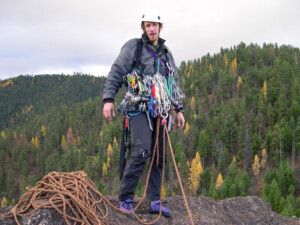
Summit.
There’s a car in the overlook pullout below watching us for about half an hour. Snowstorm dissipates just as Shirley tops out.
We spend about 10 minutes exploring the spacious summit and unsuccessfully looking for the summit register (only to find an old, rusted food can). Nice views up and down the Mill Creek Valley and the farmlands directly below. We see a beautiful sunset with the sharp shadow of the Pillar as the storm clouds begin to clear. Rappel is straightforward. One double rope (we used 60’s, nice free air ride) rap brings us back down to top of P3. Second double rope rap brings us back to the ground just as the sun is setting. Hike back to car through a dark and wet night. Drive to Redmond for fried chicken take-out dinner and beer enjoyed over reruns of Law & Order in Hub Motel. This is heaven in my book! We wake up late on Sunday and initially plan on going to do some stuff at Smith but then decide to just take a leisurely drive back to the overlook (nice clear day) to get some shots of the pillar under blue skies.
Notes
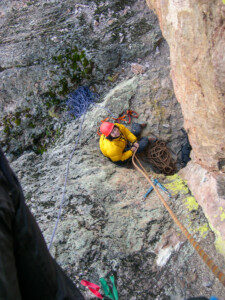
NE Face.
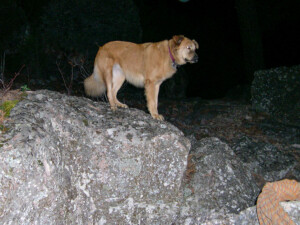
Our Sweet Blondie Girl.
We brought way too much gear!! Ended up using green, yellow, red Aliens, 0.75 Camalot, a few small to medium nuts, and a red (Camp) tricam. Pounded in 2 or 3 pitons. Clip stick was useful for the three wimp by-passes I did (otherwise, bring a hook or two). All belays have new-looking beefy bolts (at least two each except base belay for P2 has one new bolt but it’s on a huge ledge and you can back it up with gear). Two rappel stations described have either chains or thick, round bolts. Leave the screamers at home (IMO).
Photos
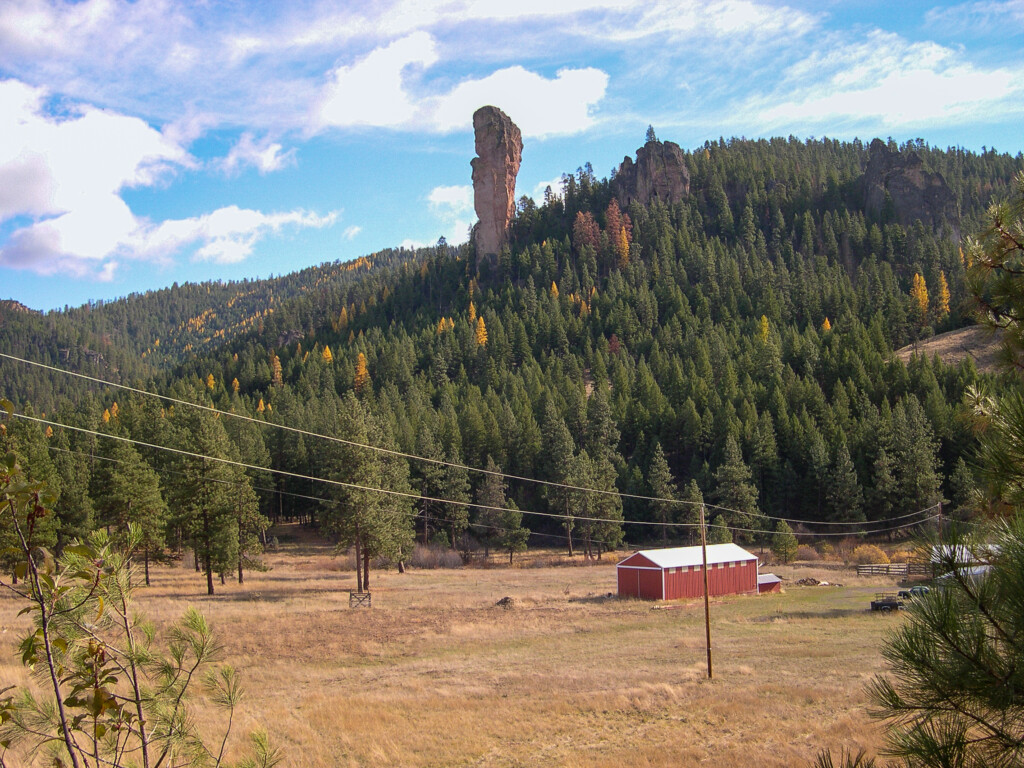
A wider angle view (Oct. 2004).
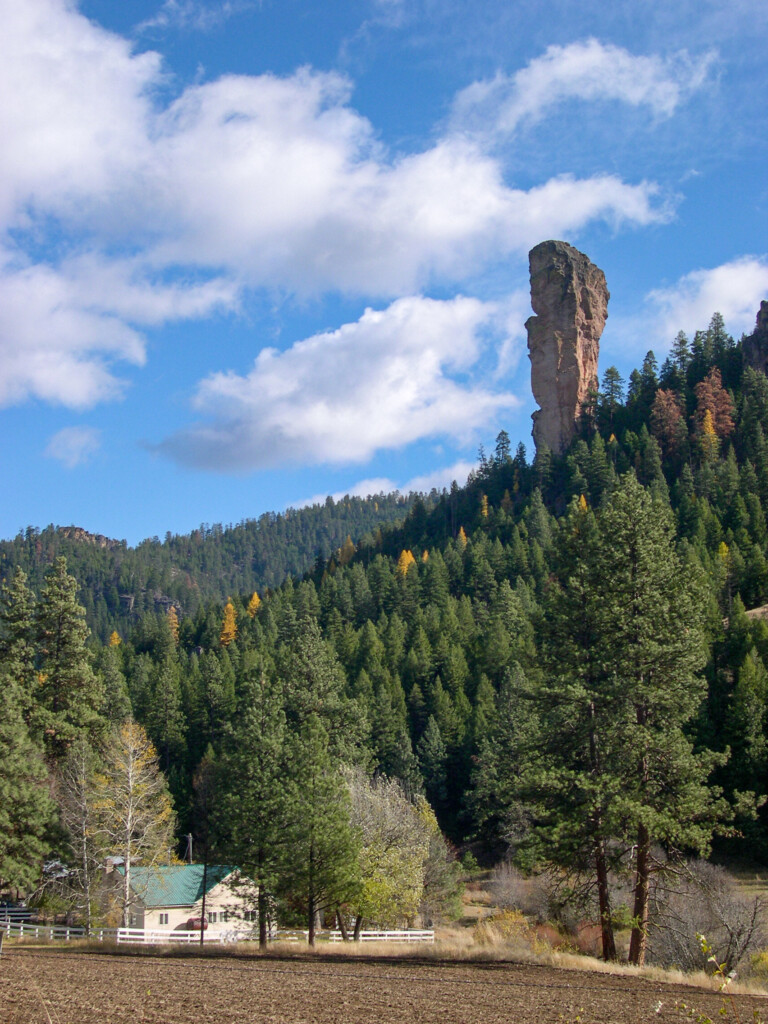
The Pillar (Oct. 2004).
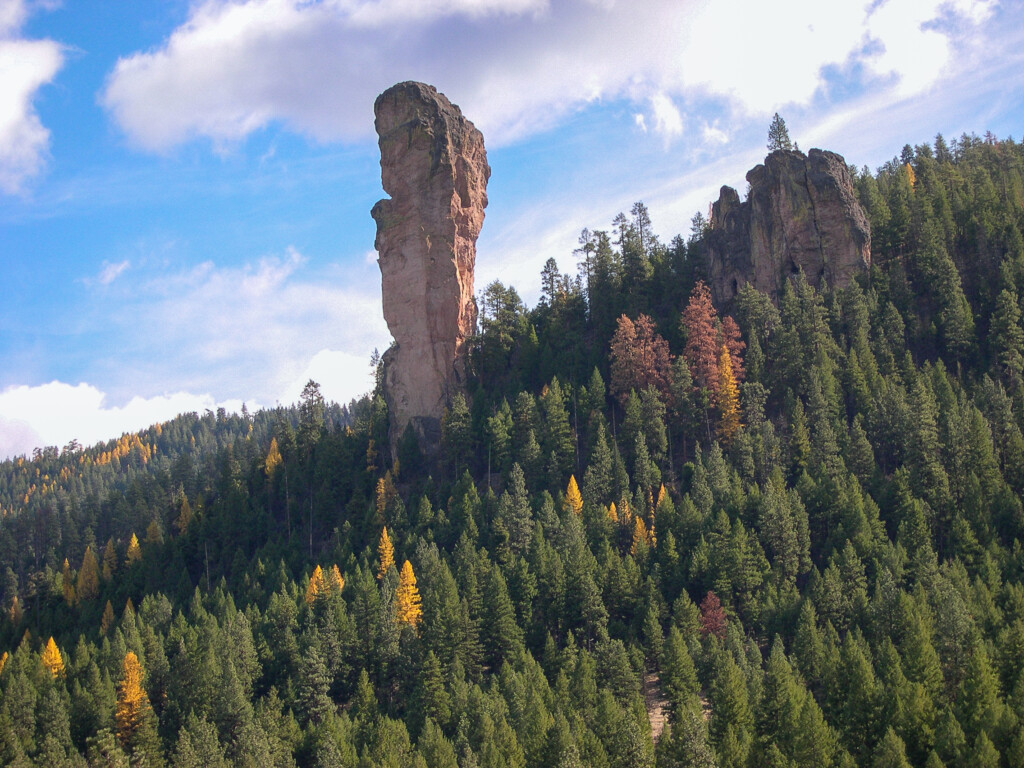
West and southwest aspects of The Pillar (Oct. 2004).
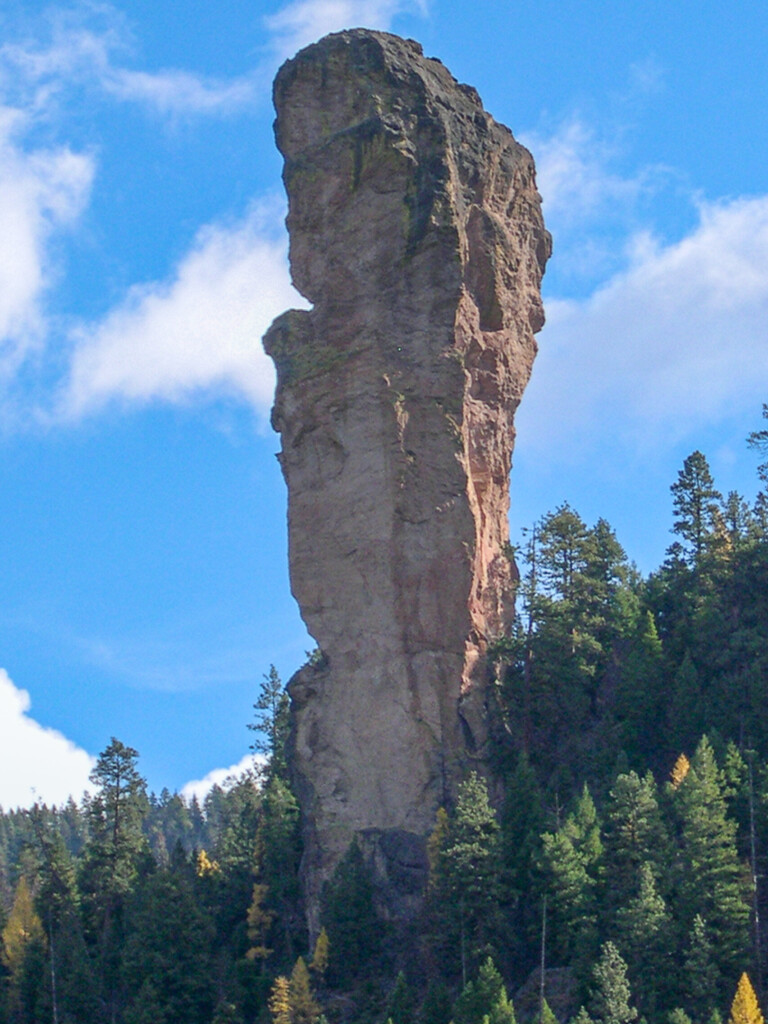
A closer look (Oct. 2004).
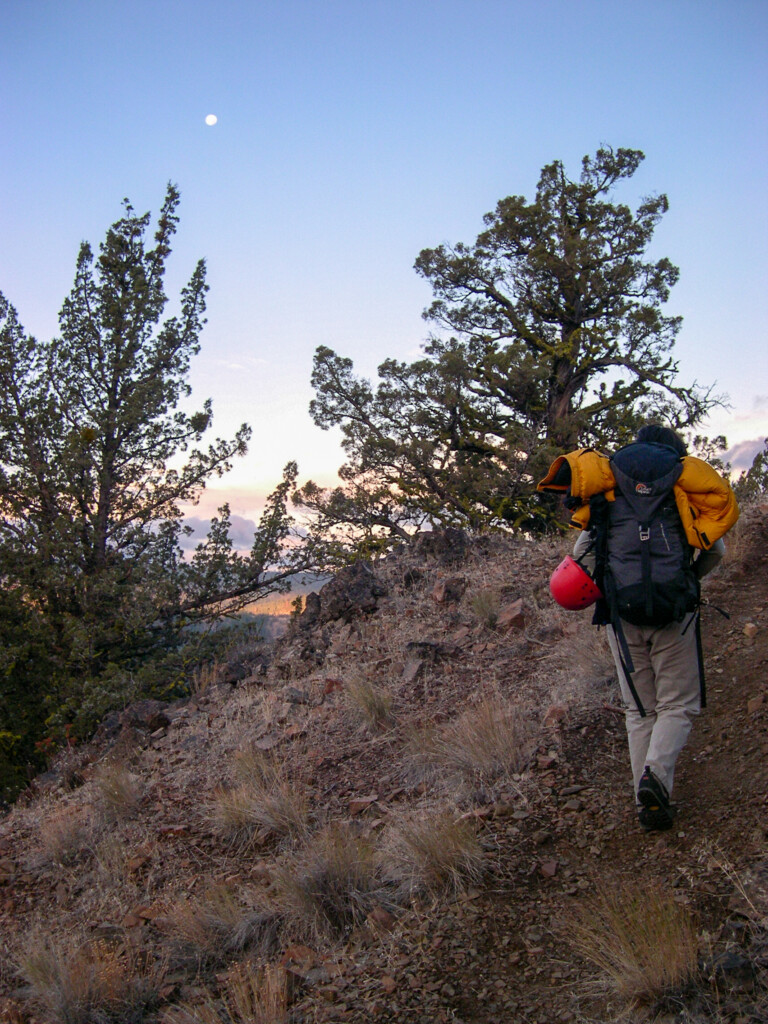
Shirley on our early morning approach hike to Steins Pillar (October 30, 2004).
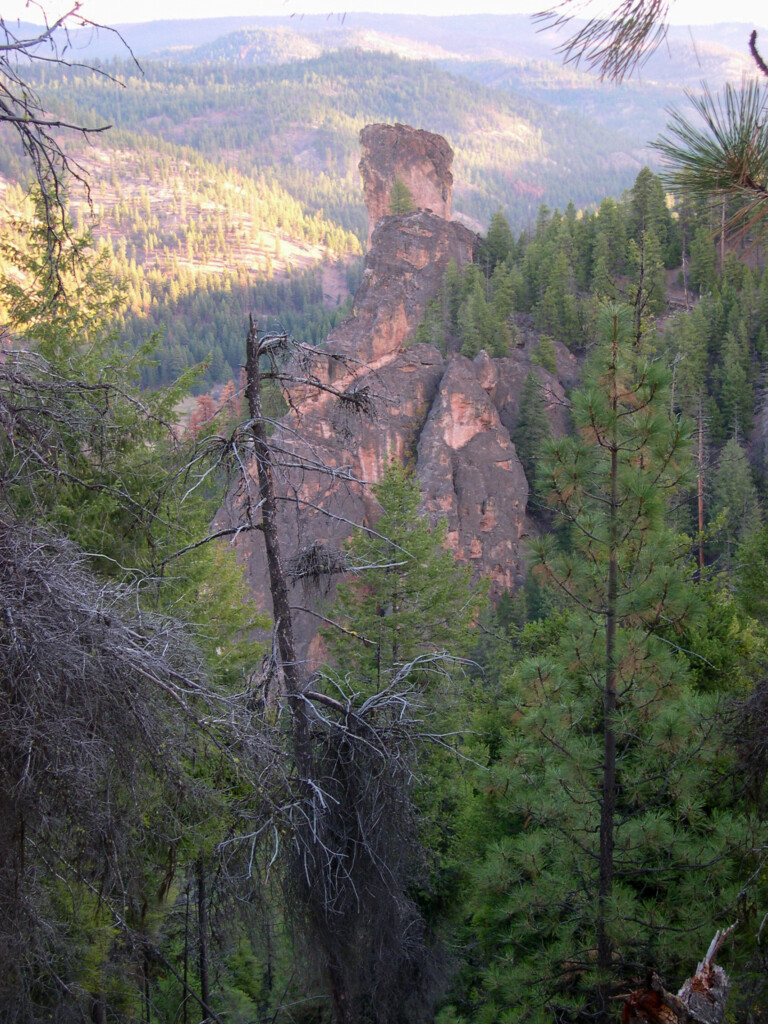
First views of the (top of) Steins Pillar from the approach hike (Oct. 2004).
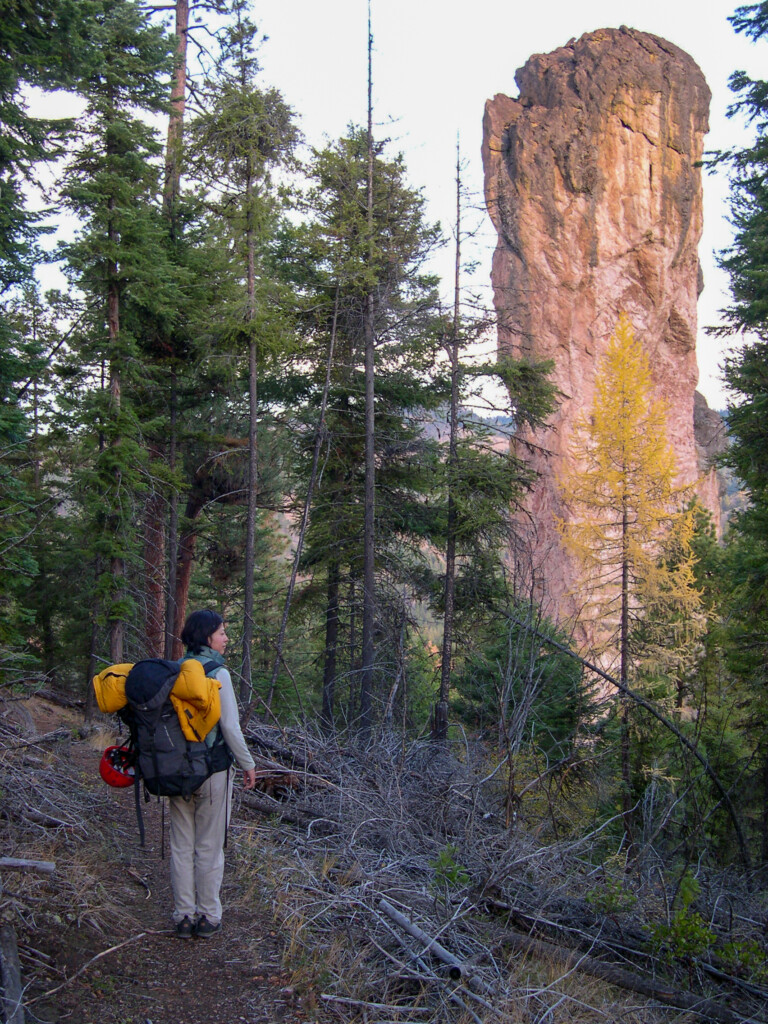
Shirley about to drop to the base of the Northeast Face route (Oct. 2004).
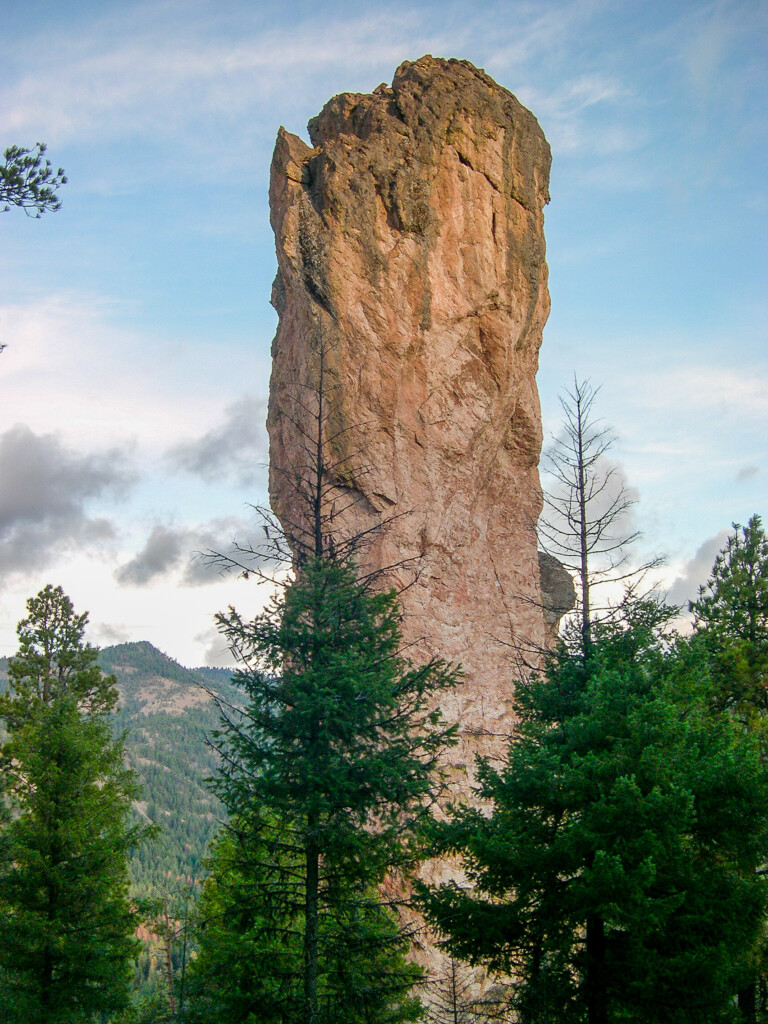
Another view of the SE side of Steins Pillar (Oct. 2004).
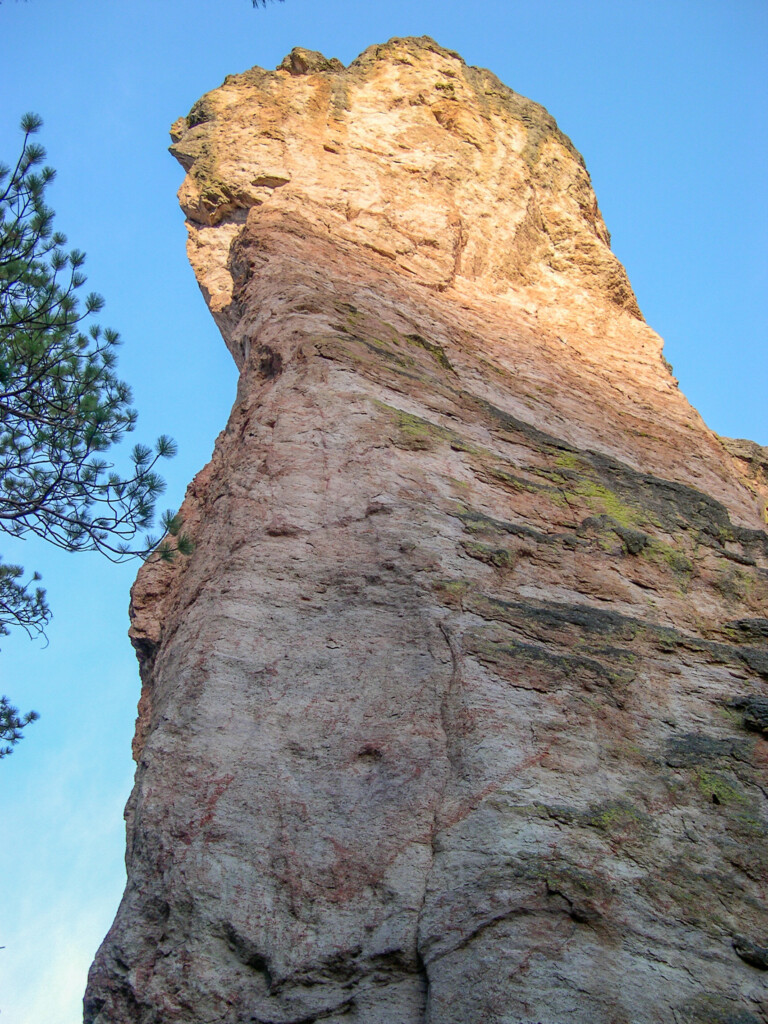
Looking up at the northeast face of the formation from the base (Oct. 2004).
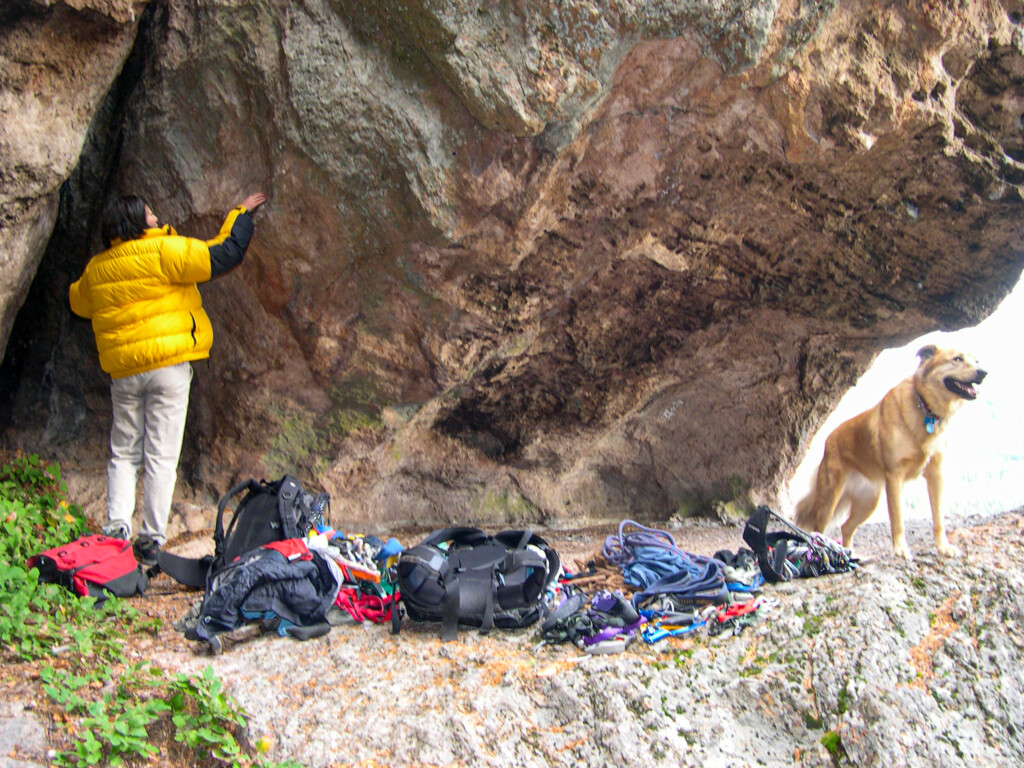
Racking up at the base of the Northeast Face route (Oct. 2004).
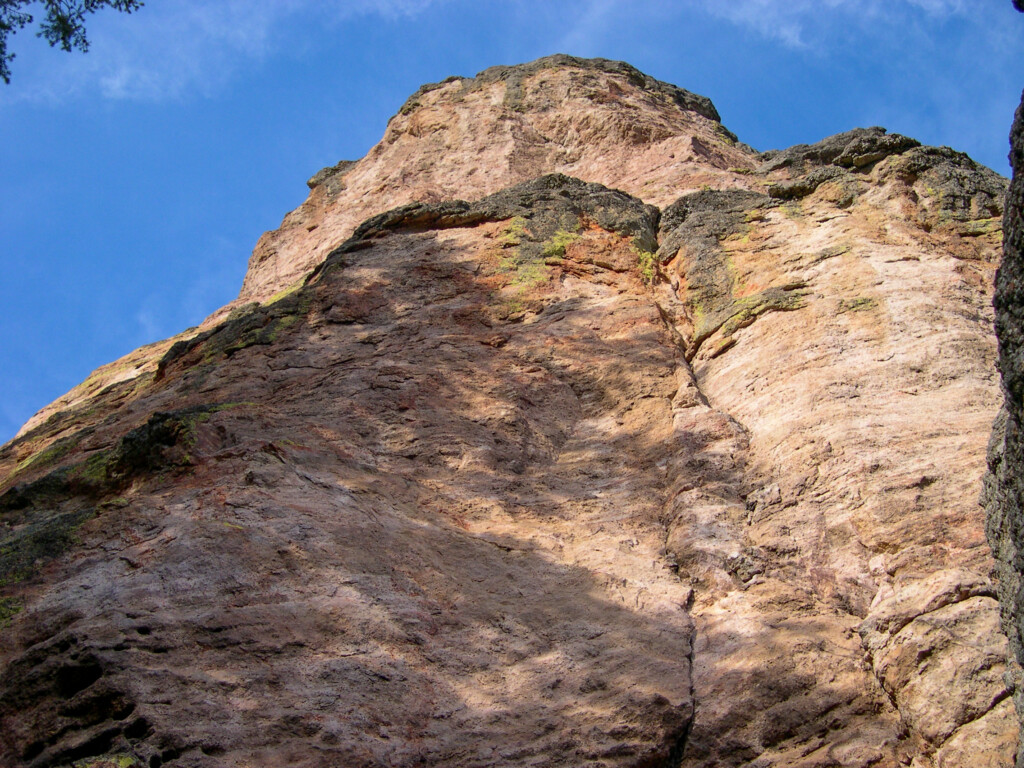
Looking up at the hard (A4) nail-up of Schmitz-Caldwell (Oct. 2004).
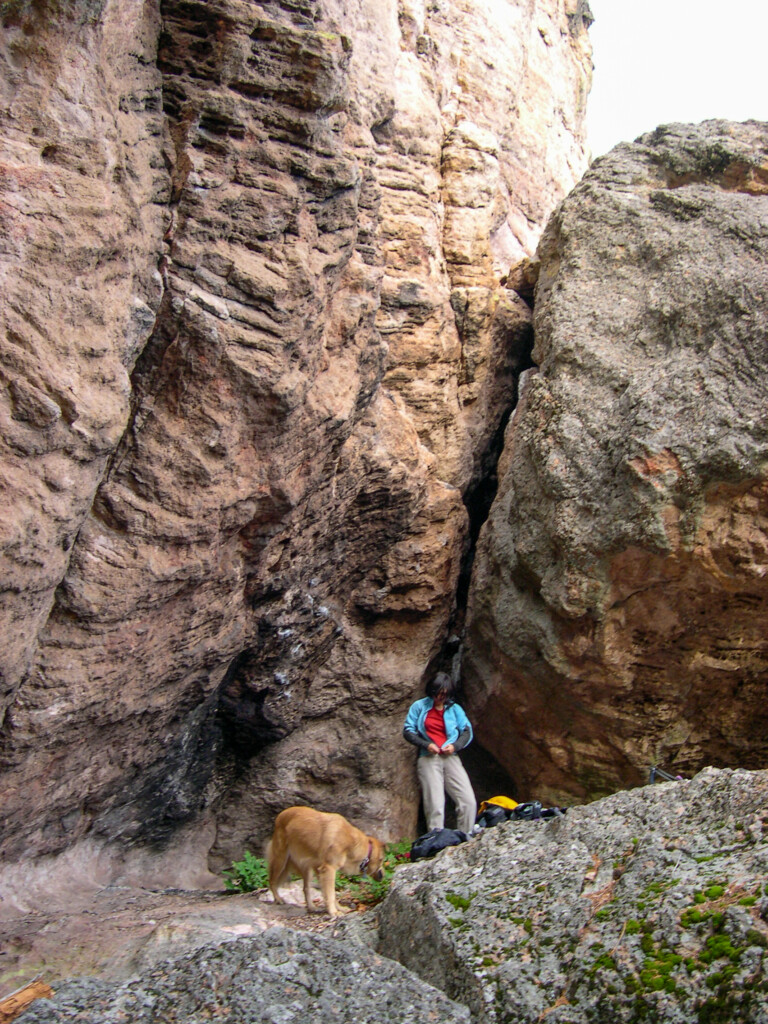
More of Shirley and Blondie at the base (Oct. 2004).
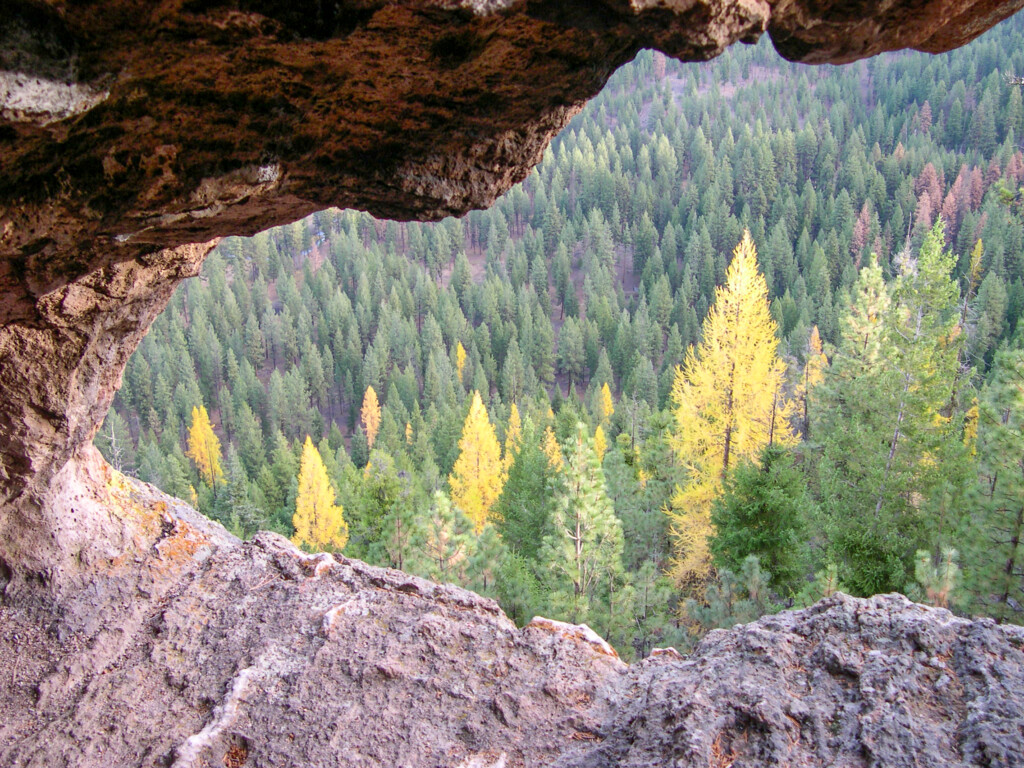
Views from the base of the Northeast Face (Oct. 2004).
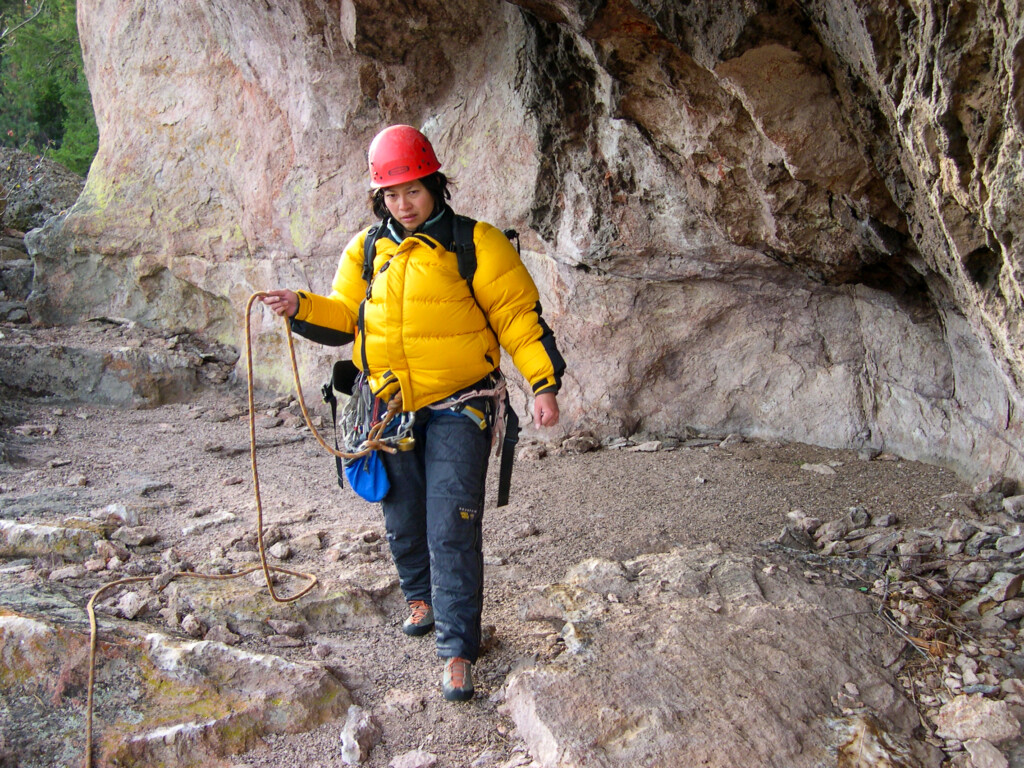
Shirley moving the belay from top of P1 to start of P2. This is an unexposed walk along the huge lower ledge system on the Northeast Face of the Pillar. Note the “cave” on the right. The first ascent party used this ledge for their camp (October 30, 2004).
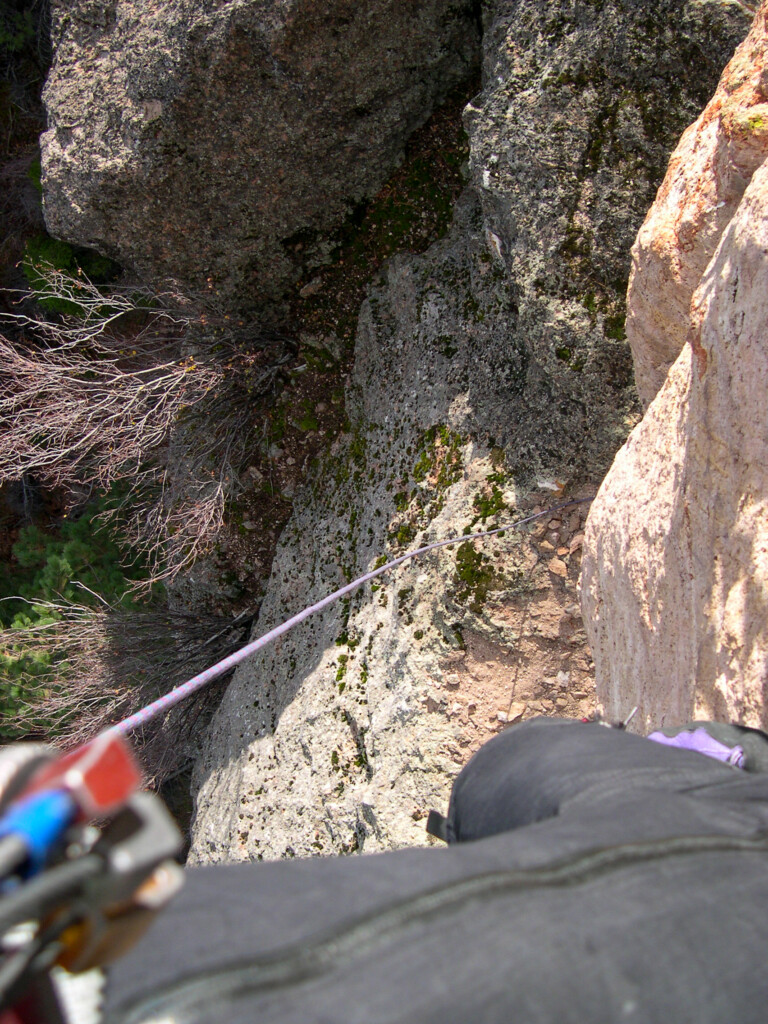
Looking down from the start of pitch 2 (Oct. 2004).
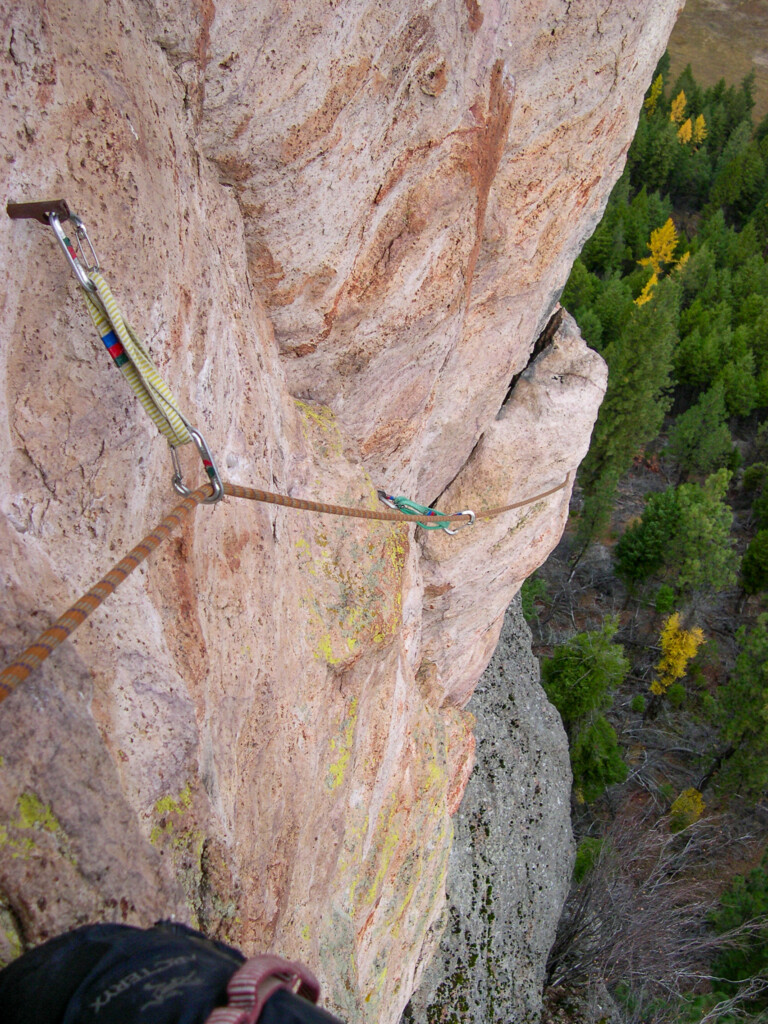
Should’ve girth hitched that fixed angle (Oct. 2004).
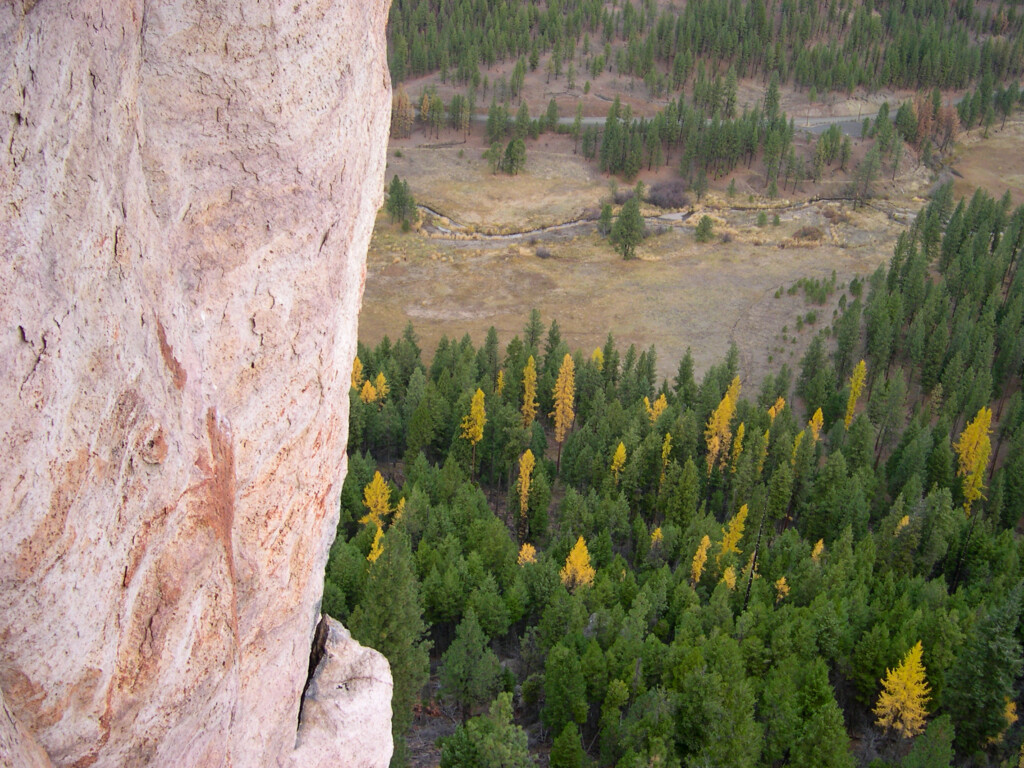
Views from somewhere on pitch 2 (Oct. 2004).
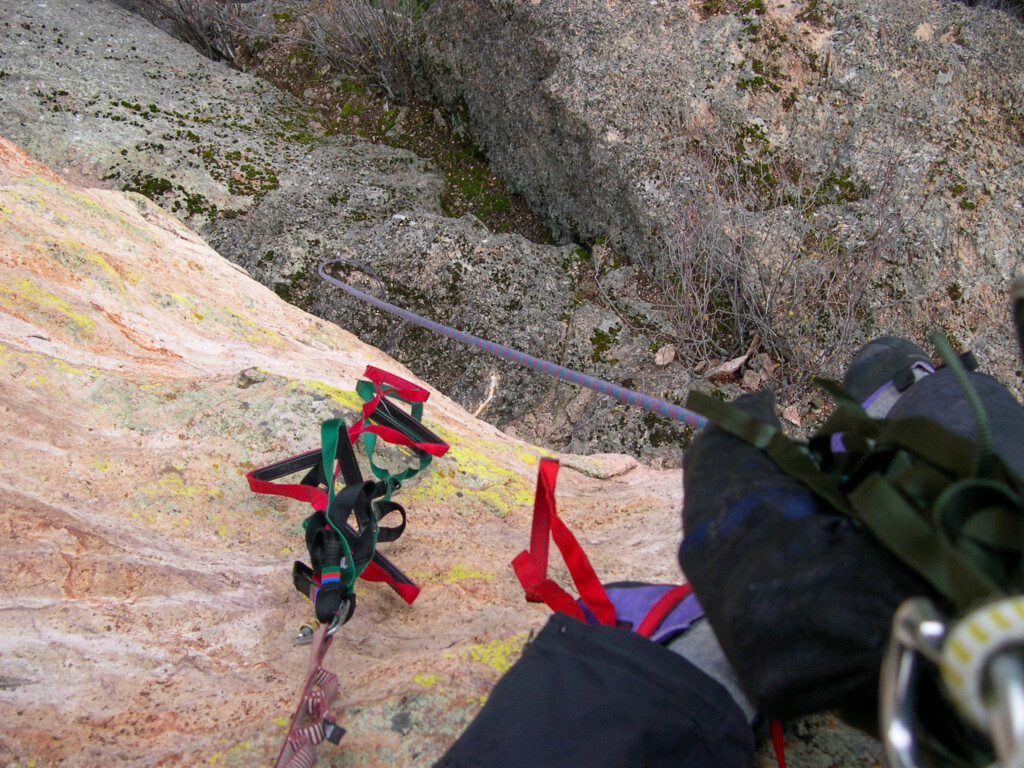
More downward views (toward the huge ledge atop pitch 1; Oct. 2004).
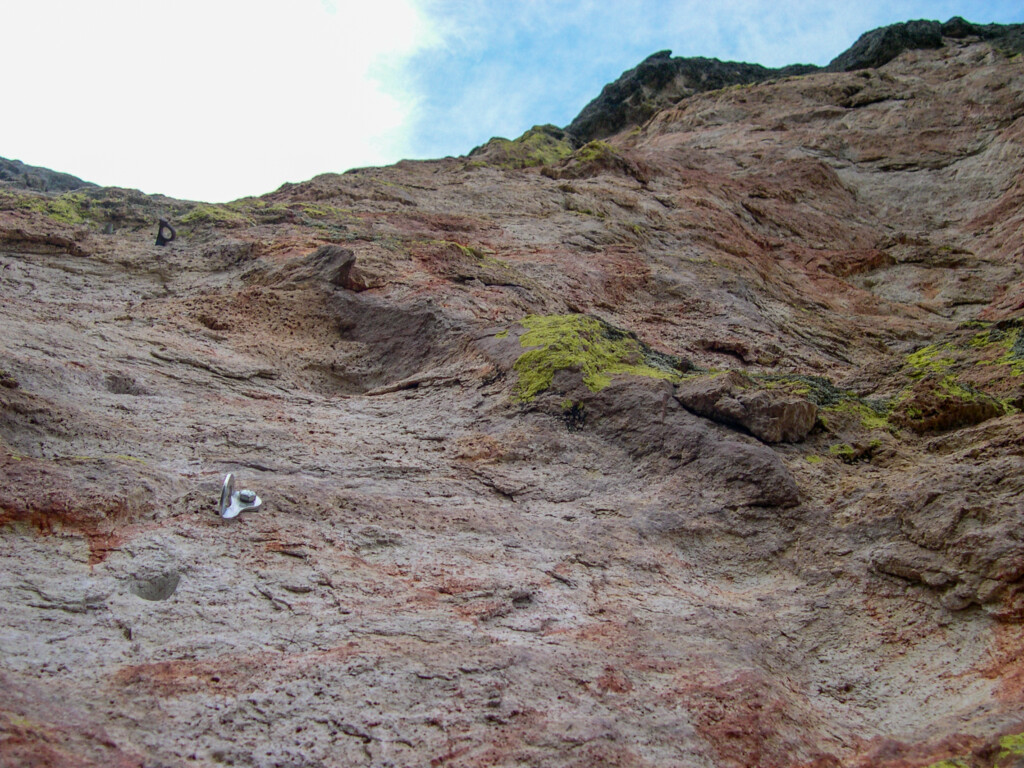
Looking up at the rest of pitch 2 (Oct. 2004).
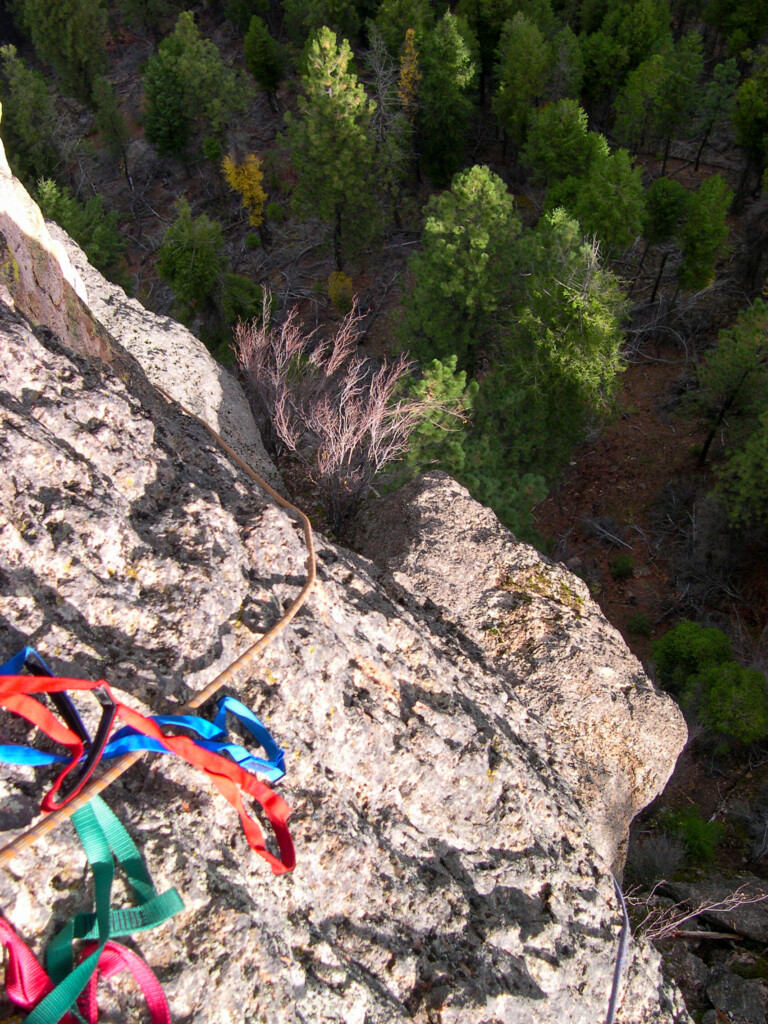
Views down from the lead of pitch 2 (Oct. 2004).
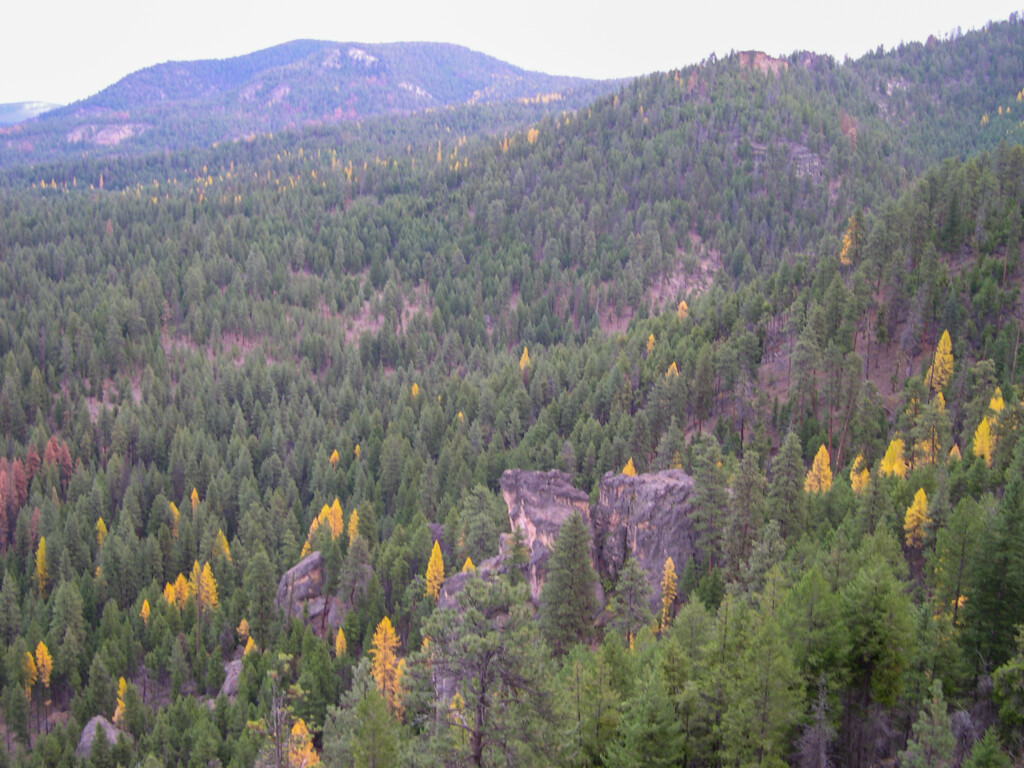
Views from the second belay (Oct. 2004).
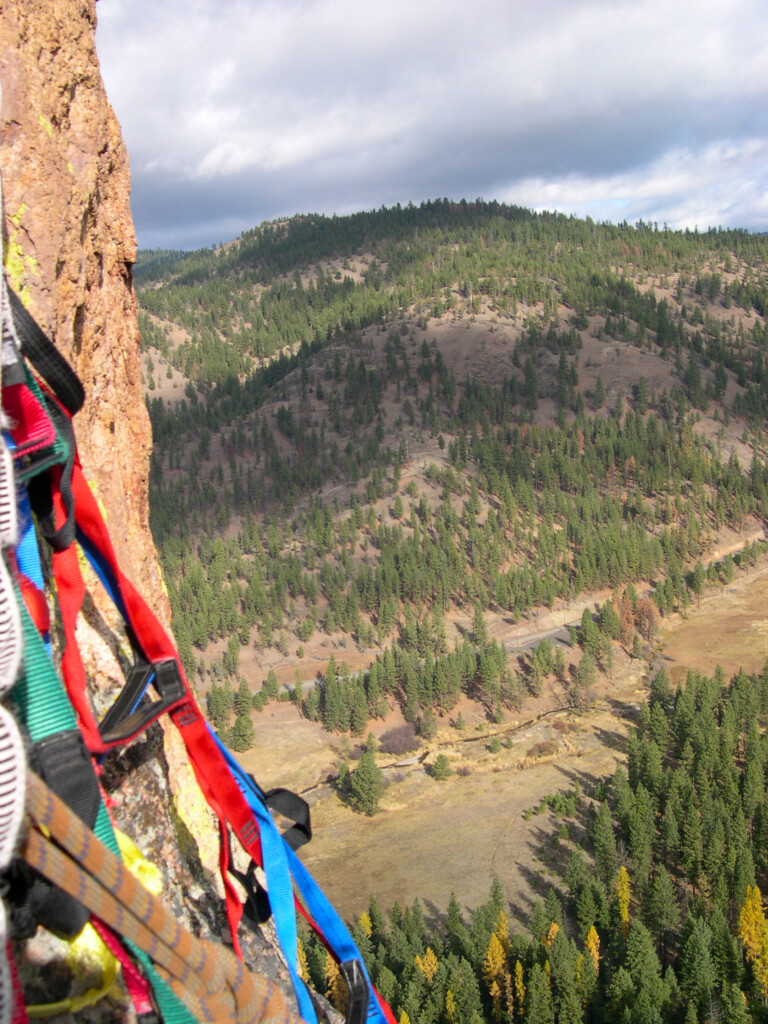
More views from pitch 2 belay station (Oct. 2004).
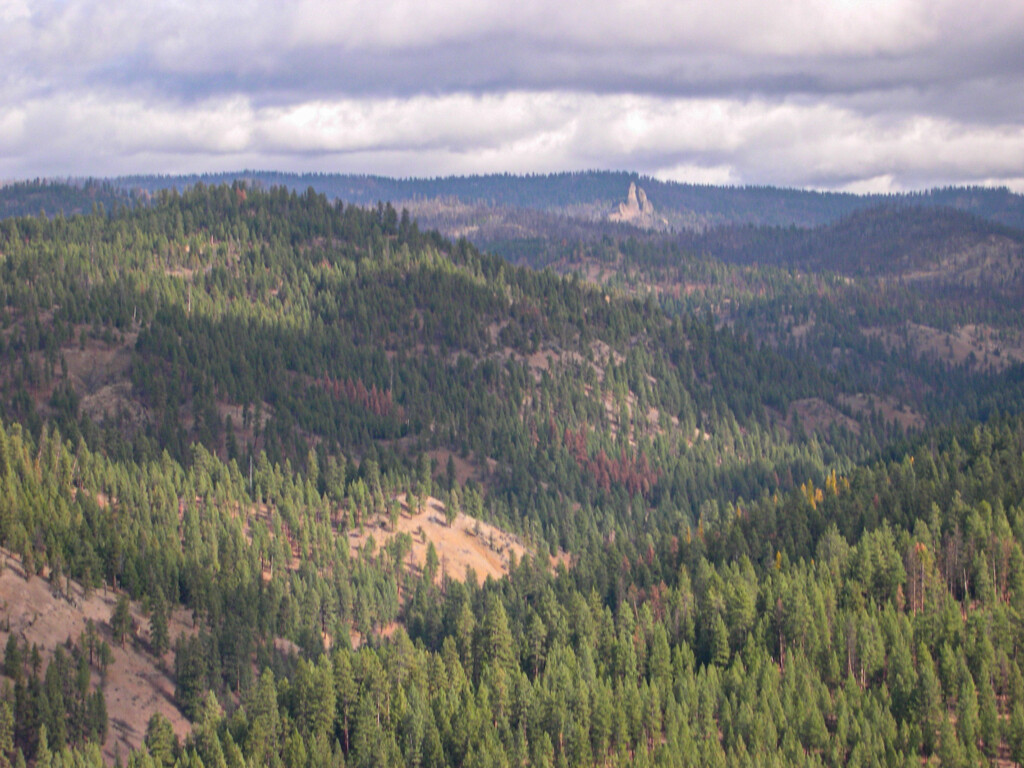
Looking west from top of P2 of Northeast Face route. Off in the distance are the 300-foot tall Twin Pillars formation within the Mill Creek Wilderness of Oregon (October 30, 2004).
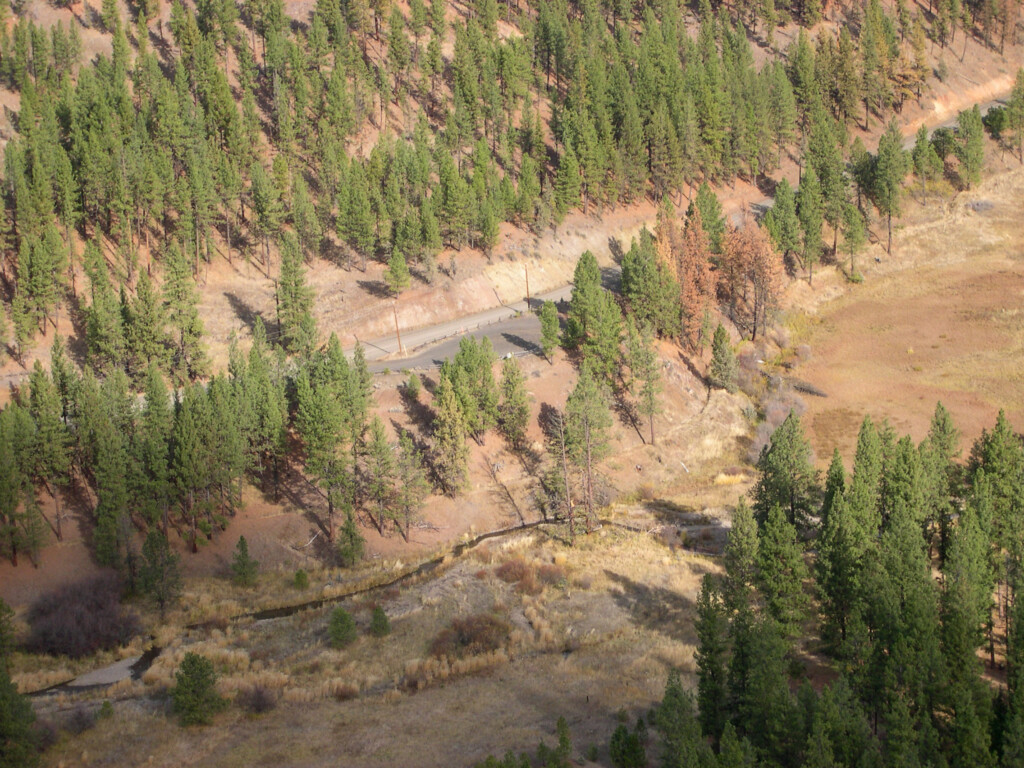
The overlook parking (Oct. 2004).
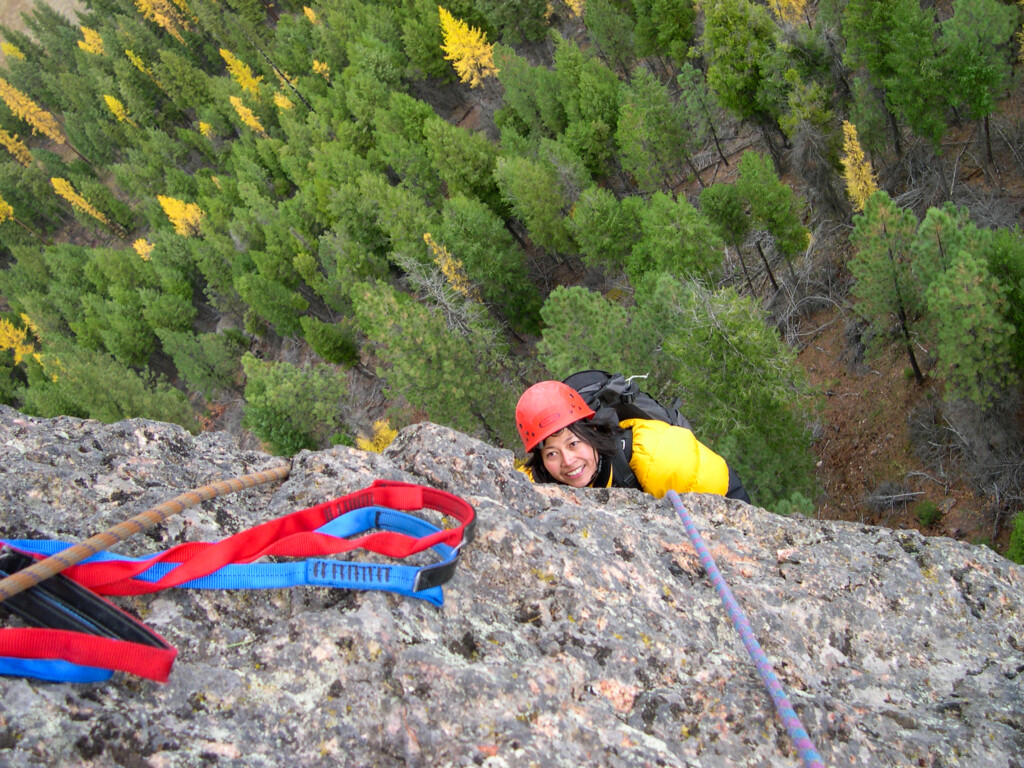
Shirley jugging up to the top of P2 of Northeast Face route. This belay sits atop the Low Black Knob. Mill Creek Valley is below with beautiful autumn colored larch trees (October 30, 2004).
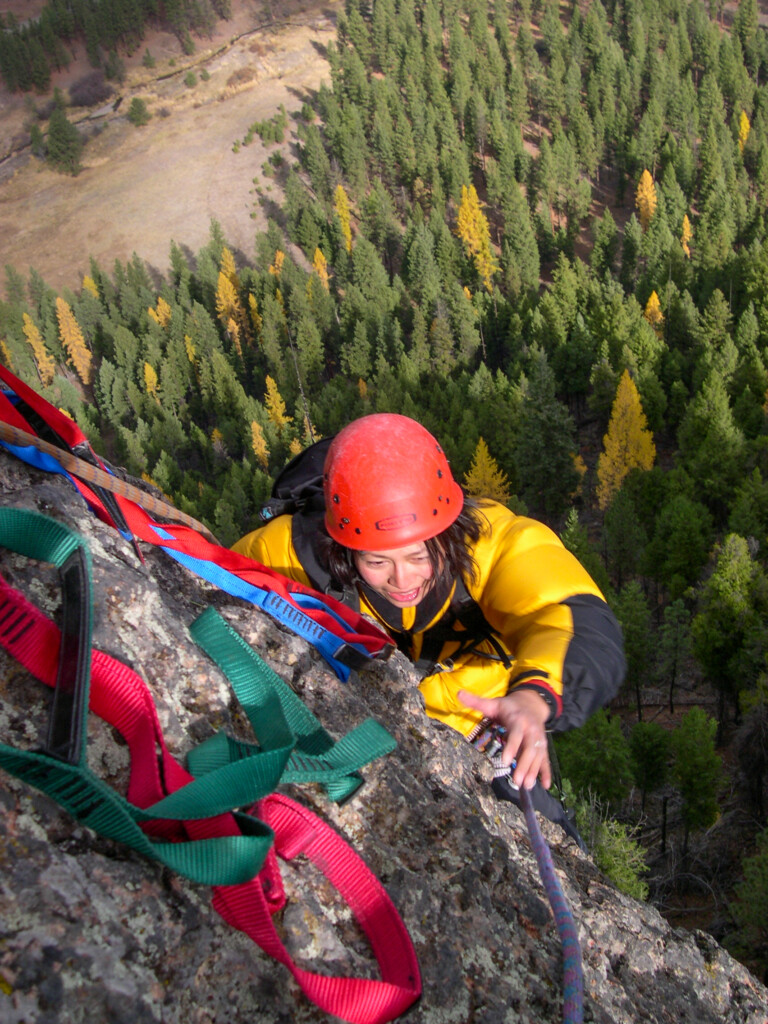
Shirley arriving at the second belay station (Oct. 2004).
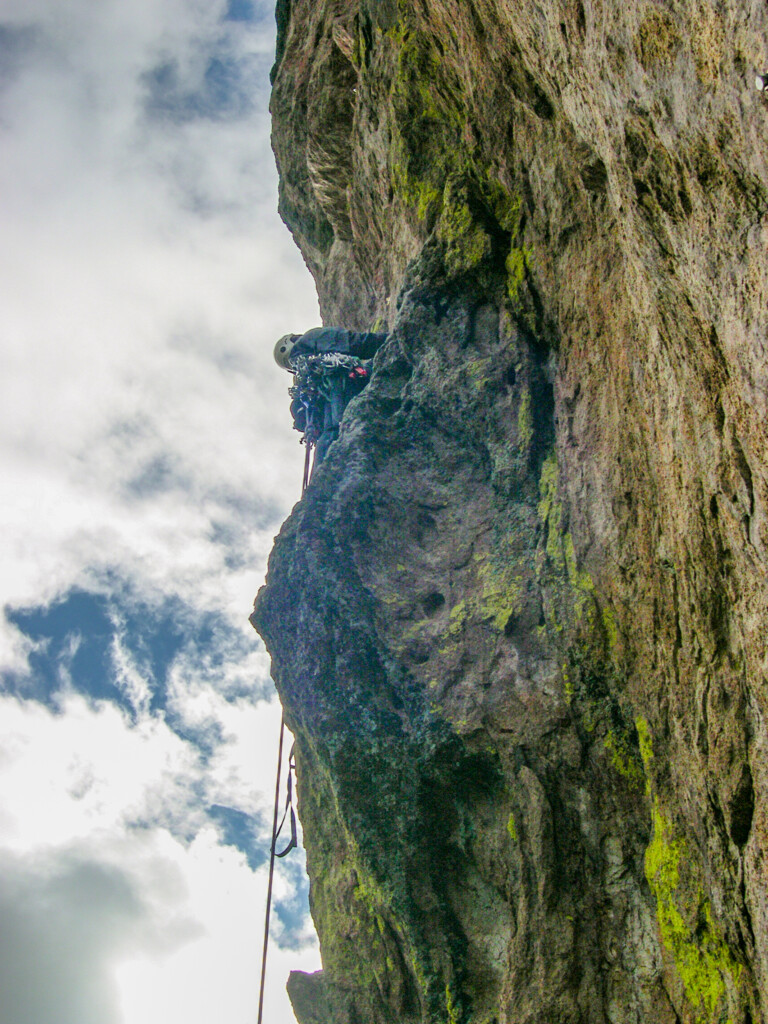
Starting the lead of pitch 3 (Oct. 2004).
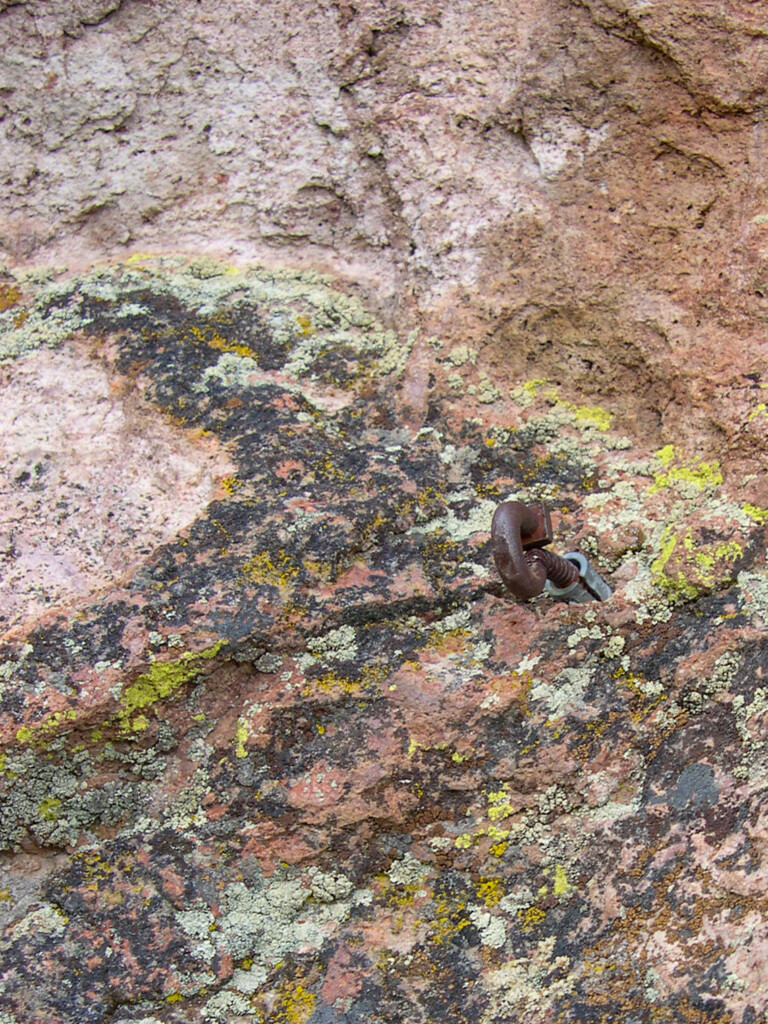
Ace Hardware special (Oct. 2004).
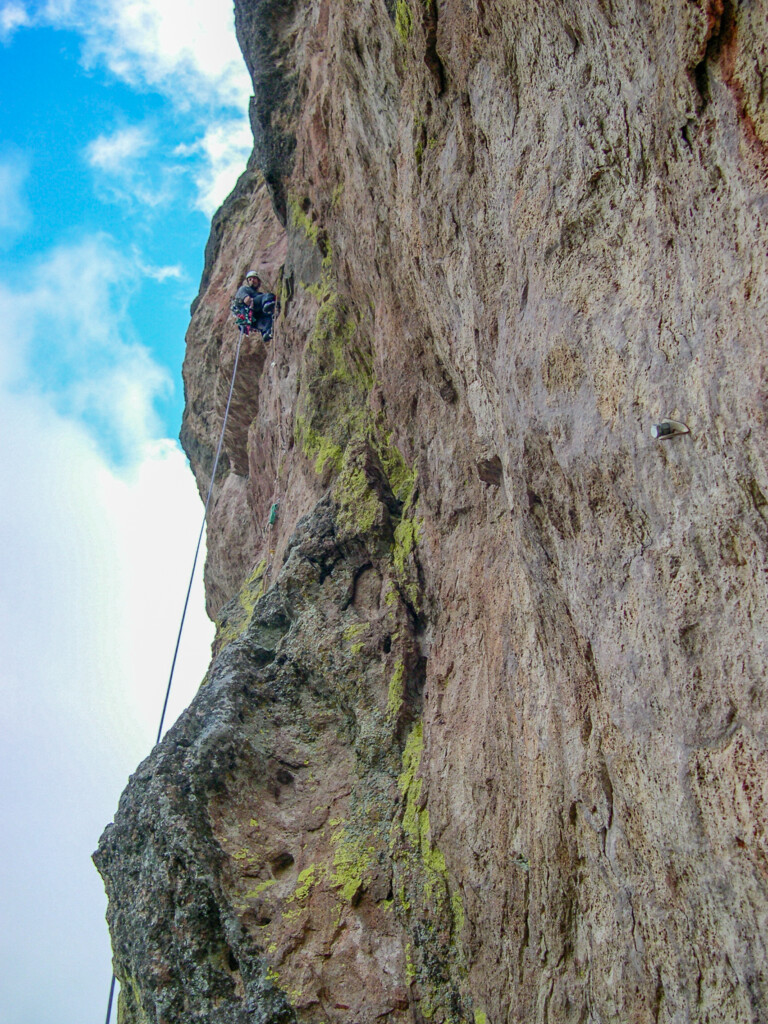
High on pitch 3 (Oct. 2004).
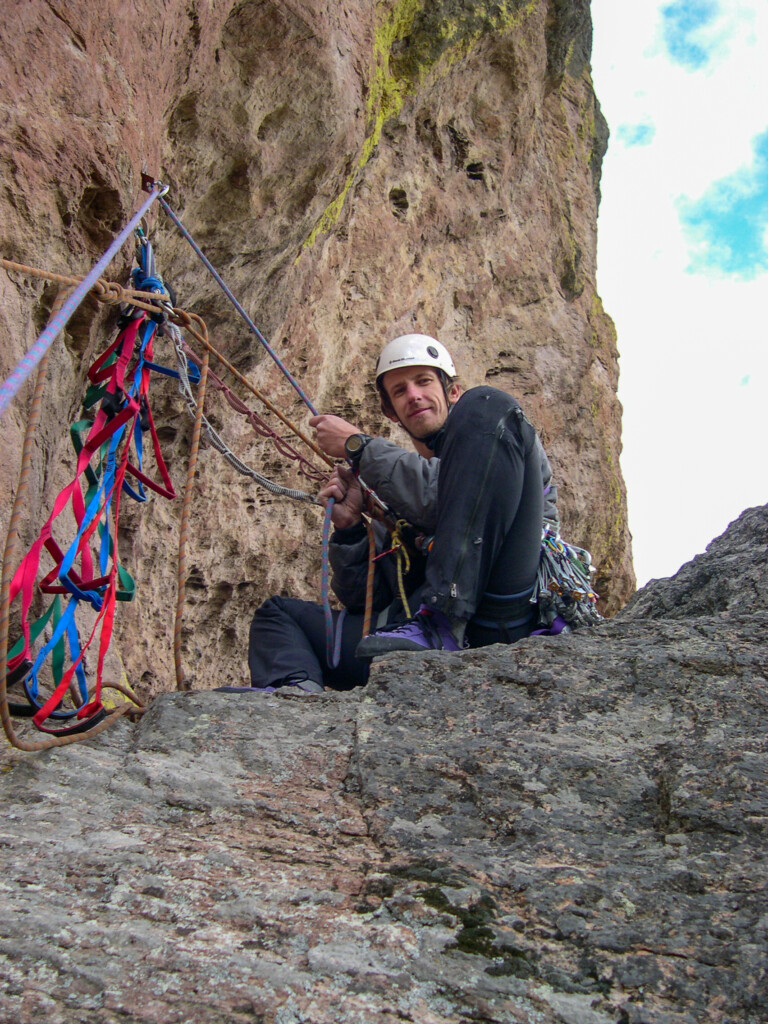
Yours truly atop P3 of Northeast Face route. Another huge belay ledge and bomber new bolts (October 30, 2004).
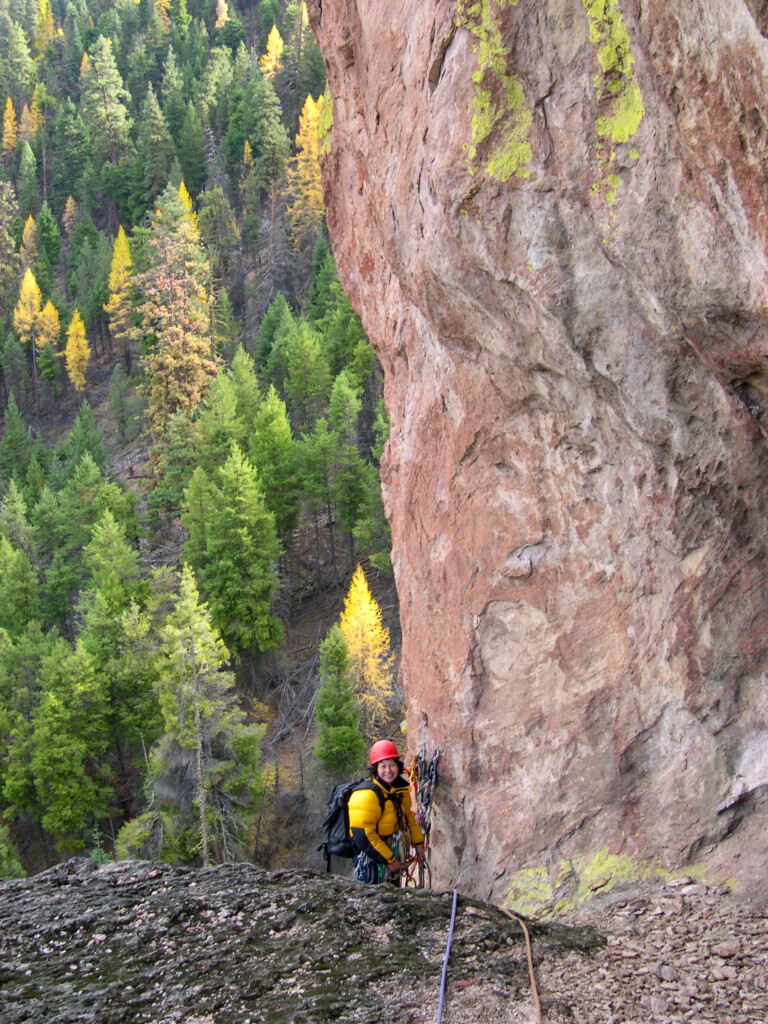
Shirley at the belay atop pitch 3. From here you move the belay some 30 feet along the huge ledge system to the start of pitch 4. Note that the second rap of the standard descent starts where Shirley is (Oct. 2004).
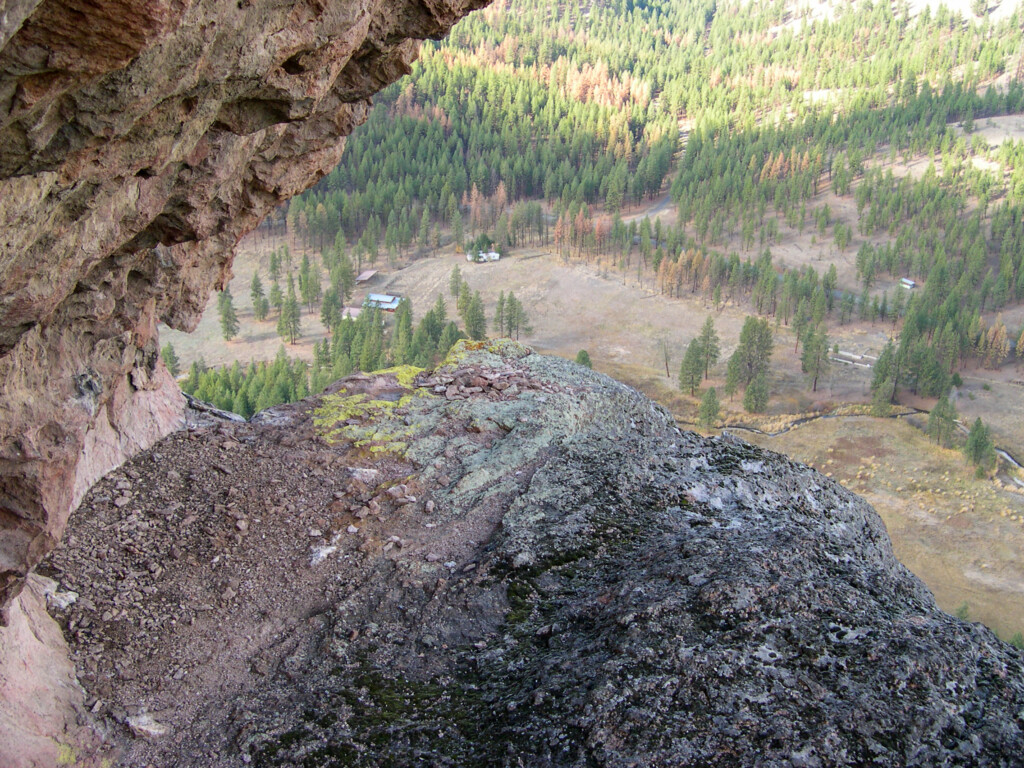
Views from the start of pitch 4 (Oct. 2004).
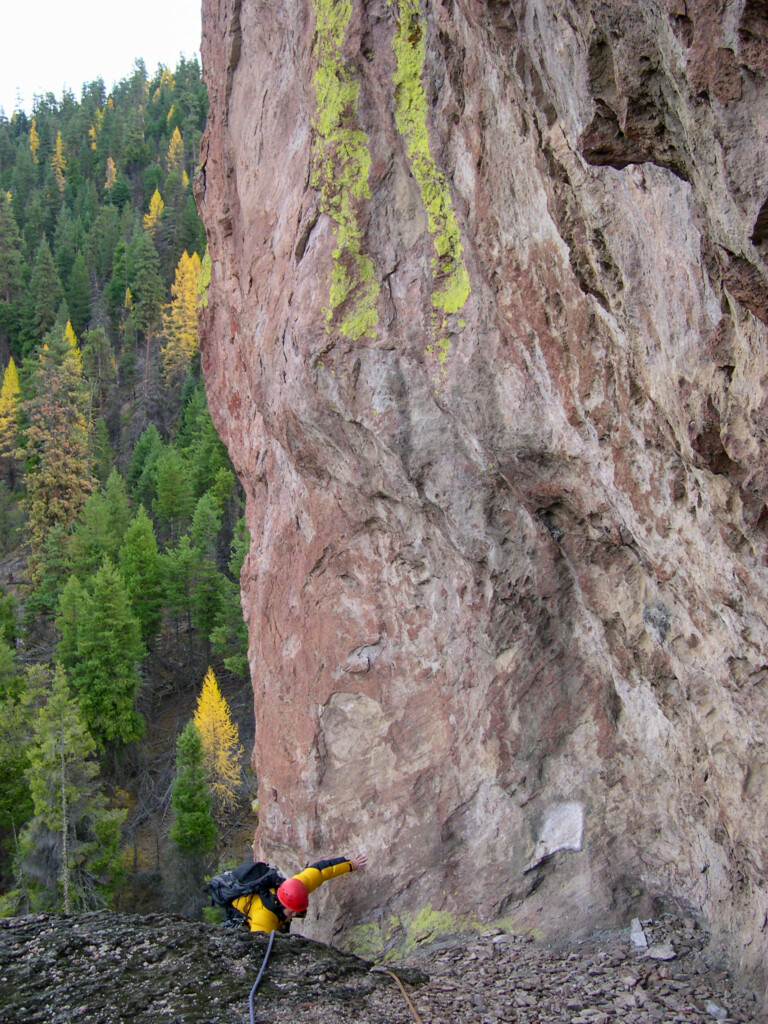
Shirley scrambling over to the start of pitch 4 (Oct. 2004).
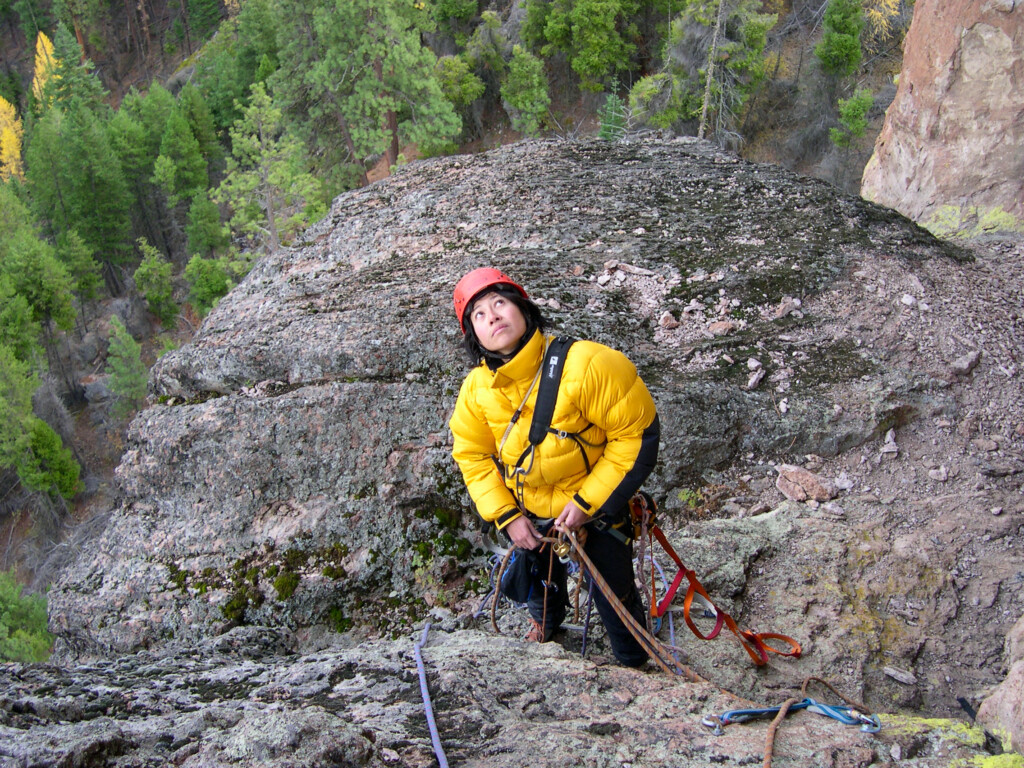
Shirley admiring the start of pitch 4 (& the fixed mank) from the huge ledge atop pitch 3 (Oct. 2004).
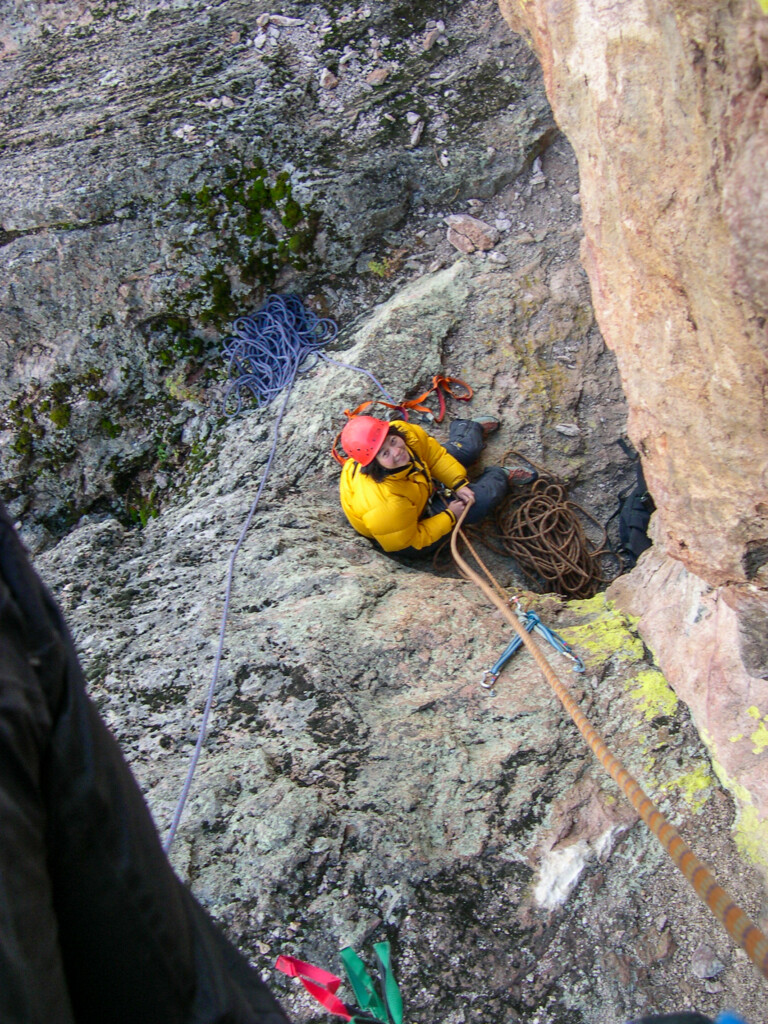
Looking back down at Shirley from the start of pitch 4 (Oct. 2004).
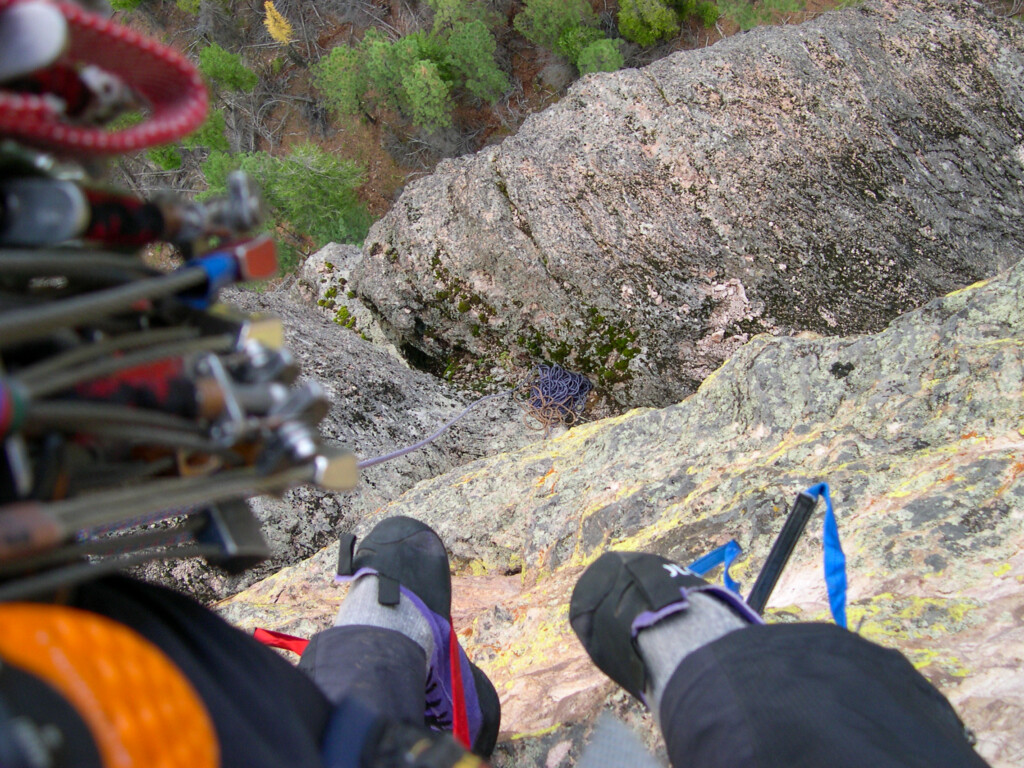
Views down to the ledge (Shirley is hiding under the overhangs) from the start of pitch 4 (Oct. 2004).
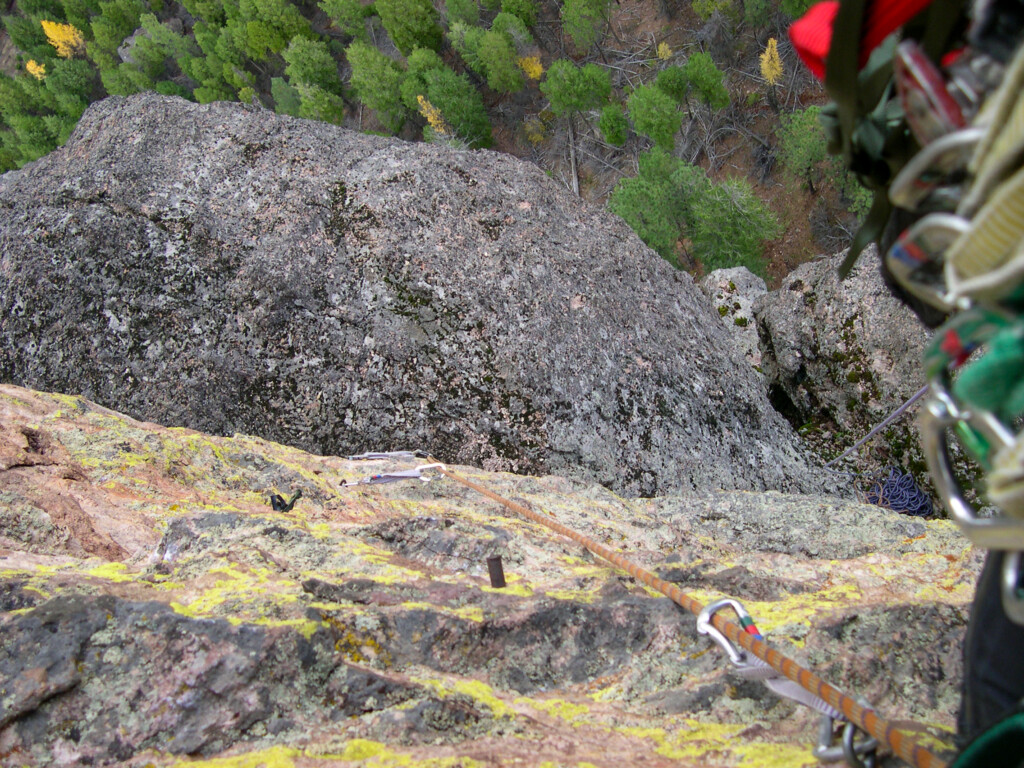
More downward views from pitch 4 (Oct. 2004).
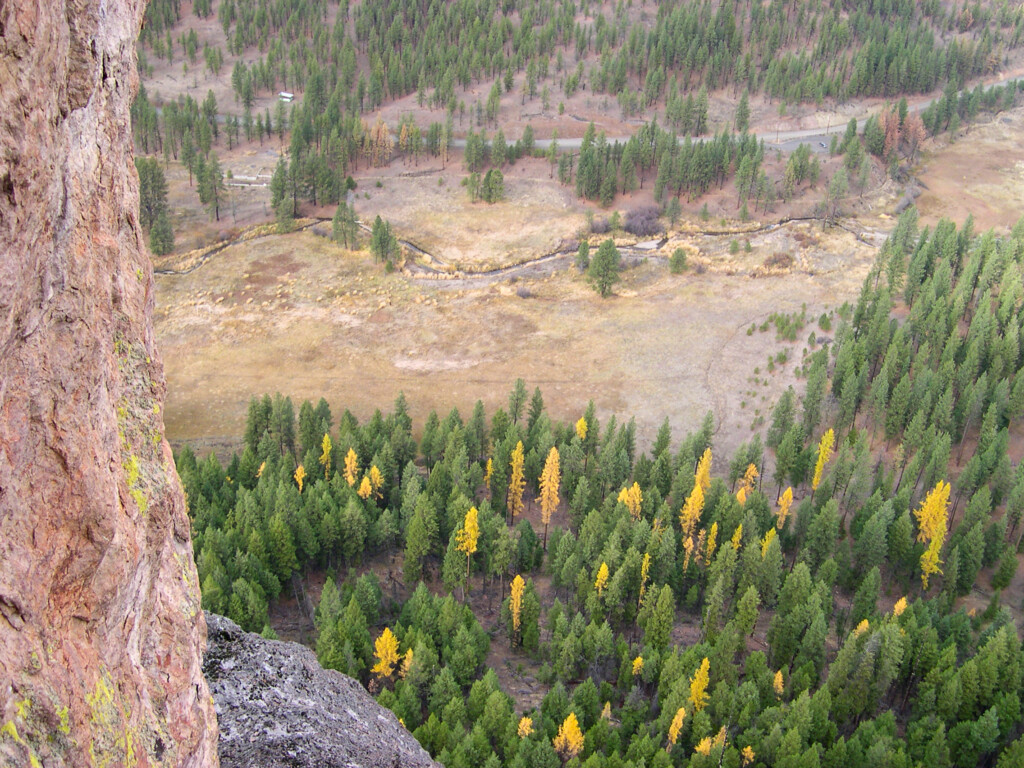
Views from the lead of pitch 4 (Oct. 2004).
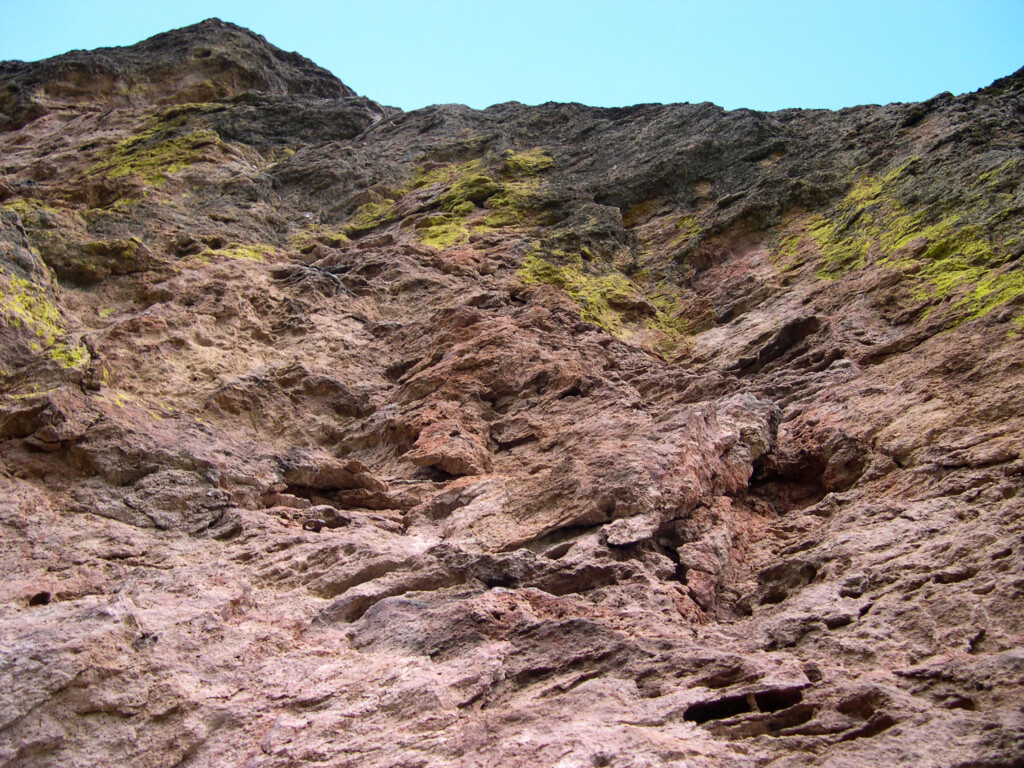
Looking up at pitch 5 (we combined 4 and 5) from the lead (Oct. 2004).
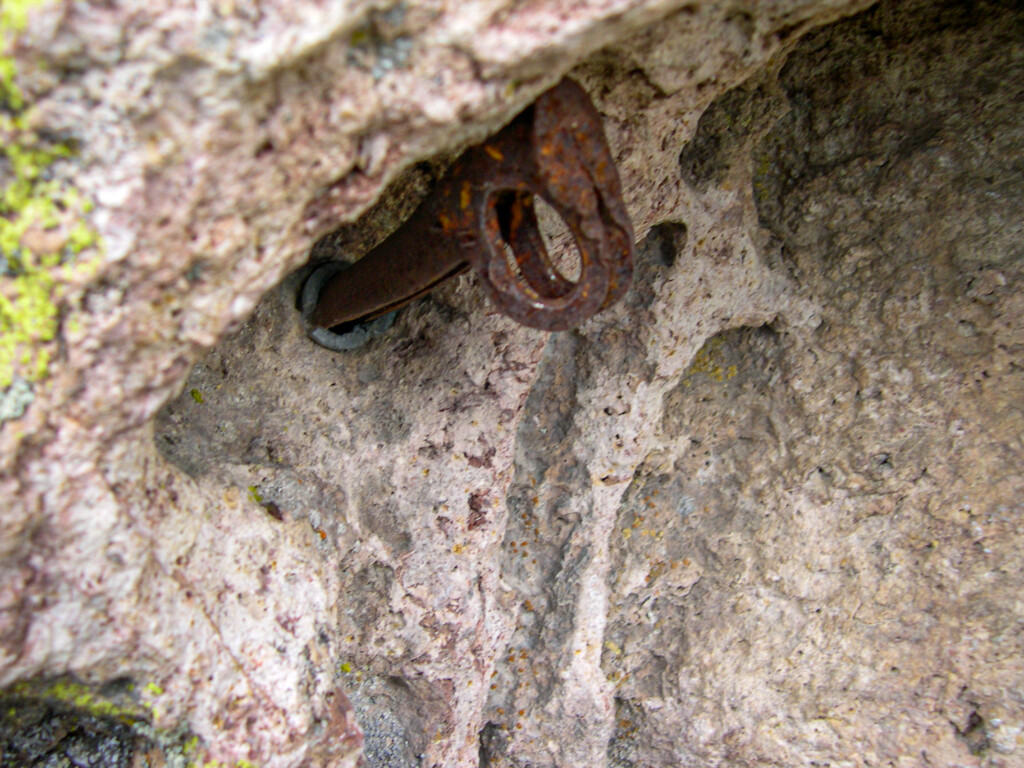
Fixed mank on pitch 4 (Oct. 2004).
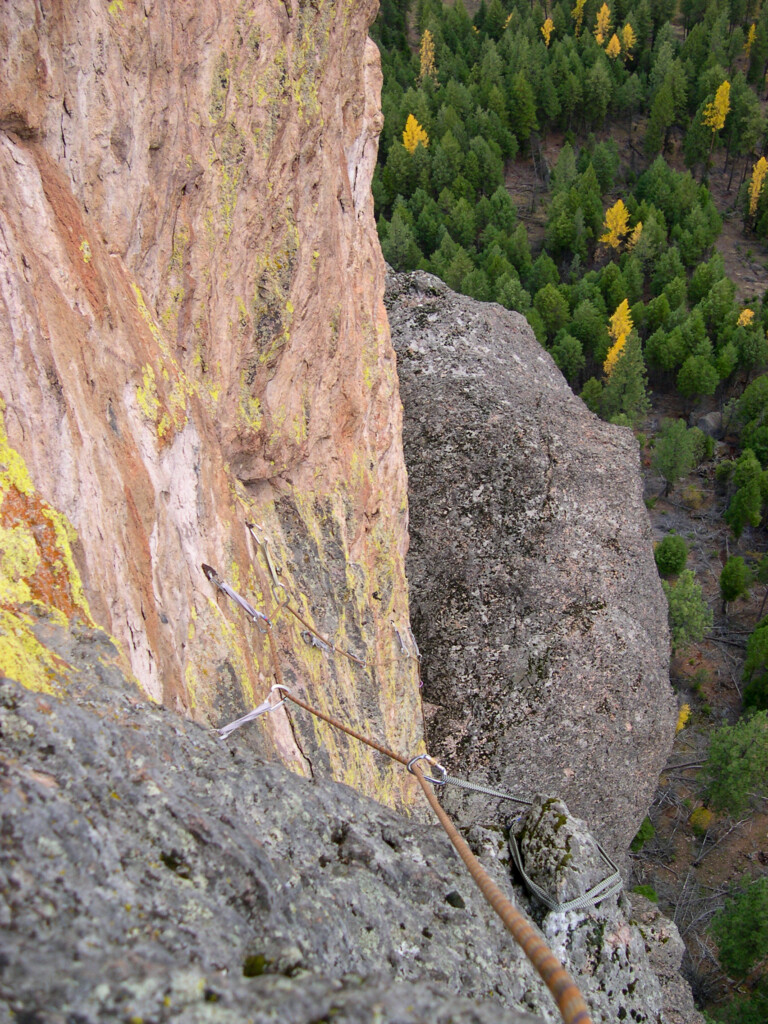
View down from the lead of pitch 4 (Oct. 2004).
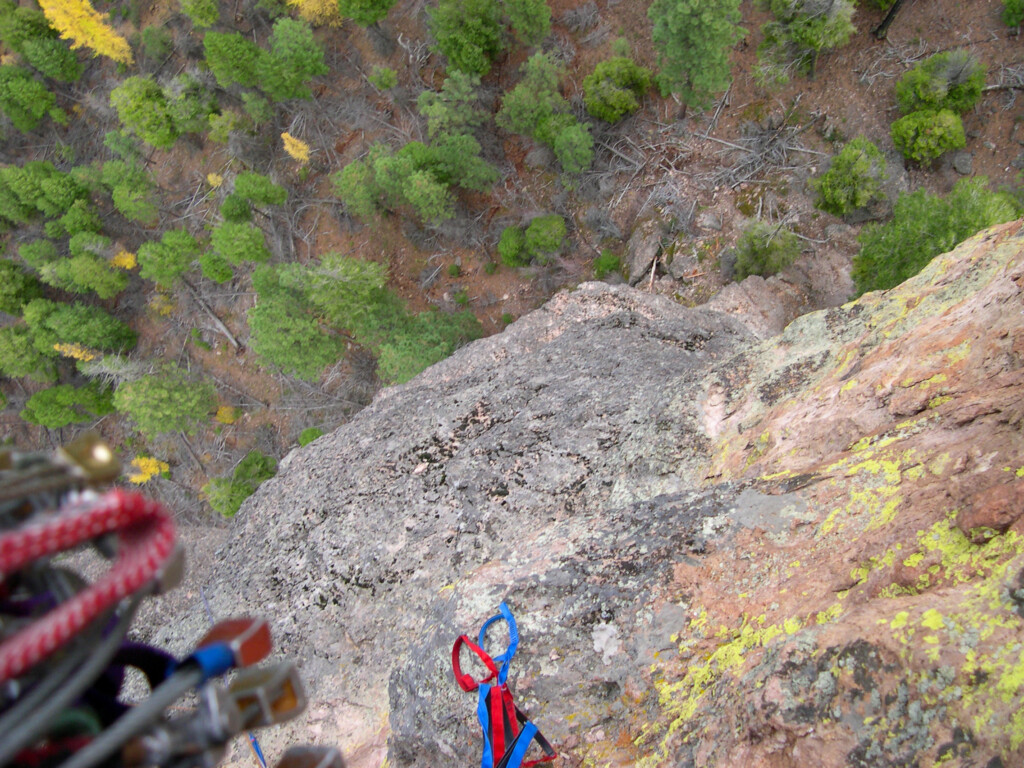
View down from pitch 4 or 5 (Oct. 2004).
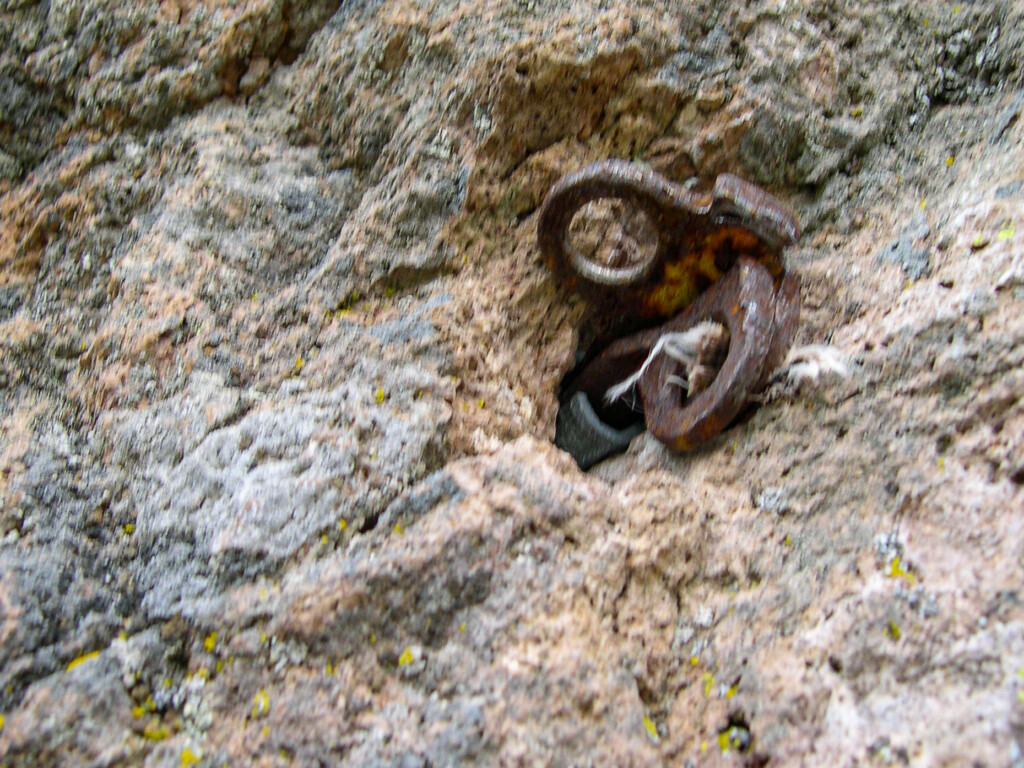
More cool mank from pitch 4 or 5 (Oct. 2004).
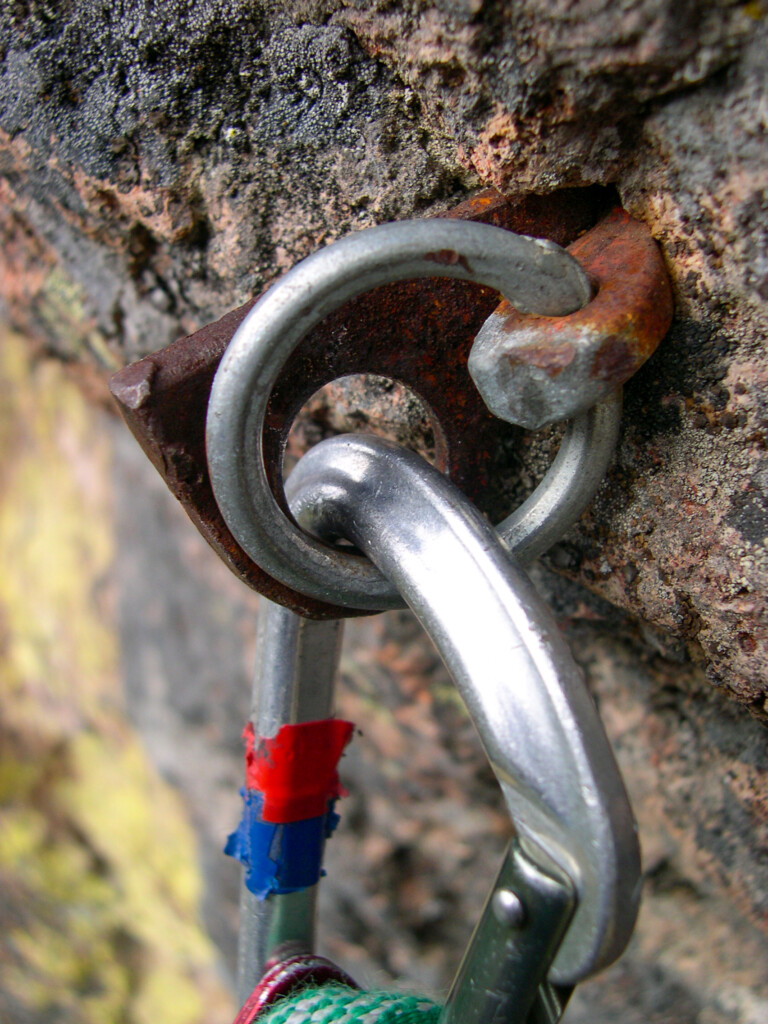
Oh yeah baby (Oct. 2004).
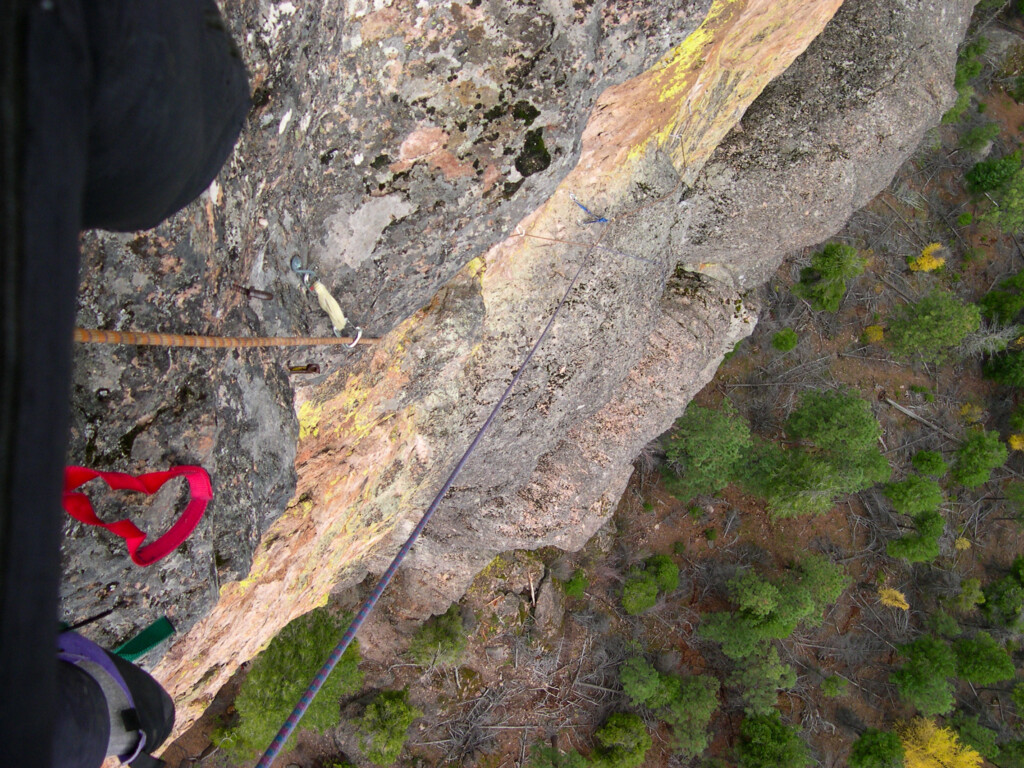
Looking down from the lead of P5 of Northeast Face route (A1+). The pitch overhangs a bit giving one a great view down of the lower pitches. Point where my ropes criss-cross (my screw up) marks the top of the “High Black Knob” (a wart-like, round protrusion on the face of the pillar) and top of P4 of the route. I decided to combine P4 and P5 given the deteriorating weather. Deck is about 300-350 feet below. Note the innovative fixed gear just below my feet: a rusty piton sticking out of the rock by 60% and a rusty wood screw (bent over into a loop). There’s also a new bolt to take out the sting (October 30, 2004).
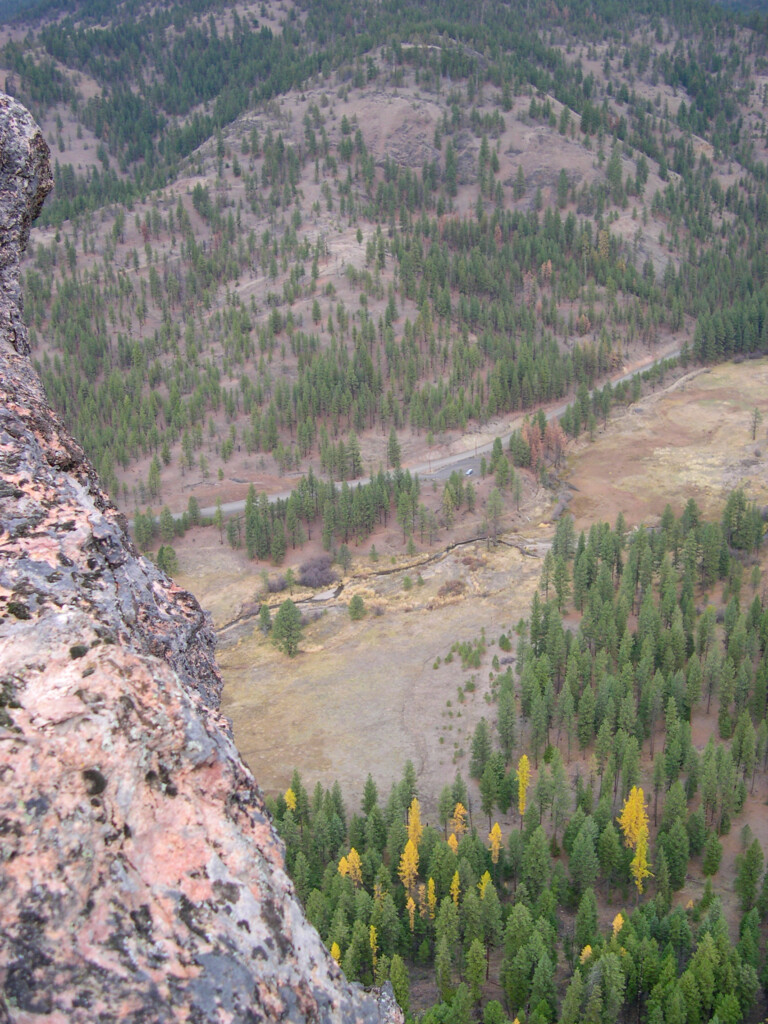
Had an audience at the overlook (October 2004).
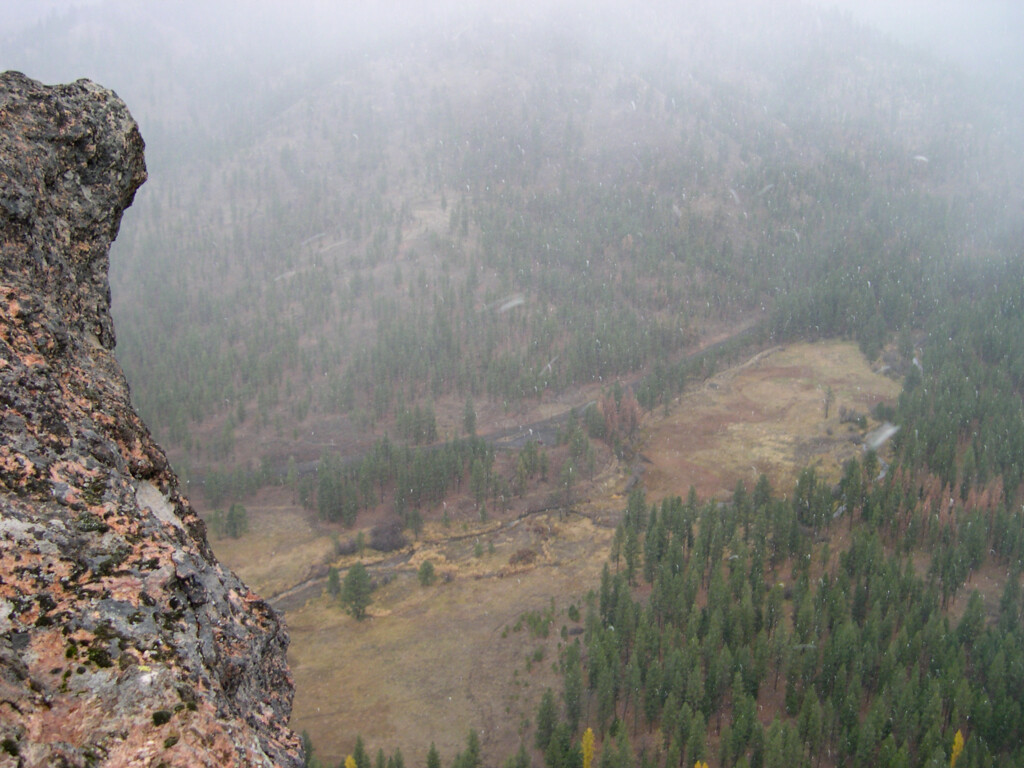
A little snowstorm as I wait on the summit for Shirley to jummar up (Oct. 2004).
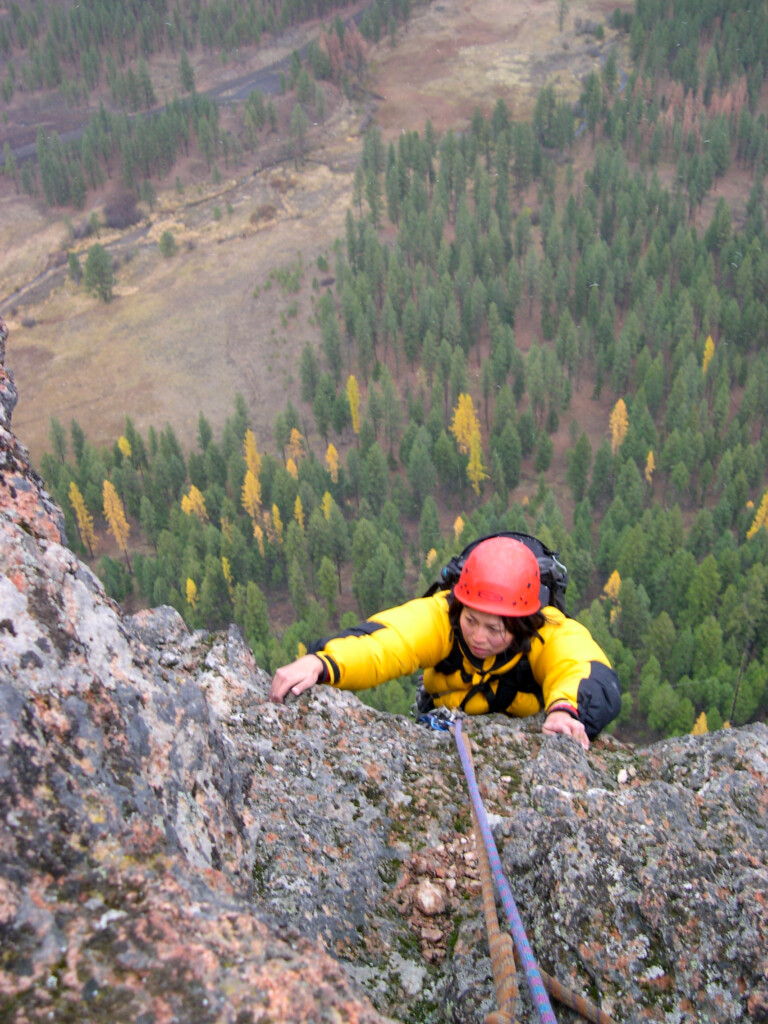
Shirley pulling onto the summit of Steins Pillar on the last pitch of Northeast Face route. Below in the background is the Steins Overlook pullout and Mill Creek Road (October 30, 2004).
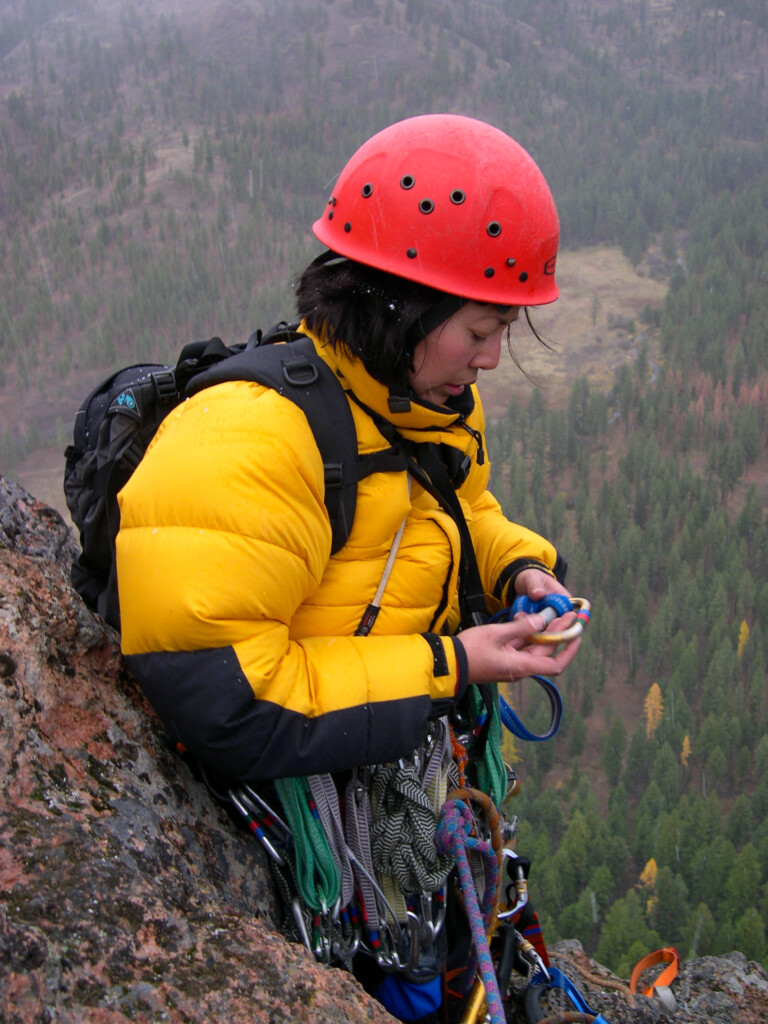
Summit of Steins & Shirley’s pretty new back then Feathered Friends down jacket…no it was not too warm (Oct. 2004).
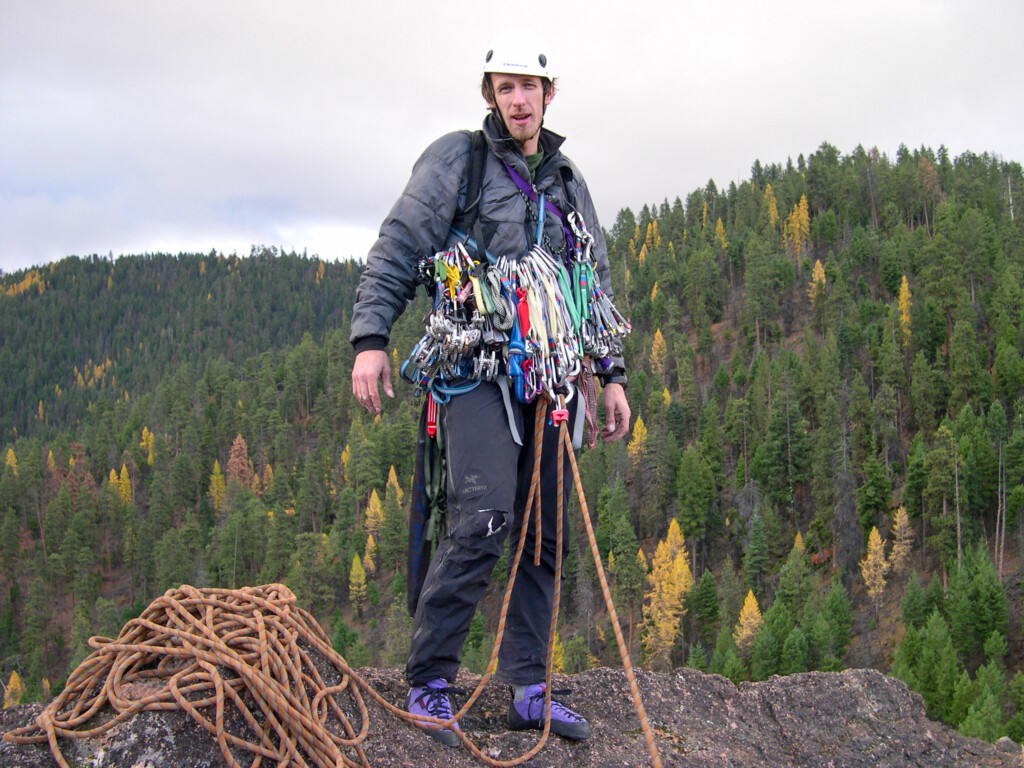
Yours truly on the summit of Steins Pillar following our climb of the Northeast Face….sportin’ an El Cap rack (major overkill as it turned out)!! Given the lack of info. we had on this climb, went in loaded for bear. What is not showing is my home-made piton hammer (Home Depot sale item + duct tape + 1″ webbing = a crappy piton hammer). This is looking roughly east (October 30, 2004).
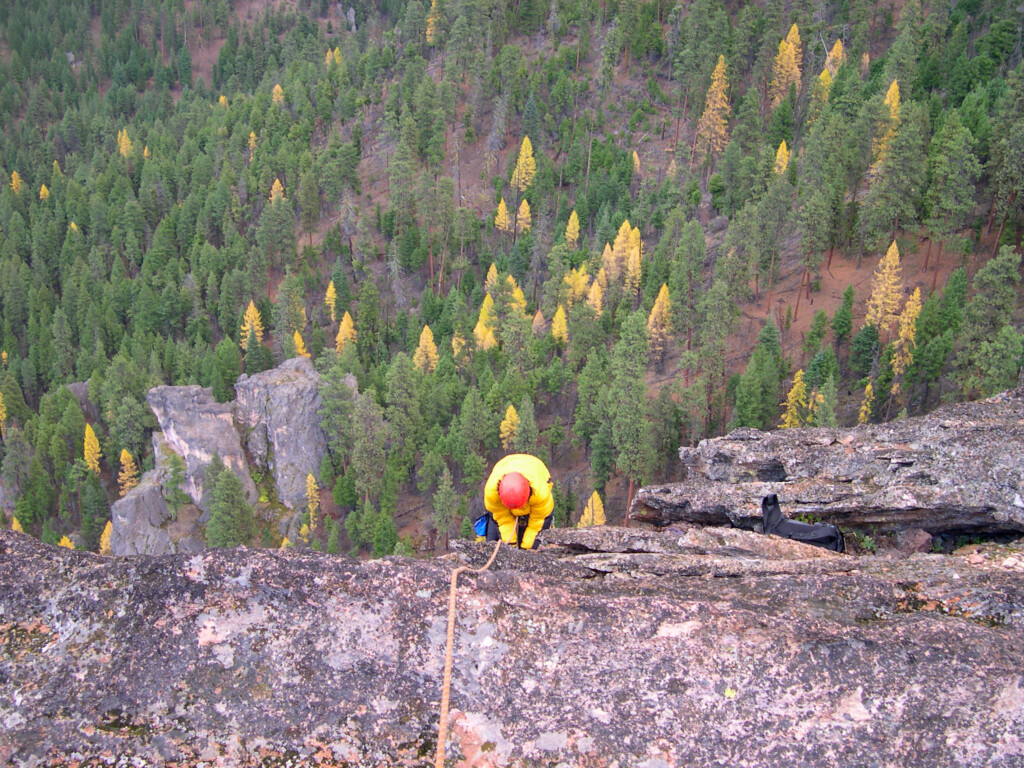
Shirley at the summit anchor (Oct. 2004).
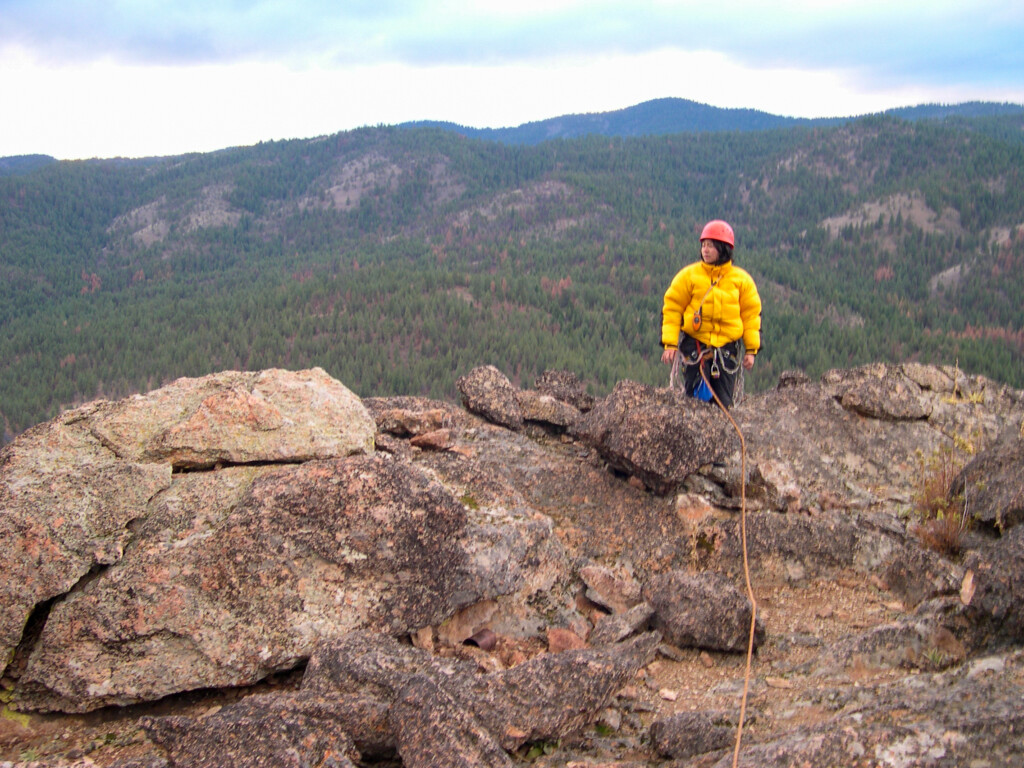
Shirley on the spacious summit of Steins Pillar (Oct. 2004).
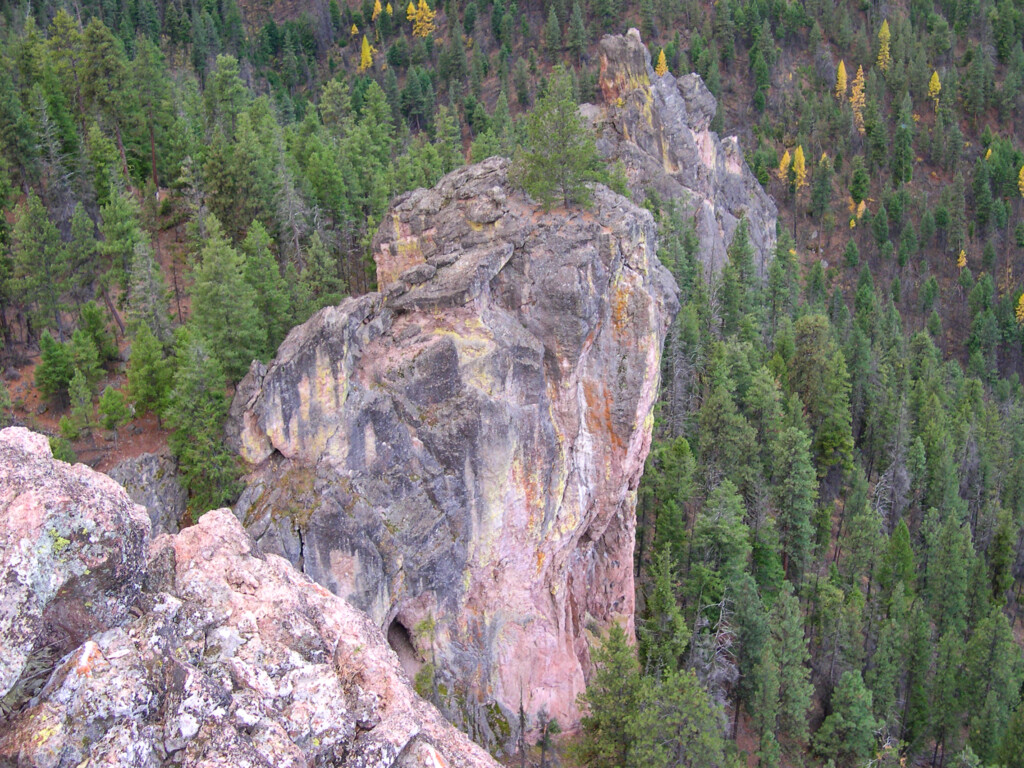
Some of the neighboring formations as seen from the summit (Oct. 2004).
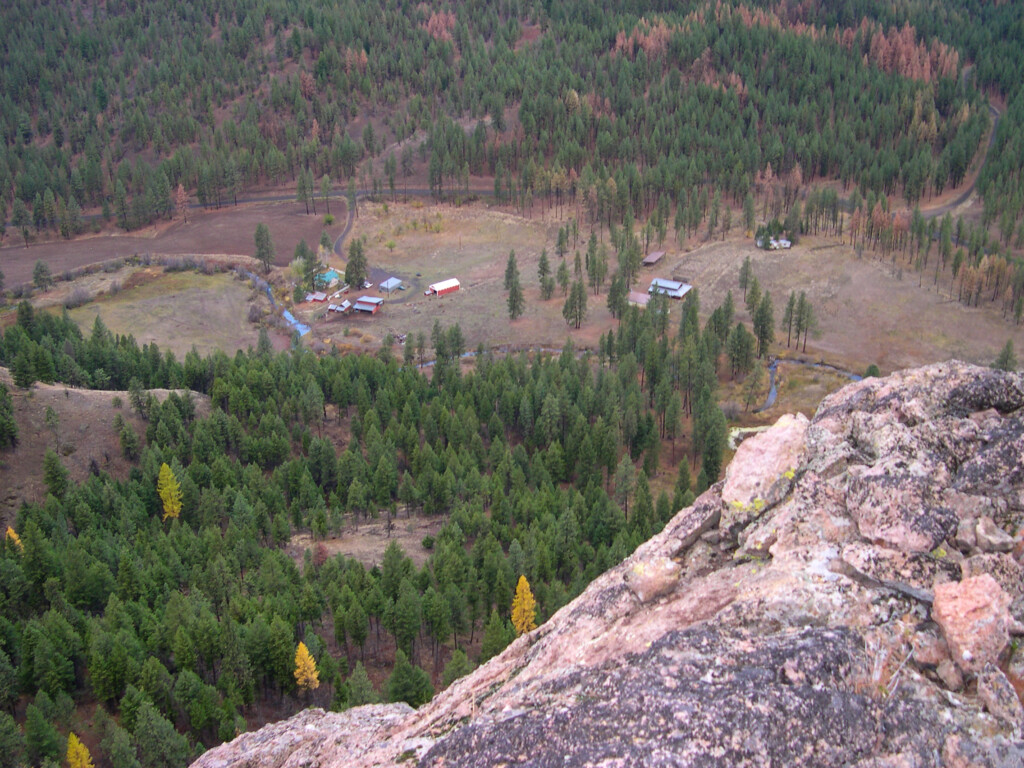
Looking SE from the summit of Steins Pillar. Below (500-700 feet below) are the farms that line the bottom of Mill Creek Valley (October 30, 2004).
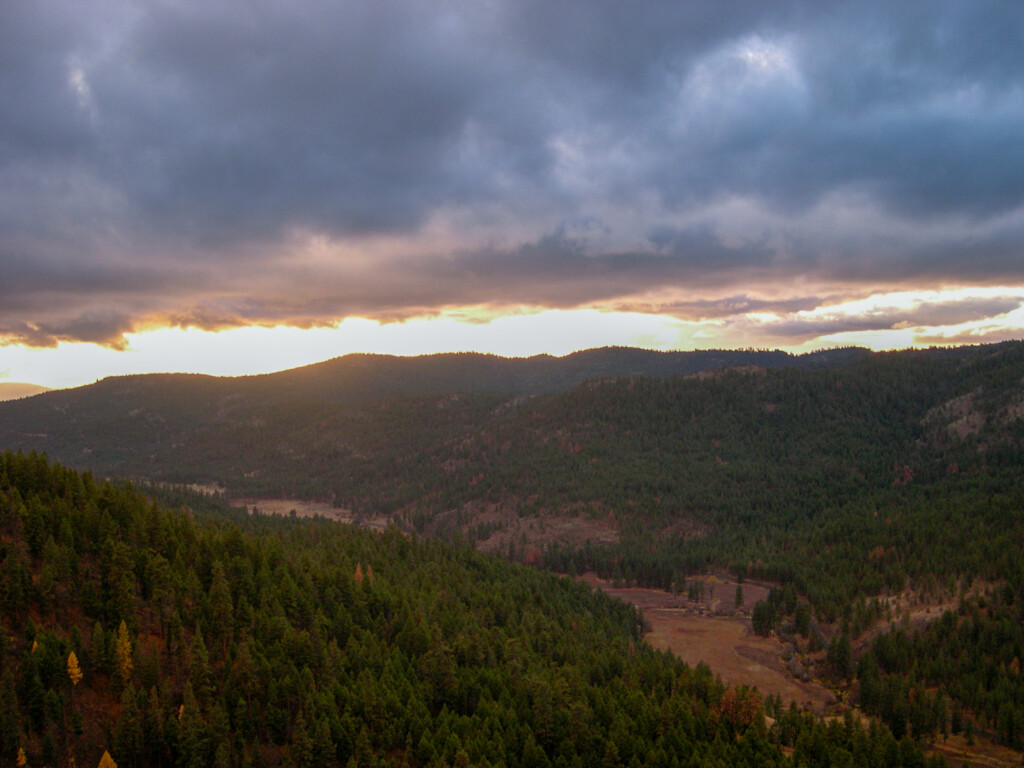
Sun getting low (Oct. 2004).
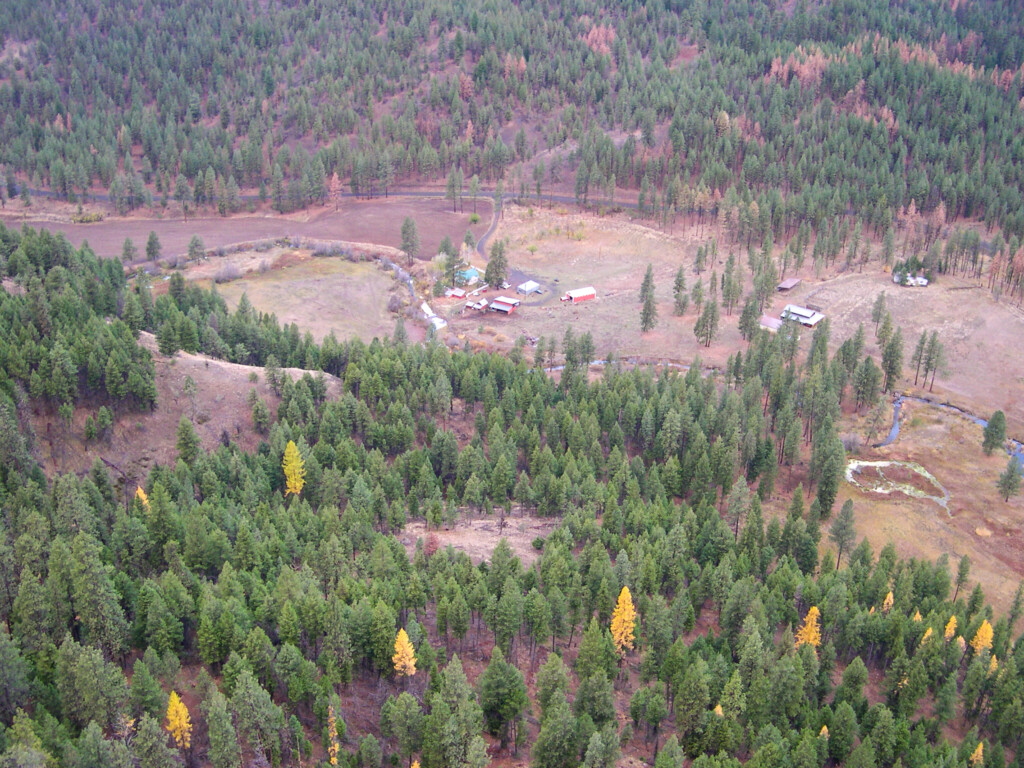
Another view of the farms below (Oct. 2004).
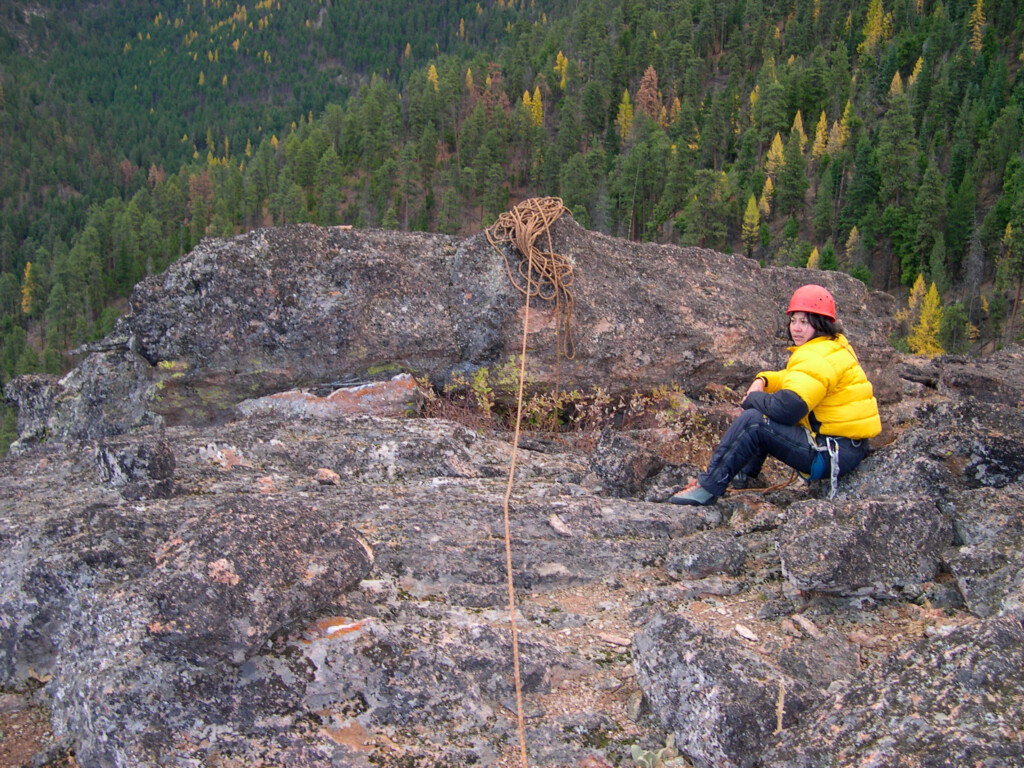
Shirley on the summit (Oct. 2004).
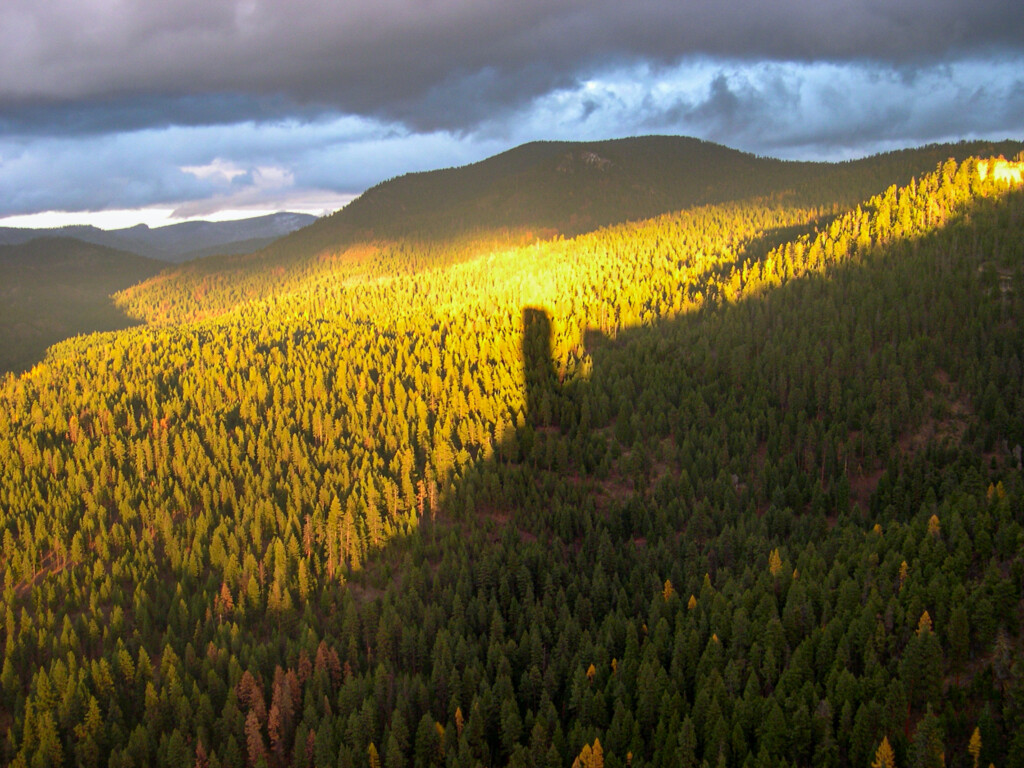
Looking west from the summit of Steins Pillar during sunset under clearing skies. Shadow of the Pillar can be seen in the foreground; Ochoco Mountains of Oregon are in the background (October 30, 2004).
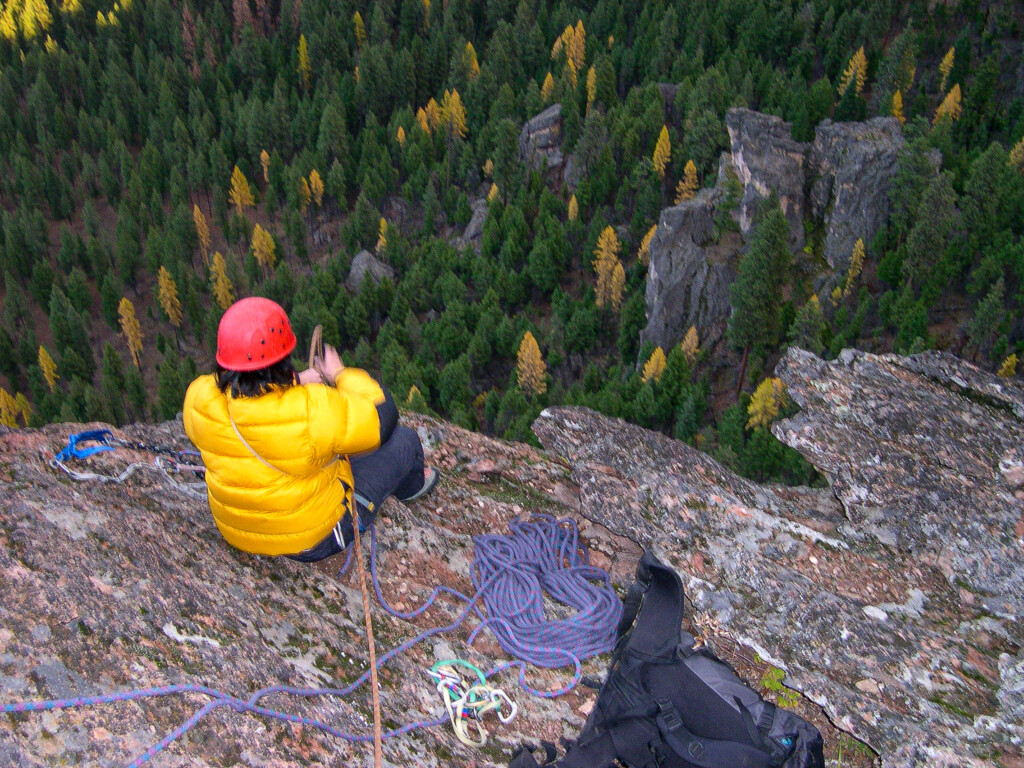
Setting up the first rap (Oct. 2004).
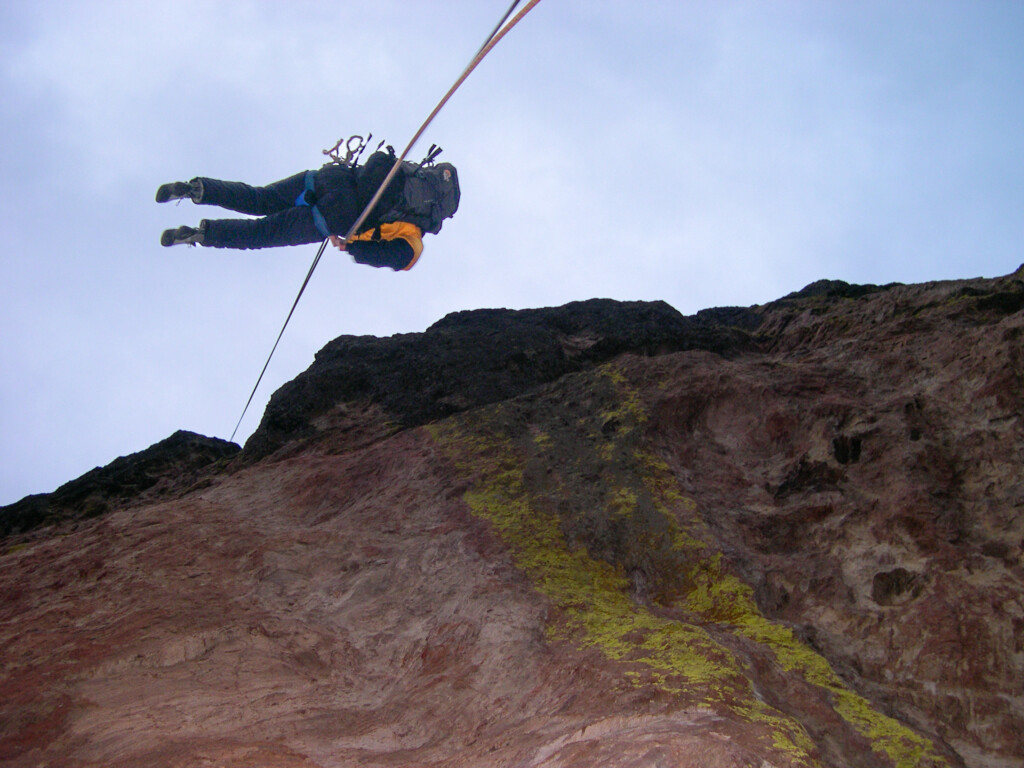
Shirley on the first rappel off the summit of Steins. One (double rope) shot to the anchors atop pitch 3. High Black Knob visible above (Oct. 30, 2004).
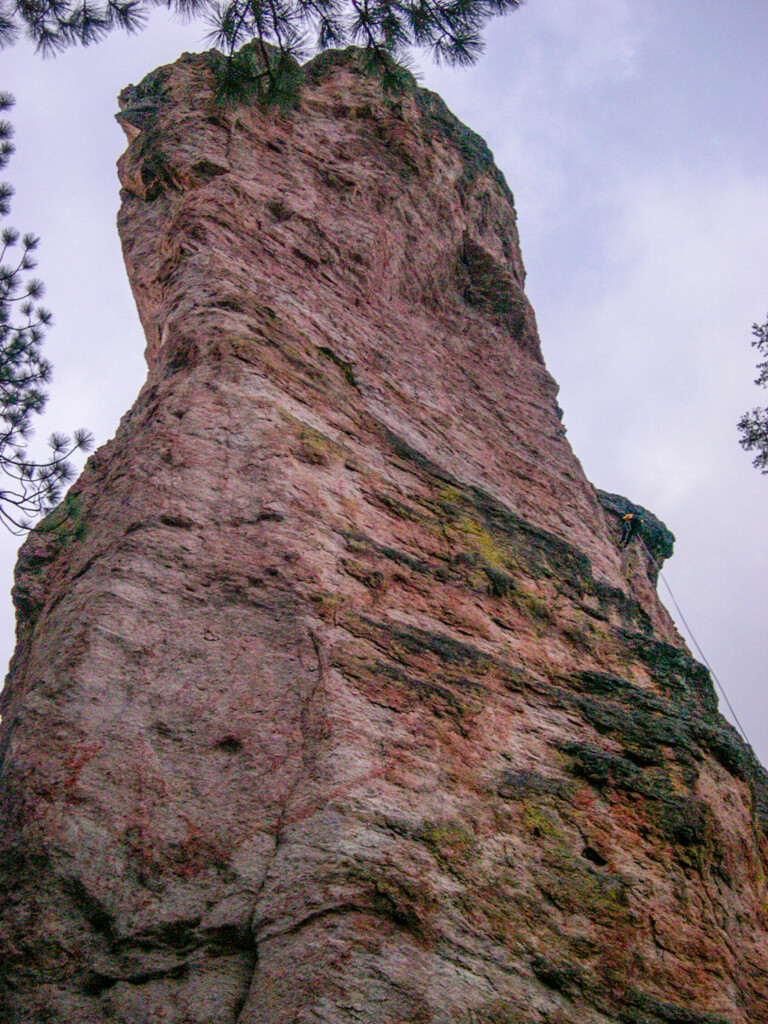
Shirley (on right skyline) on the lower of two rappells (a long 180 footer from the Split Level Ledge) in the setting sun. The photo should give a sense of the size of the pillar (October 30, 2004).
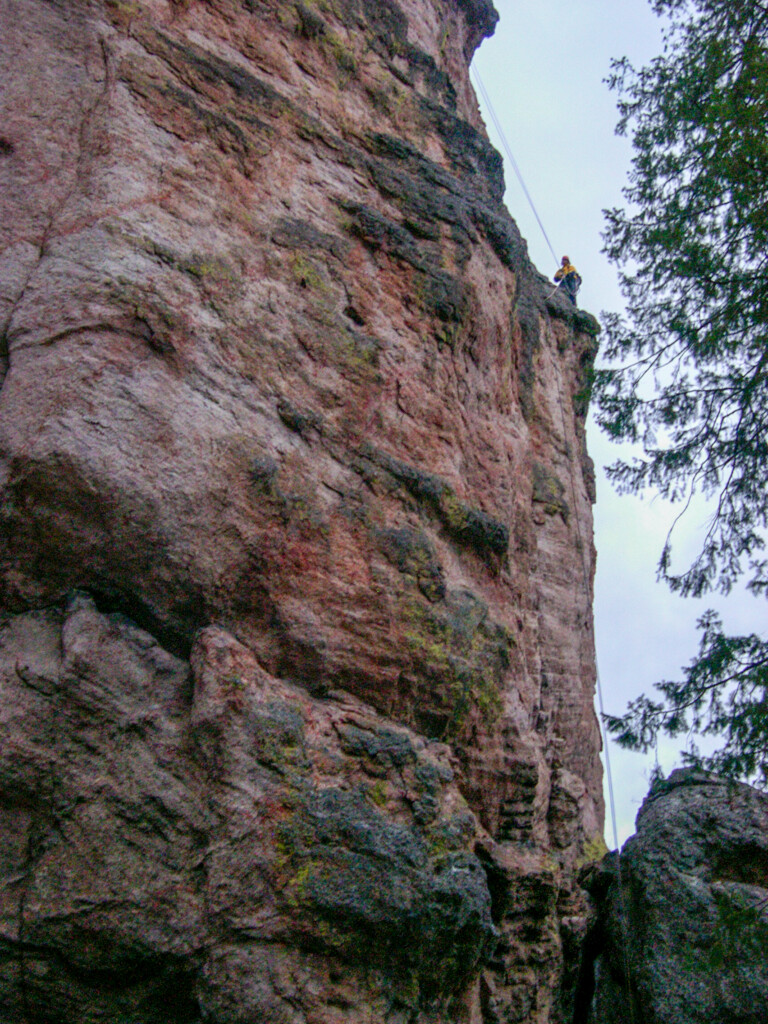
A closer look (Oct. 2004).
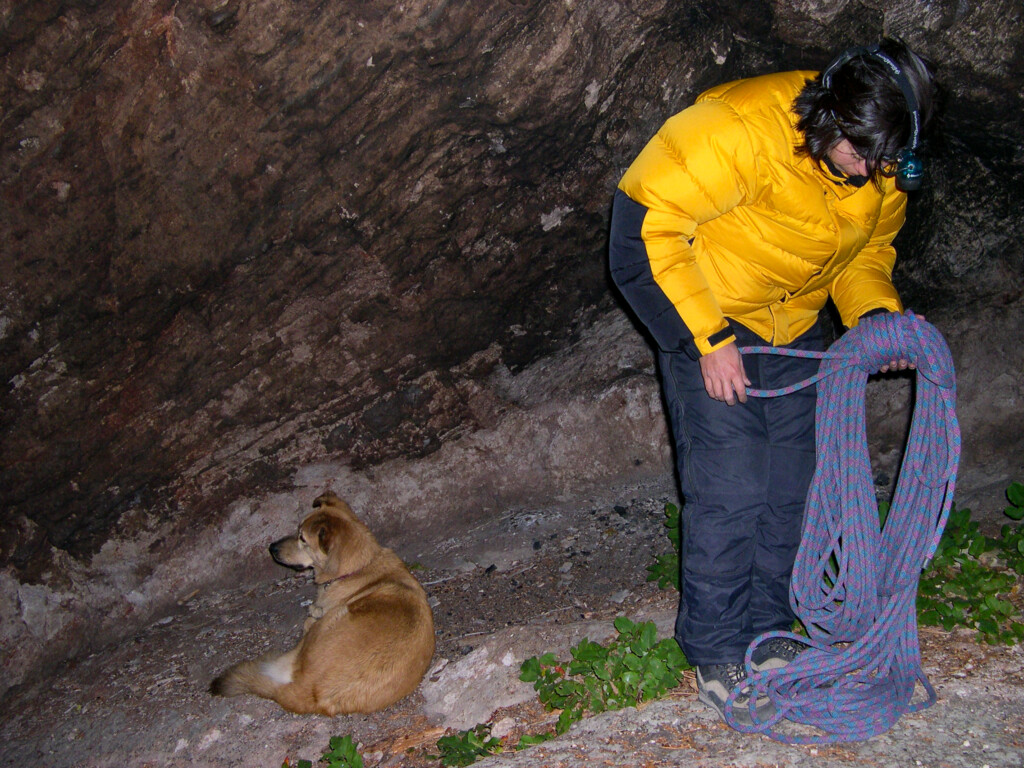
Back at the base, reunited with Blondie (Oct. 2004).
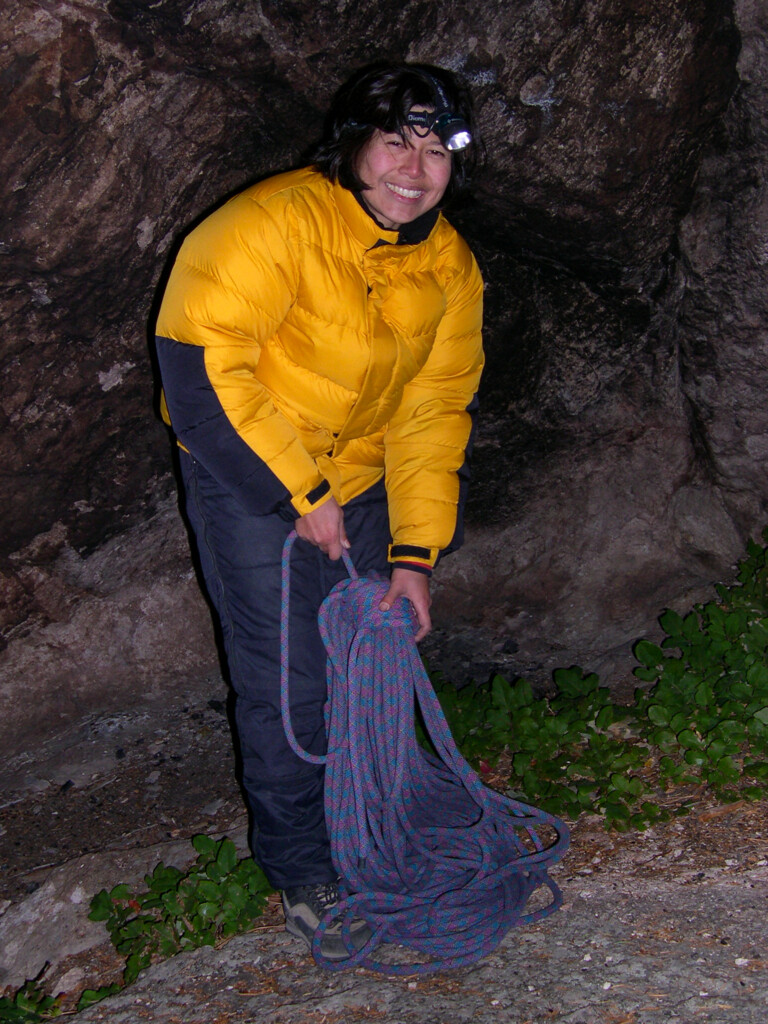
Happy to be done (Oct. 2004).
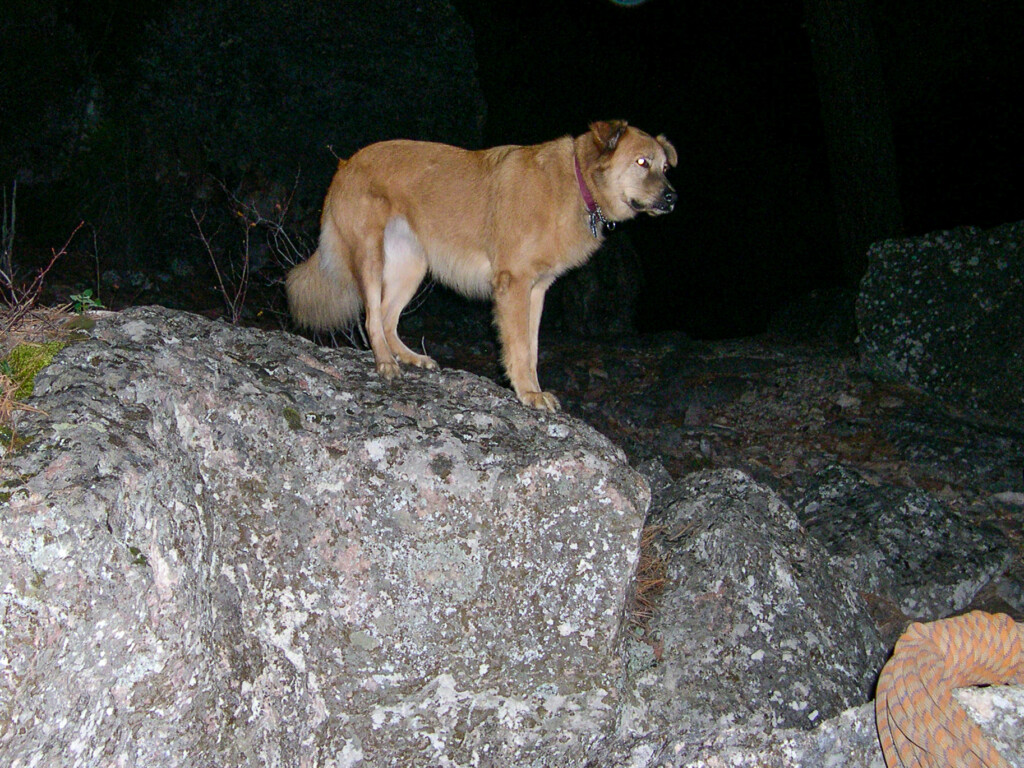
Blondie Girl (Oct. 2004).
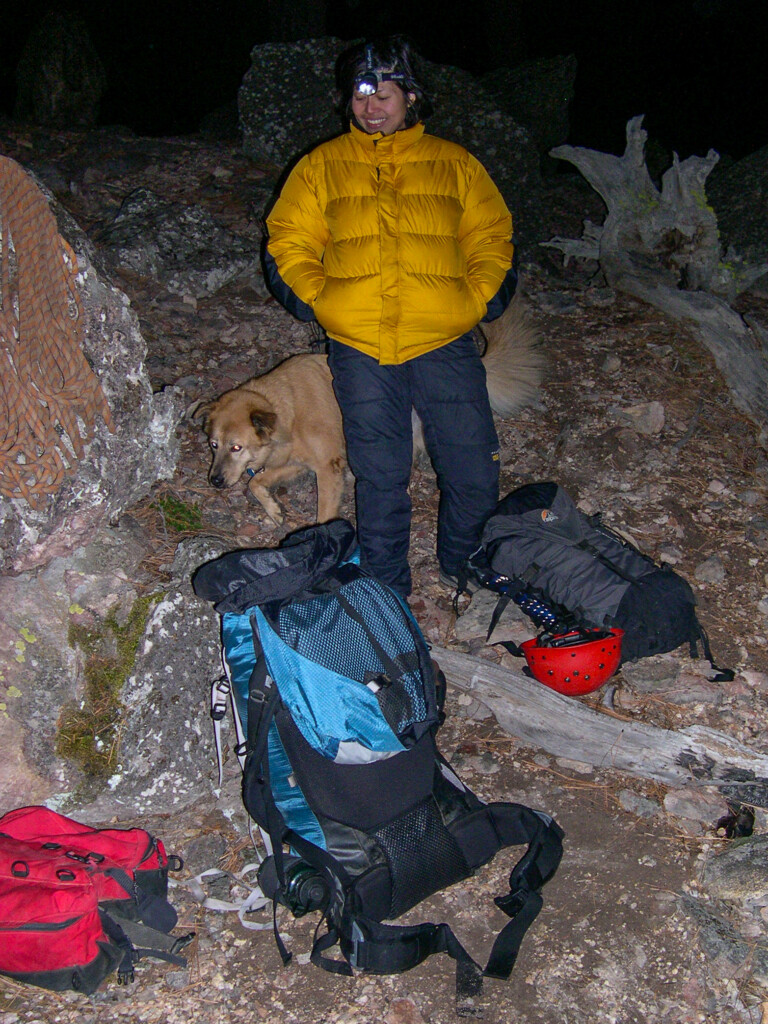
One more of Shirley and Blondie at the base of the route (Oct. 2004).
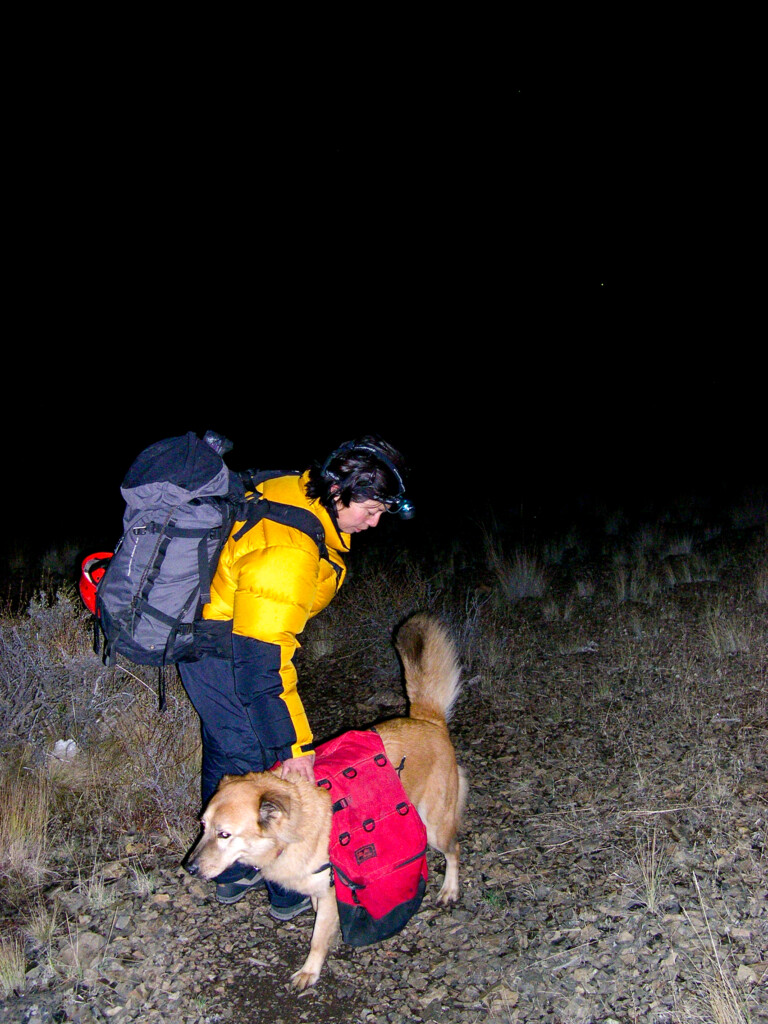
On the hike out (Oct. 2004).
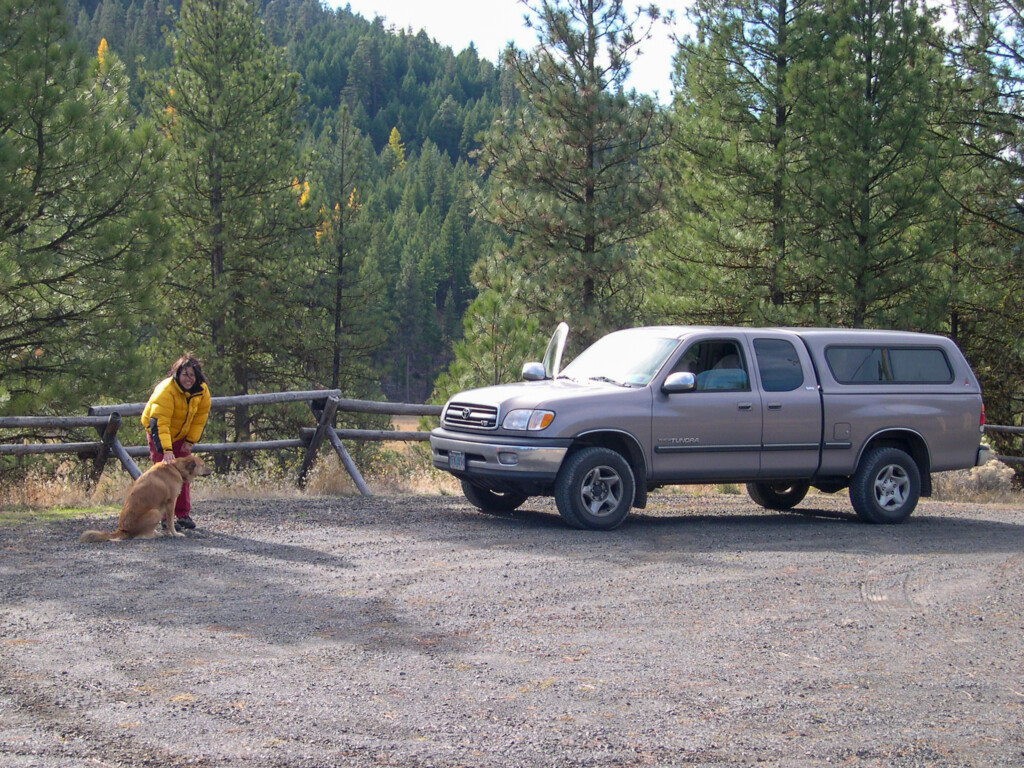
Shirley and Blondie at the overlook the following day (Oct. 2004).
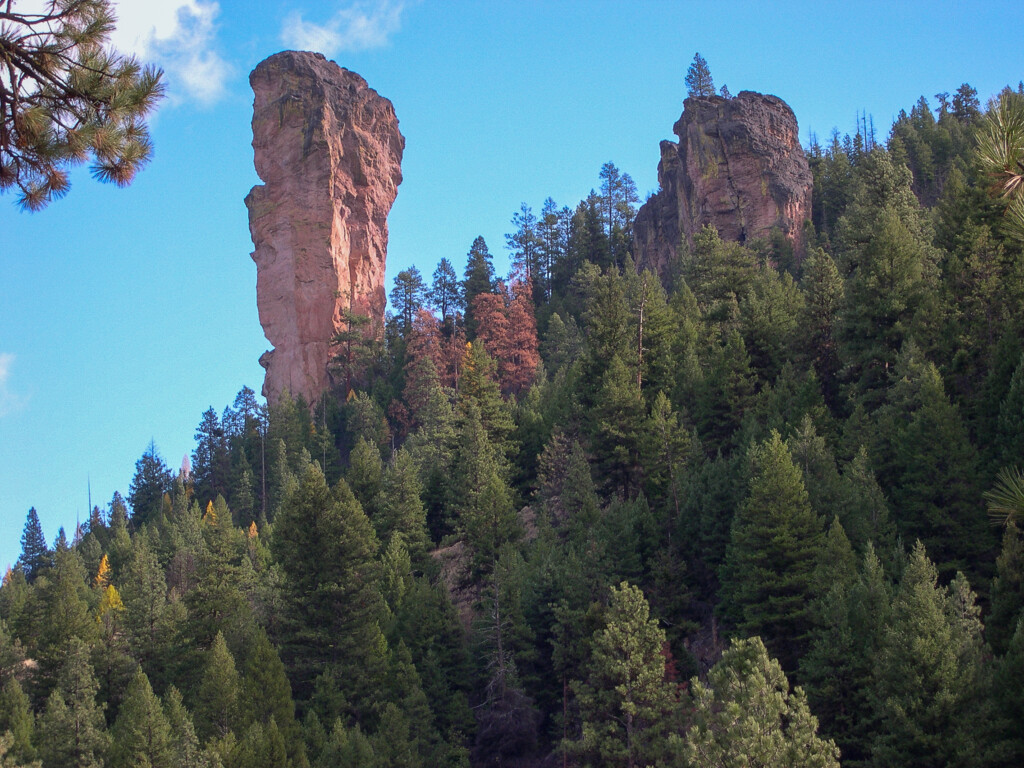
Steins Pillar from the southwest. That jumbled dihedral on the right facet is the line of Southwest Face route (Oct. 2004).
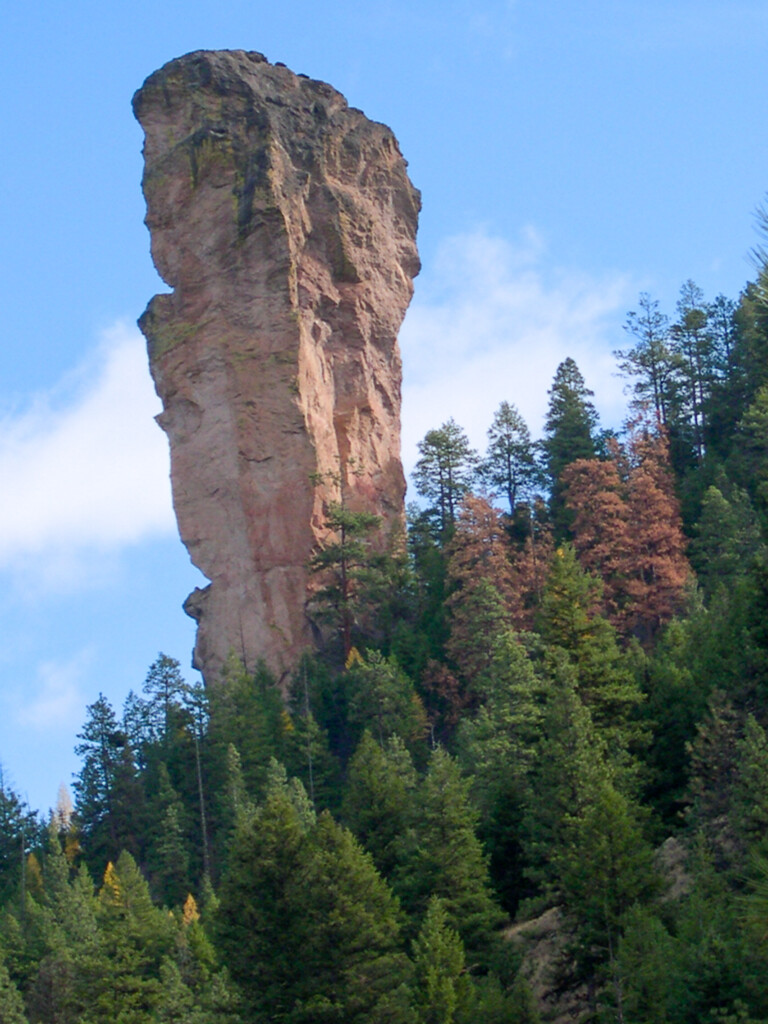
A closer look (Oct. 2004).
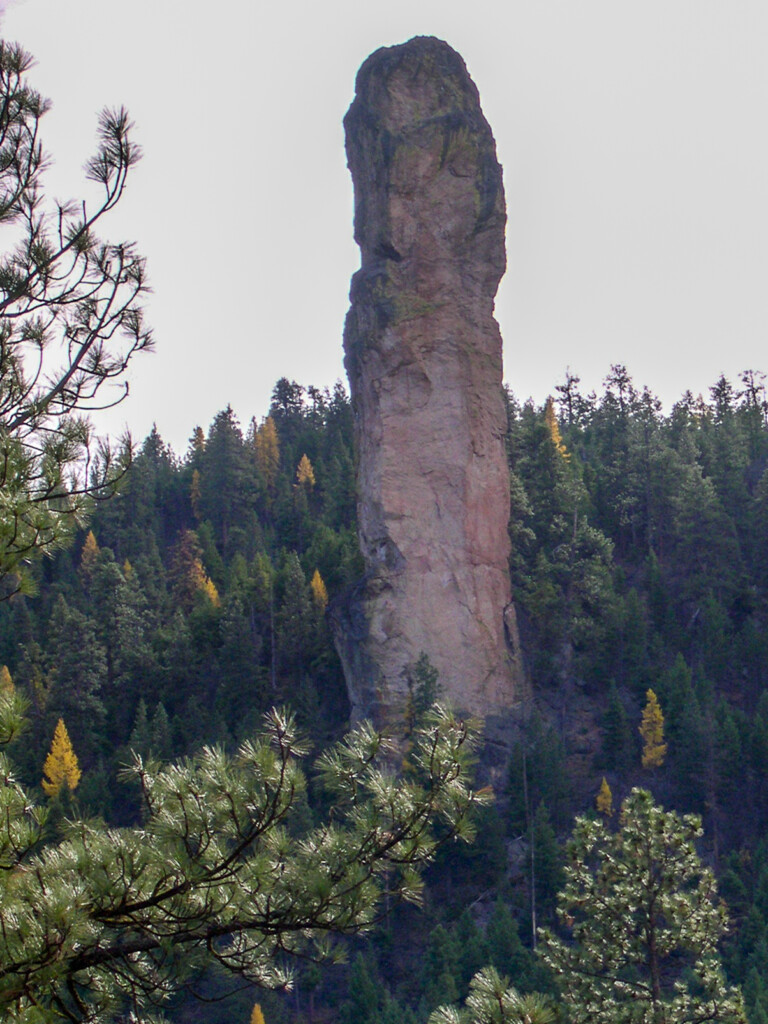
Northeast face of Steins in profile (Oct. 2004).
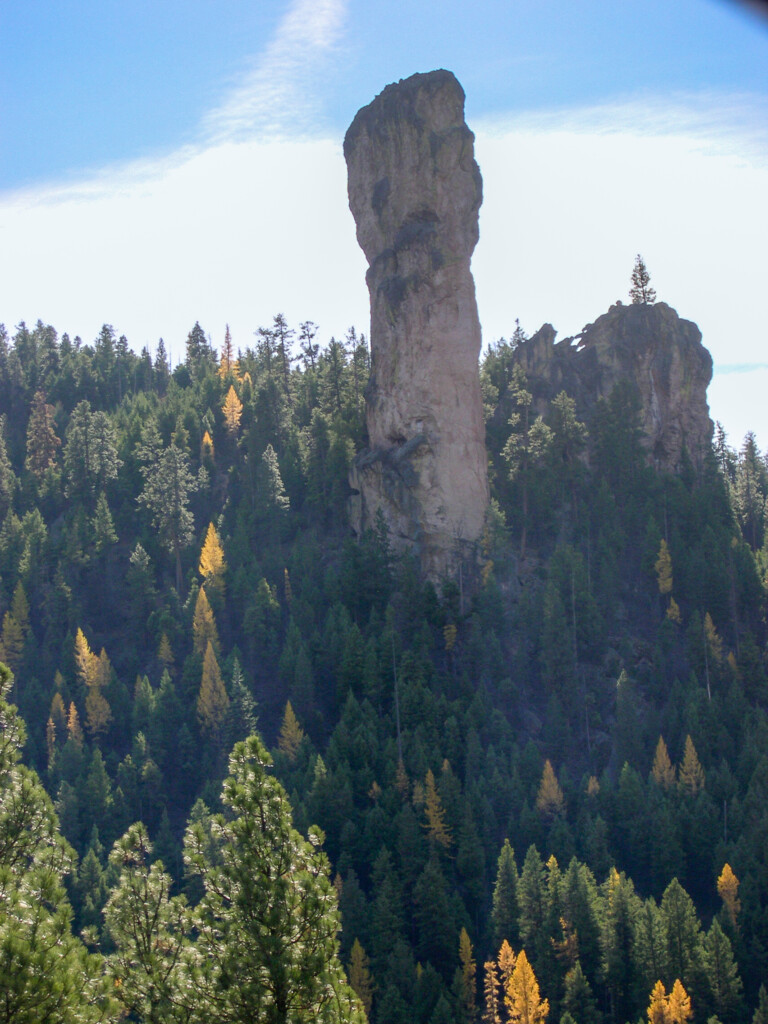
Northeast face from the overlook (Oct. 2004).

West and southwest aspects of The Pillar (Oct. 2004).

A closer look (Oct. 2004).
Go back to Steins Pillar.