Wellington 2

Go back to Tasmania.
Go back to Ben Lomond 2.

Cape Hauy

Hey now.


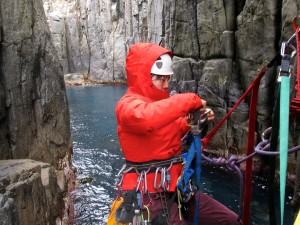
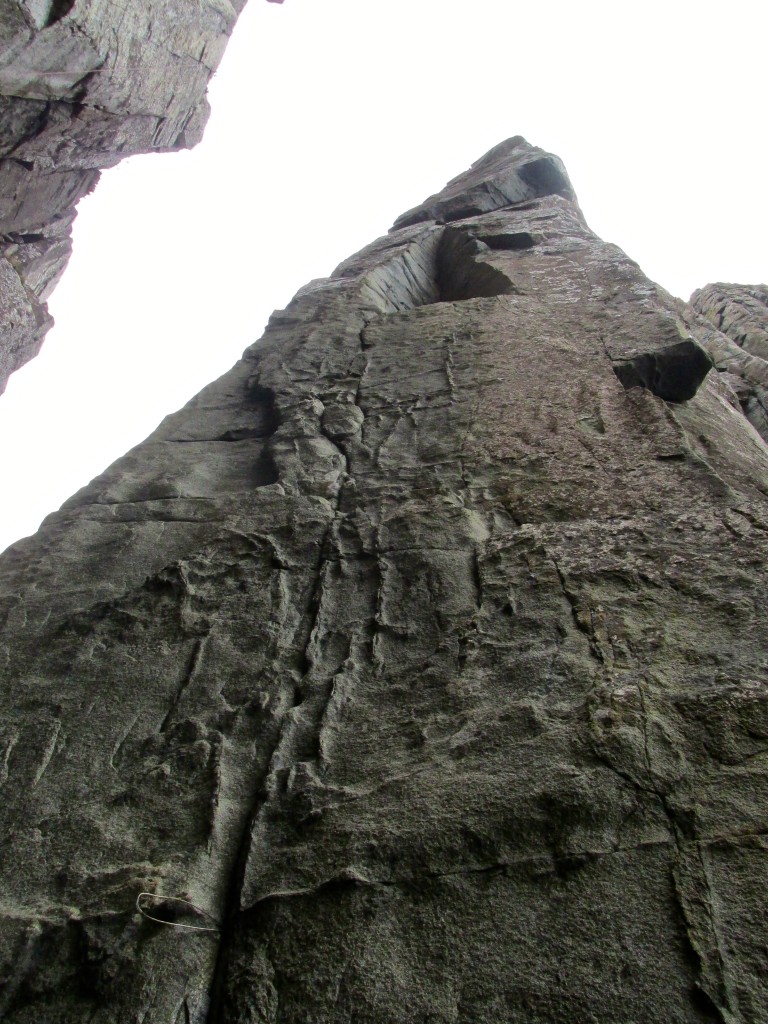
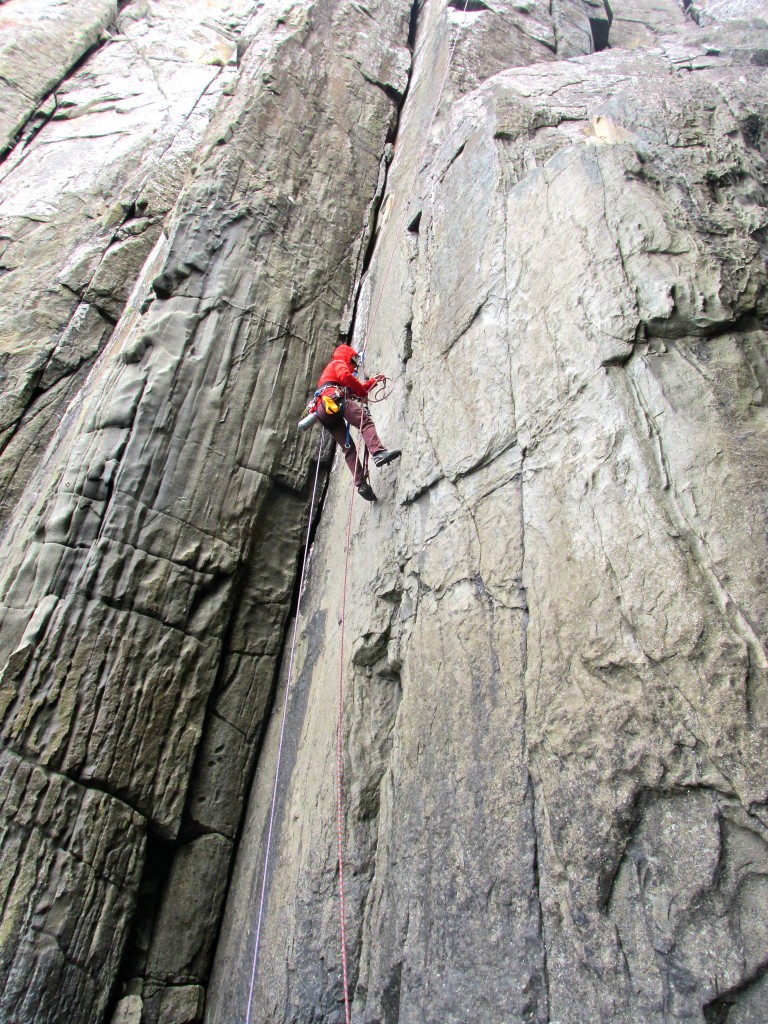
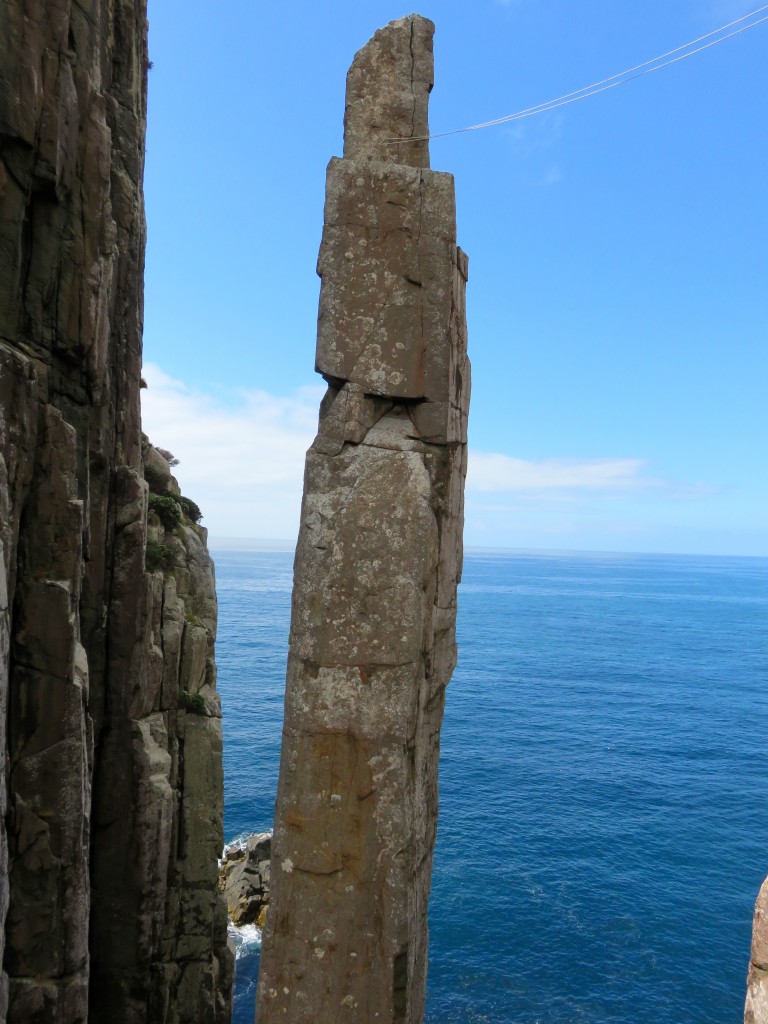
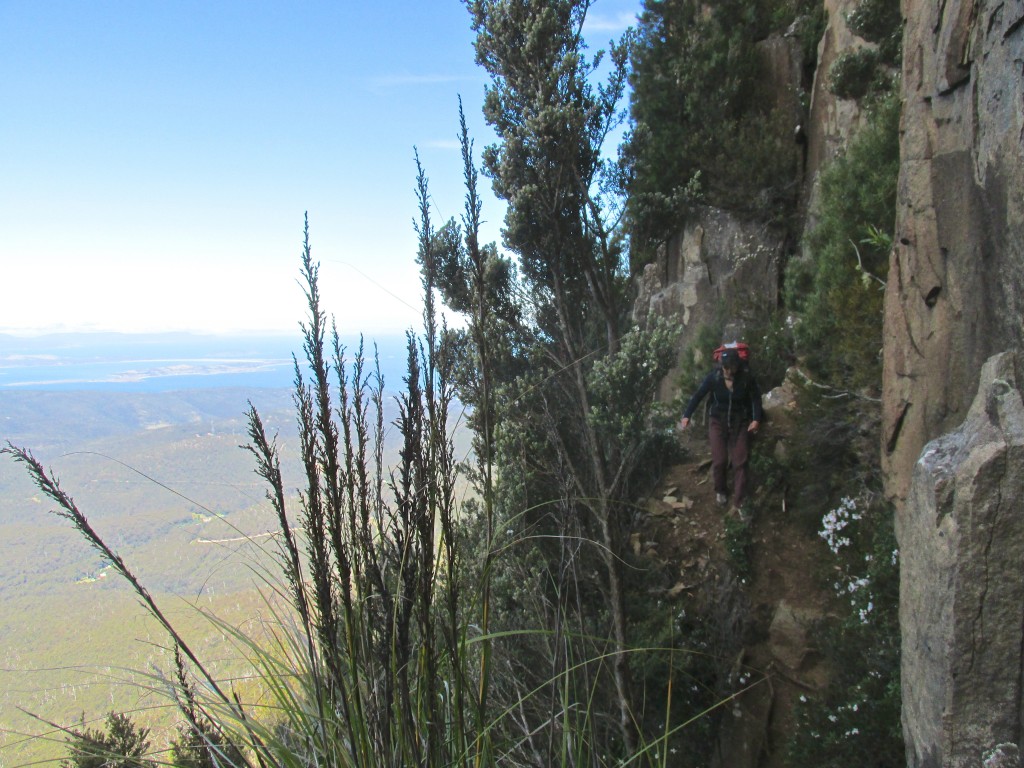
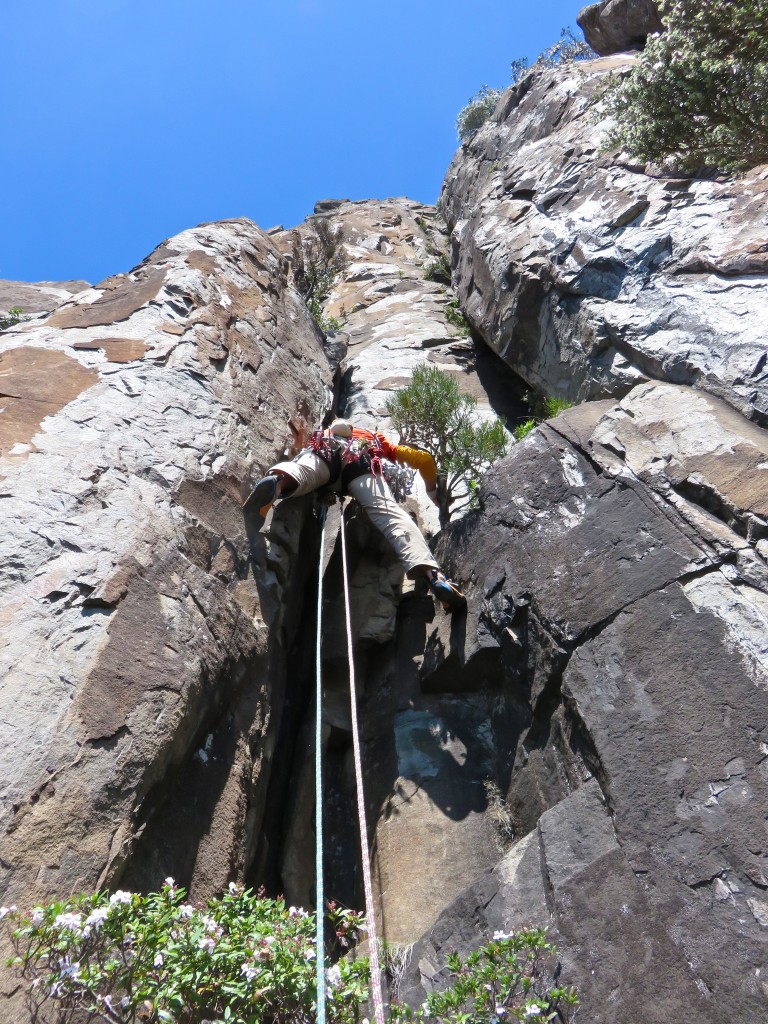
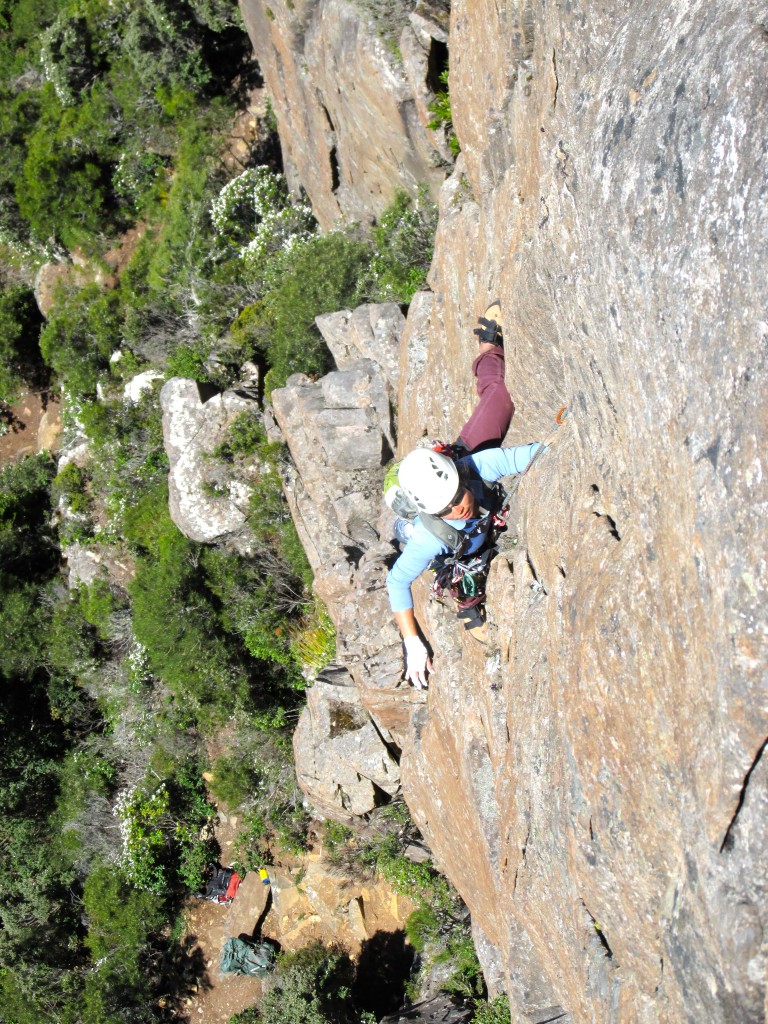
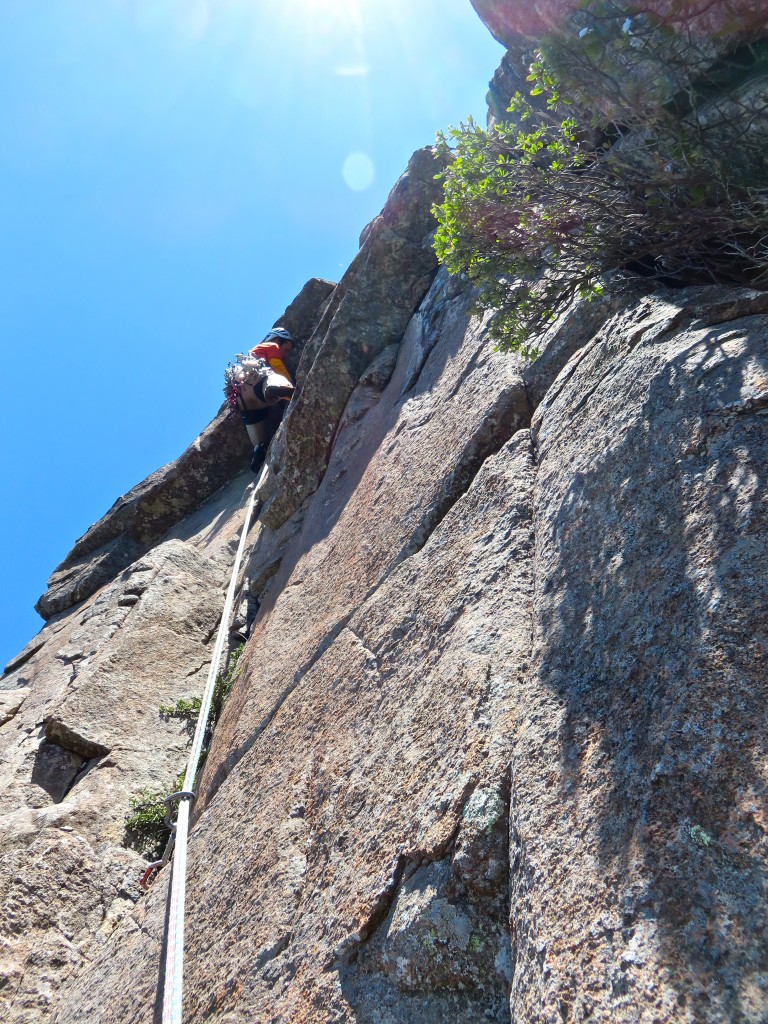
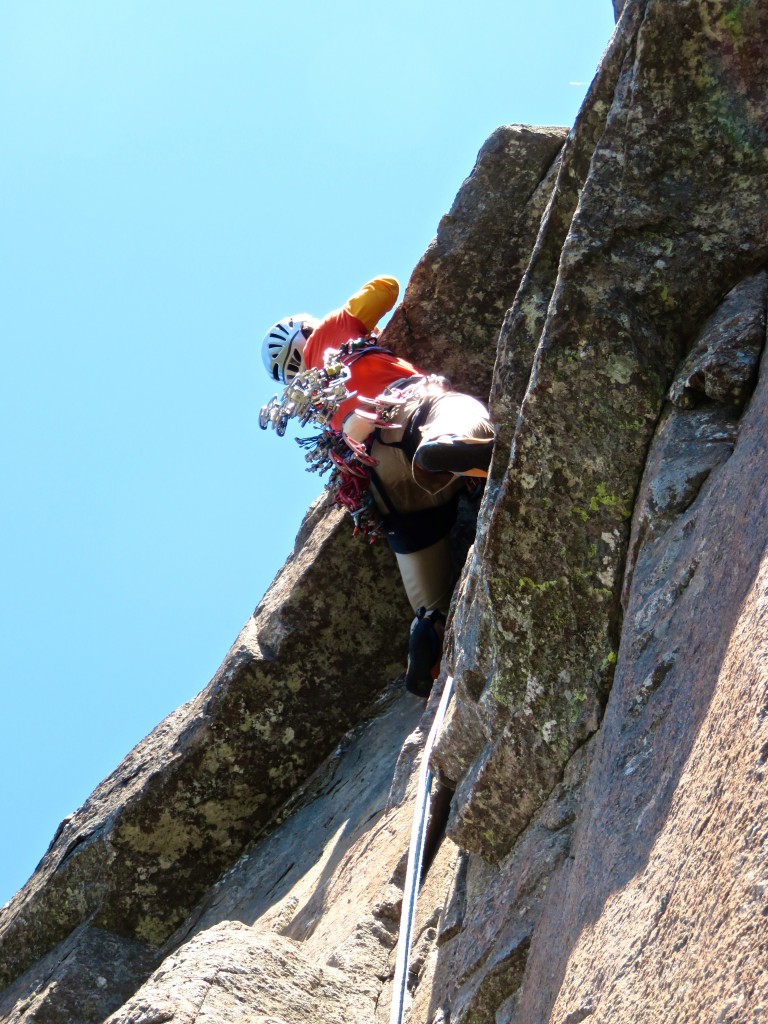
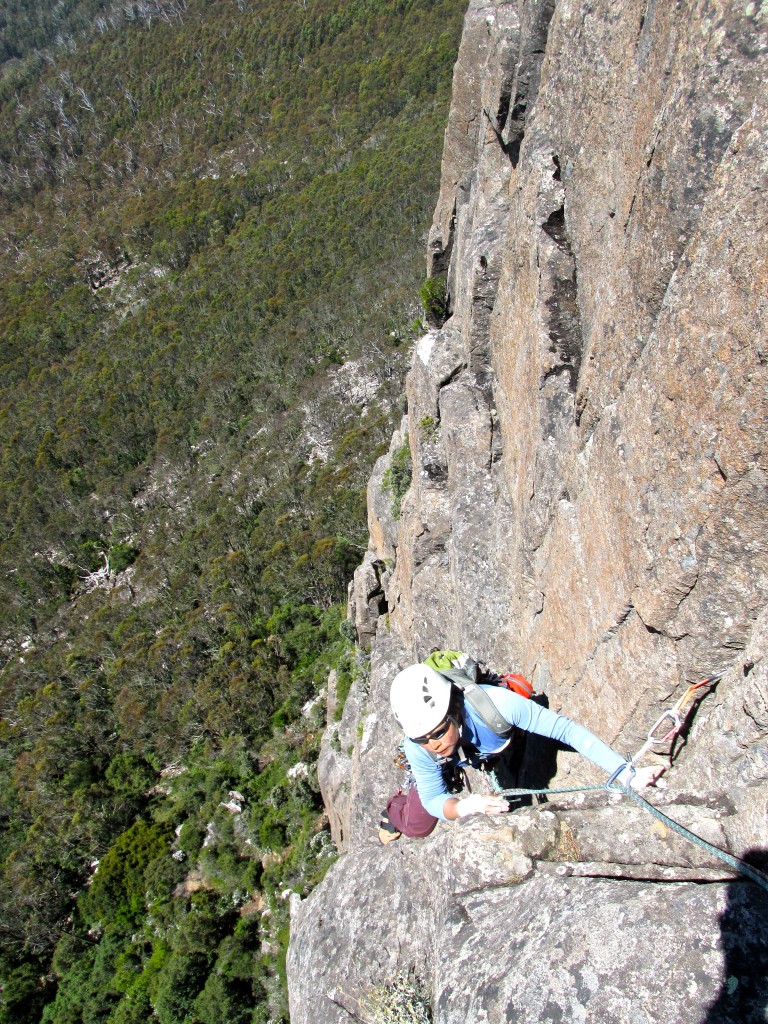
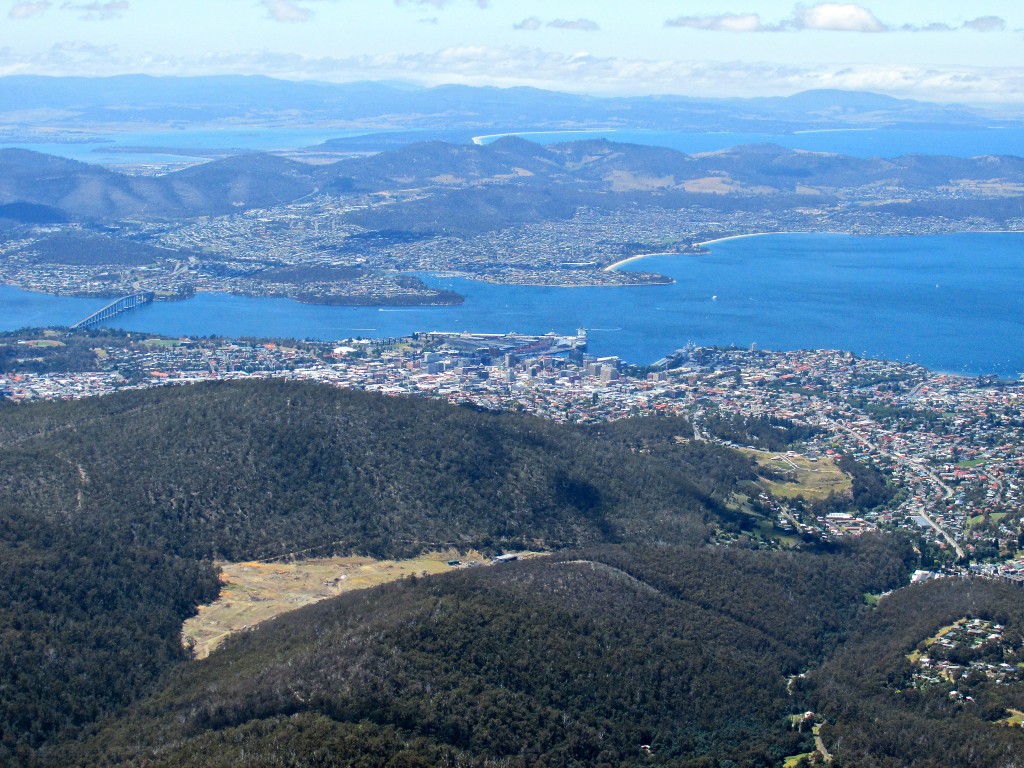
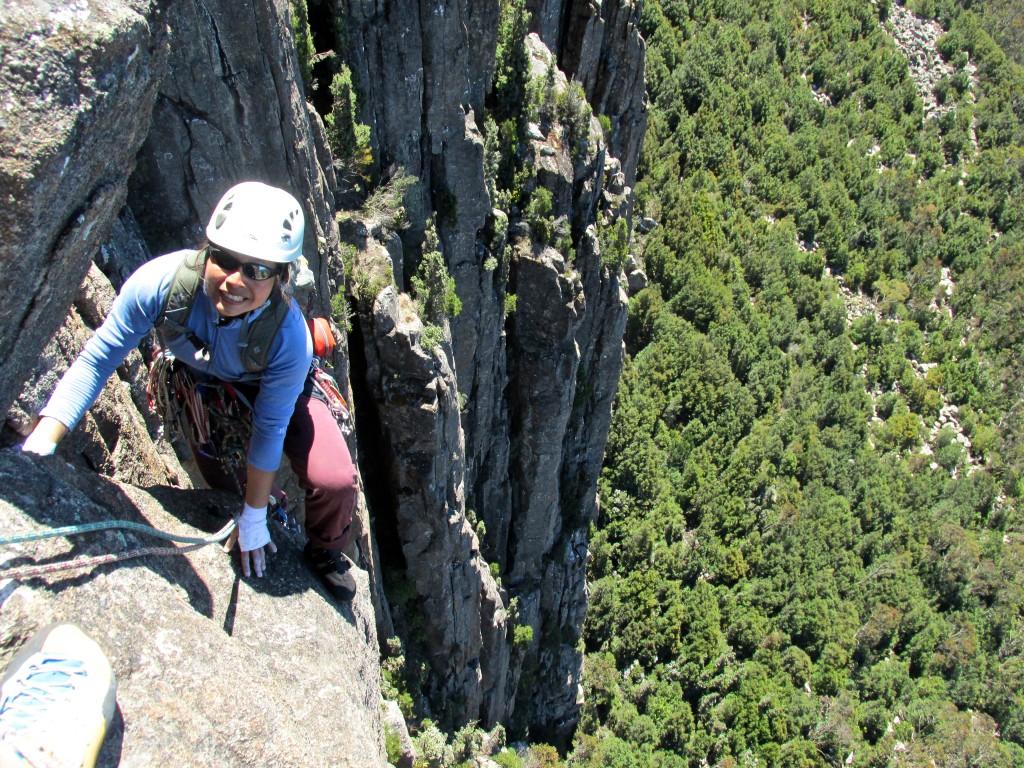
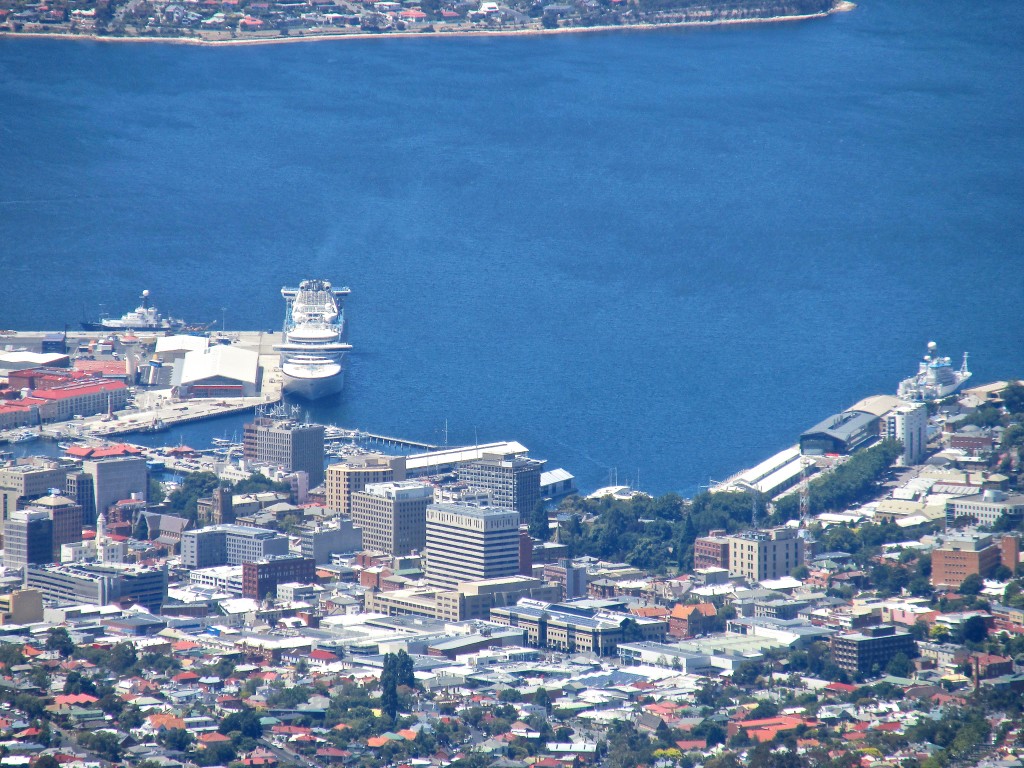
We made a half-assed attempt on the Tote’s aid route. Wrong mind set on my part…think more St. Peters Dome vs. Steins Pillar. Backed off and we bailed. We also went back to Mount Wellington and climbed the three-pitcher called Third Bird – a highly sandbagged if enjoyable 18. This time we had good weather and pretty views of Hobart some 1200 meters lower.

Tote Bail Video

Cape Hauy

Click for video.

Photos

Cape Hauy

Some kayakers on the Fortescue Bay side of Cape Hauy (Jan. 2015).


Cape Hauy

The 65 meter Totem Pole (note somebody’s fixed tyrolean ropes) and the 110 meter Candlestick (Jan. 2015).


Cape Hauy

Candlestick (left) and The Totem Pole poking through on the right (Jan. 2015).


Cape Hauy

Candlestick and The Tote (Jan. 2015).


Cape Hauy

At the base of The Tote.


Cape Hauy

Start of the aid route fail on The Tote.


Cape Hauy

View up the Ewebank Route on The Tote (Jan. 2015).


Cape Hauy

Shirley on the jog of shame back to the rim (Jan. 2015).


Cape Hauy

Totem Pole and The Candlestick (on left) from Cape Hauy (Jan. 2015).


Cape Hauy

The Totem Pole – 65 meters in total, here the upper third is visible (Jan. 2015).


Cape Hauy

Shirley chilling with The Candlestick and Mitre Island visible beyond (Jan. 2015).


Cape Hauy

Hiking back along Cape Hauy. The Monument Stack is visible below (100 m swim required).


Cape Hauy

High zoom view of The Moai from Cape Hauy (Jan. 2015).


Cape Hauy

An half-meter long lizard crossing our trail on the hike out (Jan. 2015).


Cape Hauy

Same guy.


Mount Wellington

Exposed traverse along the base of Central Buttress of the Organ Pipes on Mount Wellington (Jan. 2015).


Third Bird

Leading pitch one of Third Bird (18…sandbag…) on the Central Buttress of Organ Pipes on Mount Wellington (Jan. 2015).


Third Bird

Shirley on pitch one of Third Bird (Jan. 2015).


Third Bird

Pitch two takes you up to and through the roof…harder than it looks from below we though (Jan. 2015).


Third Bird

The crux of the route – pitch 2 roof (Jan. 2015).


Third Bird

Shirley on Third Bird (Jan. 2015).


Third Bird

Looking towards Hobart from Third Bird route on Mount Wellington (Jan. 2015).


Third Bird

Shirley topping out on Third Bird (pitch 3).


Third Bird

Hobart with a docked cruise ship as seen from top of Organ Pipes (Jan. 2015).

Go to Freycinet 2.
Go back to Tasmania.