Go back to Southeastern Australia Roadtrip.
Go back to Warrumbungles Failure.
Arapiles.
Photos
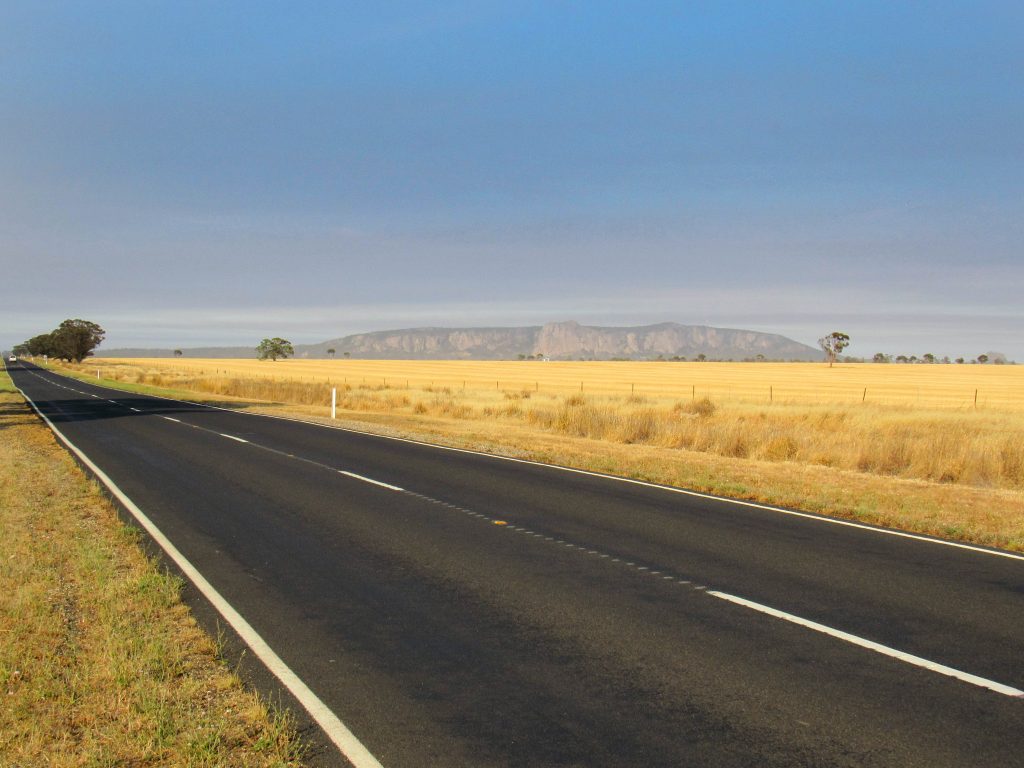
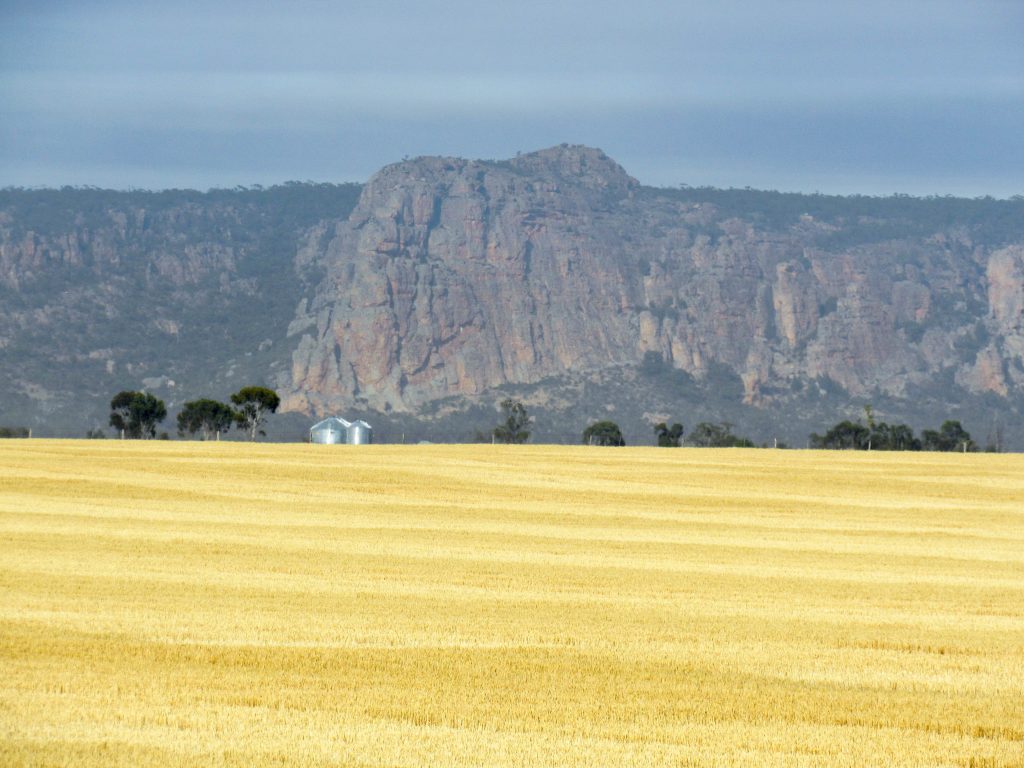
Mount Arapiles from the drive (Dec. 2019).
Bard Buttress (left) and Tiger Wall Dec. 2019).
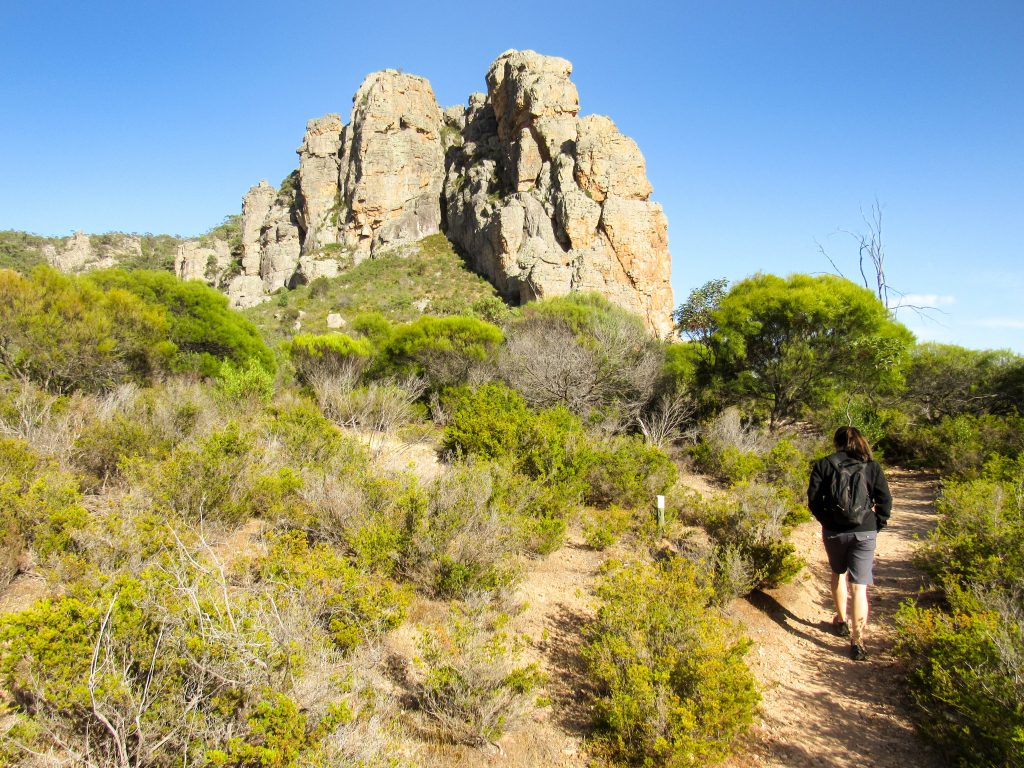
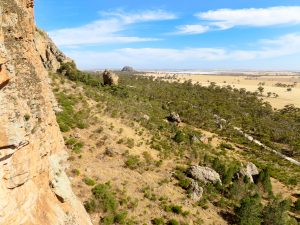
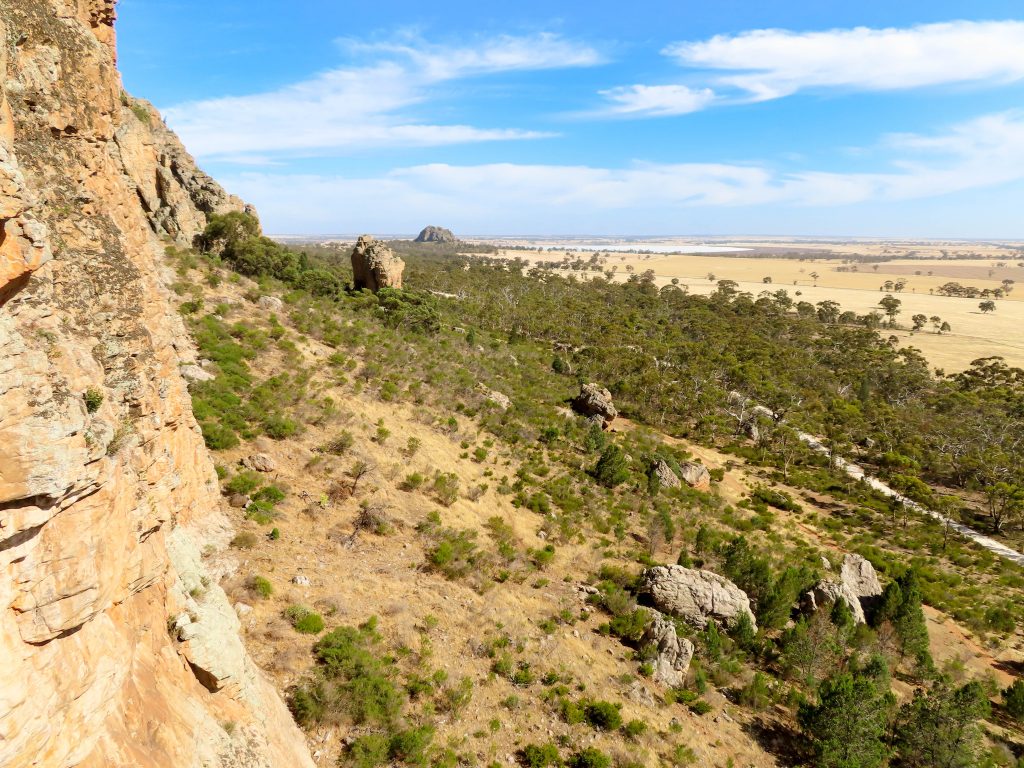
Hiking in on our first day at Mount Arapiles. The Bard formation is visible on the right side of the gully (Dec. 2019).
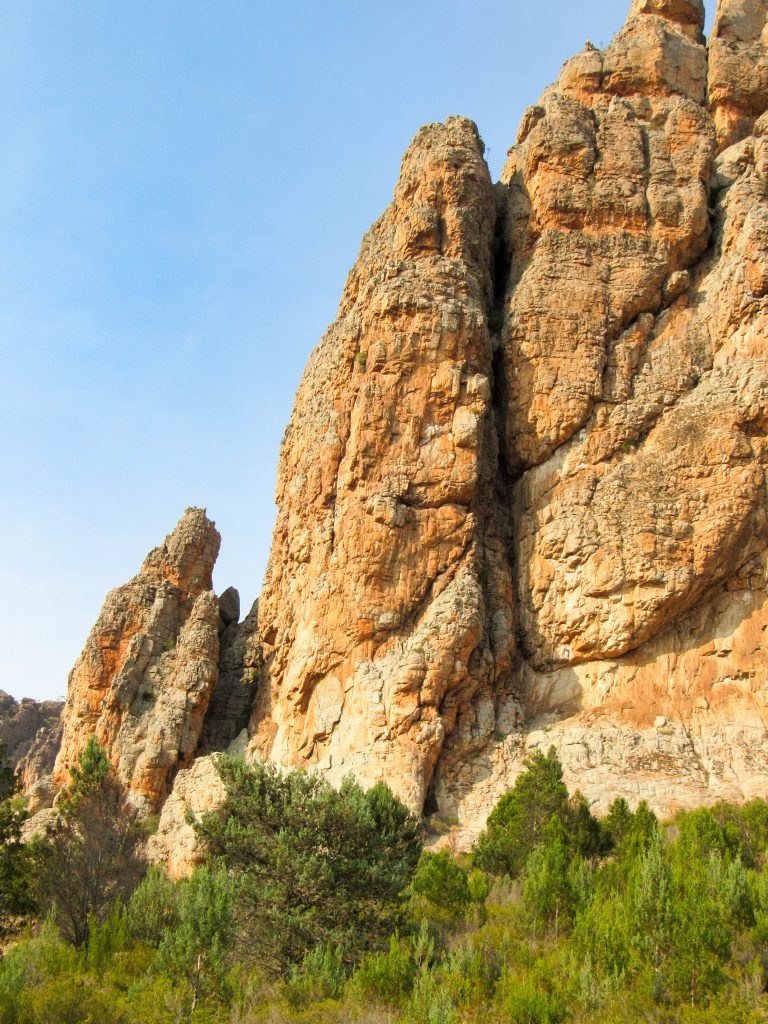
Bard Buttress. The route Bard climbs the obvious features on the face (Dec. 2019).
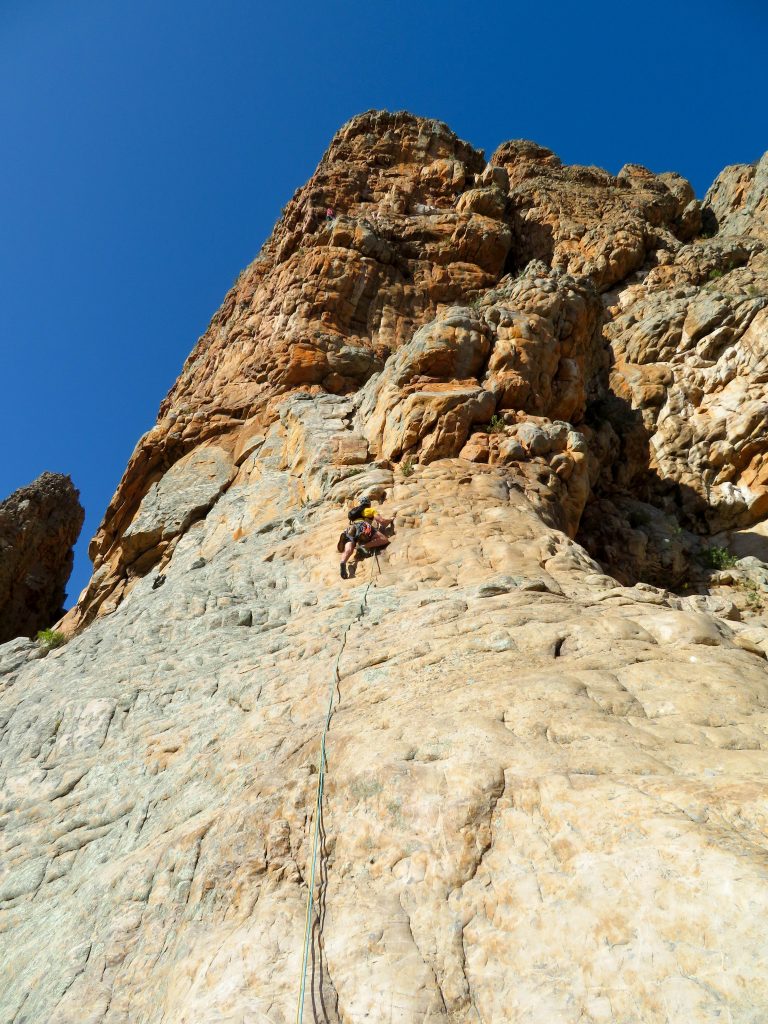
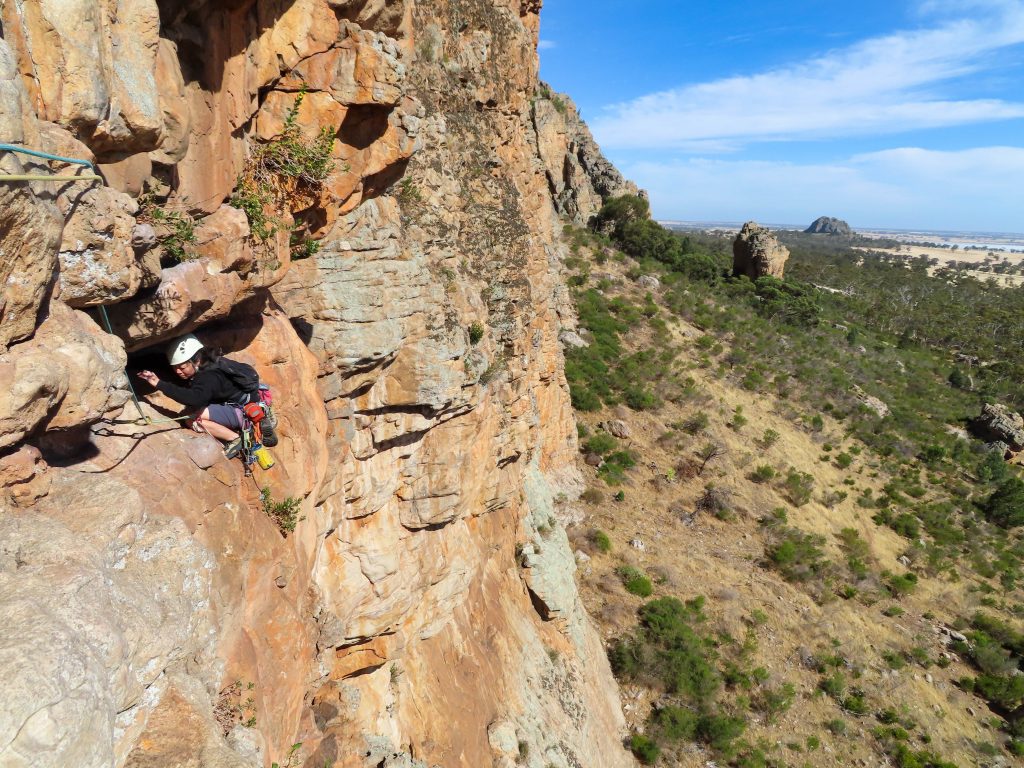
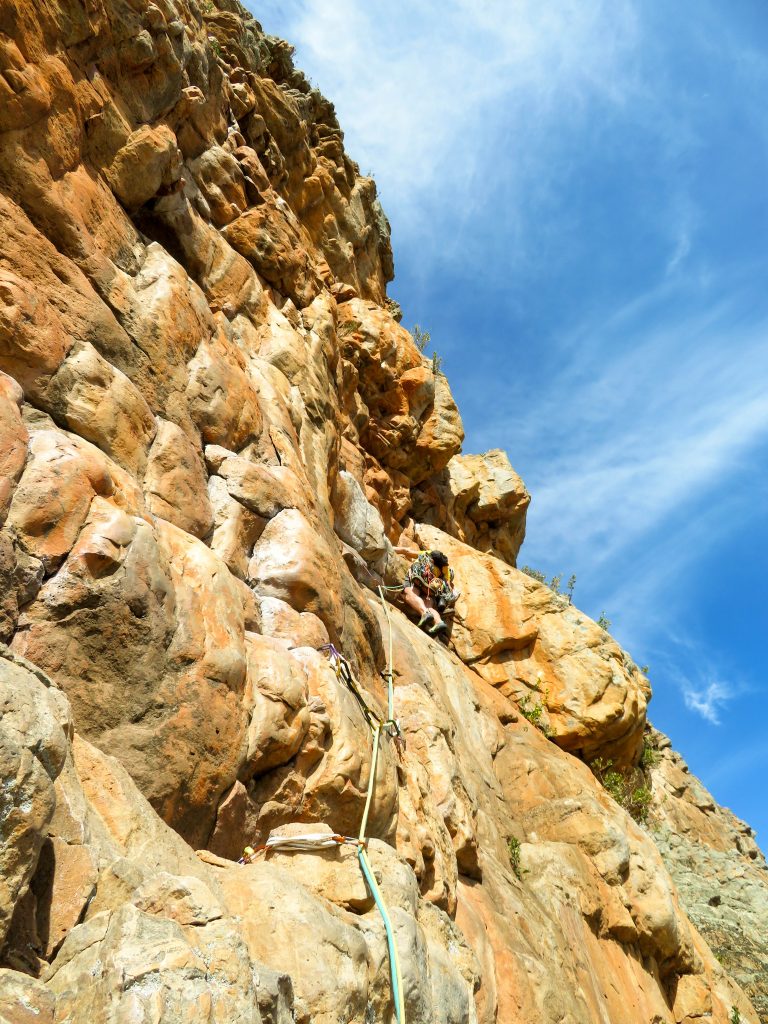
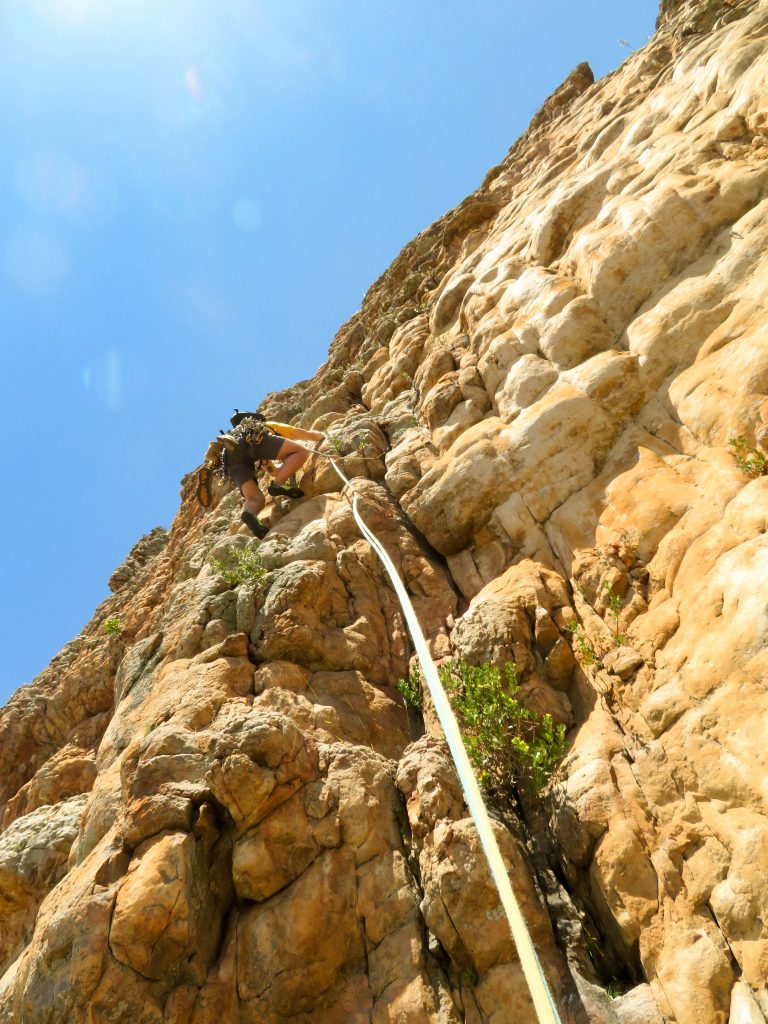
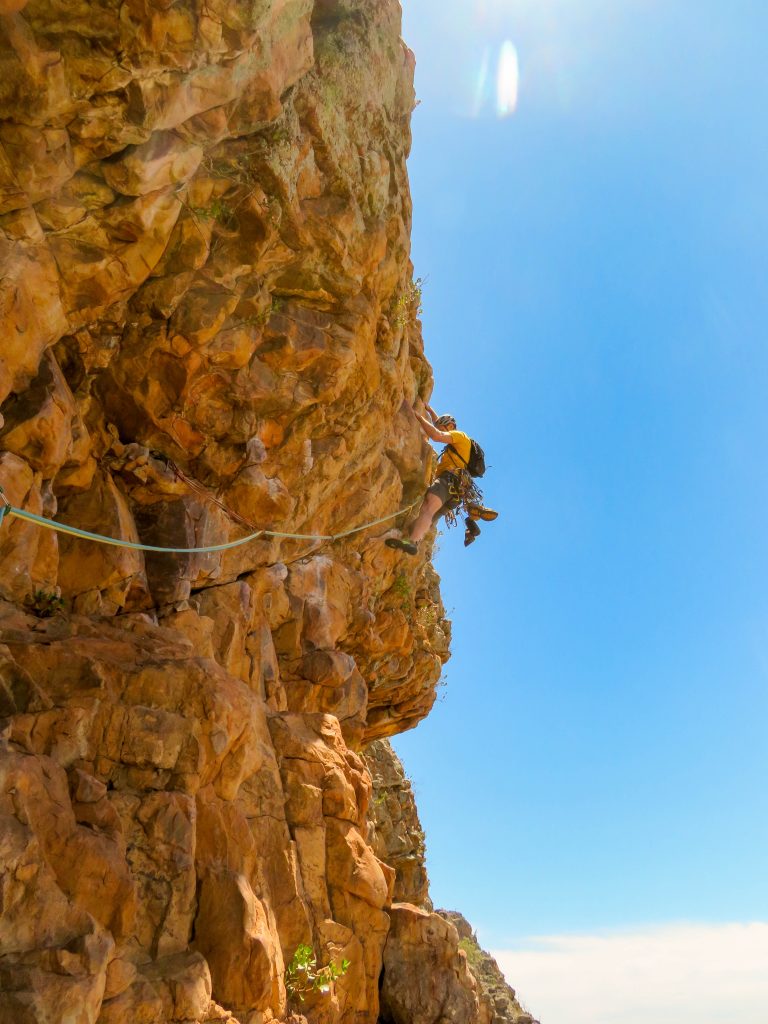
Leading the first pitch of the Bard route on the Bard Buttress (Dec. 2019).
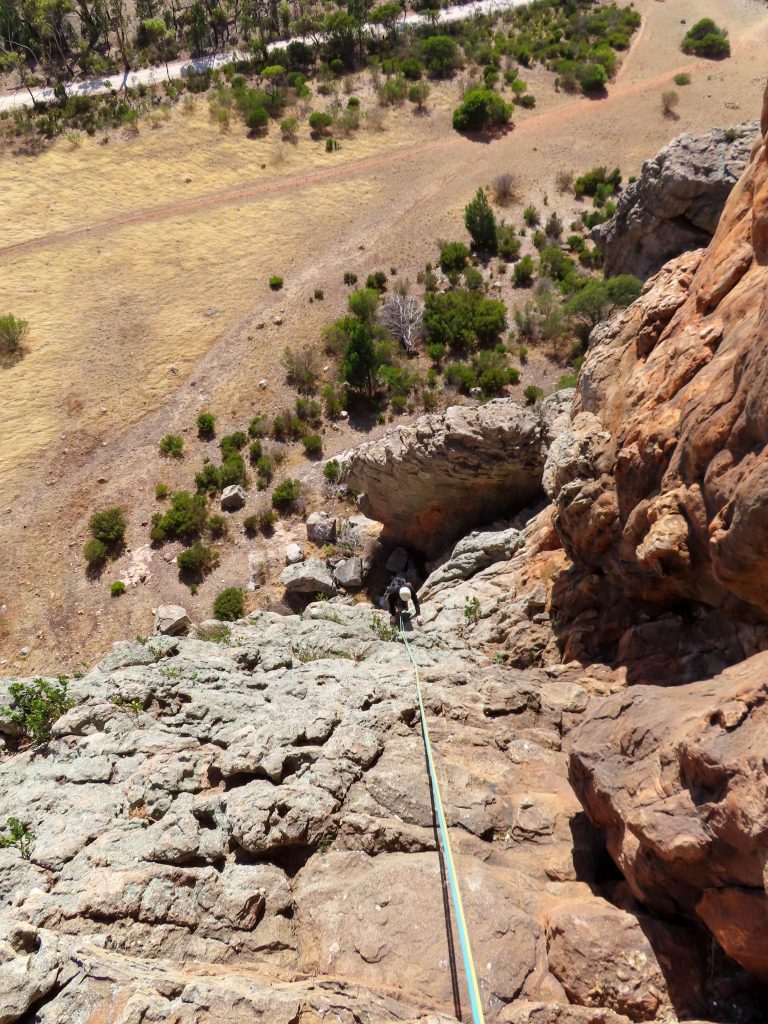
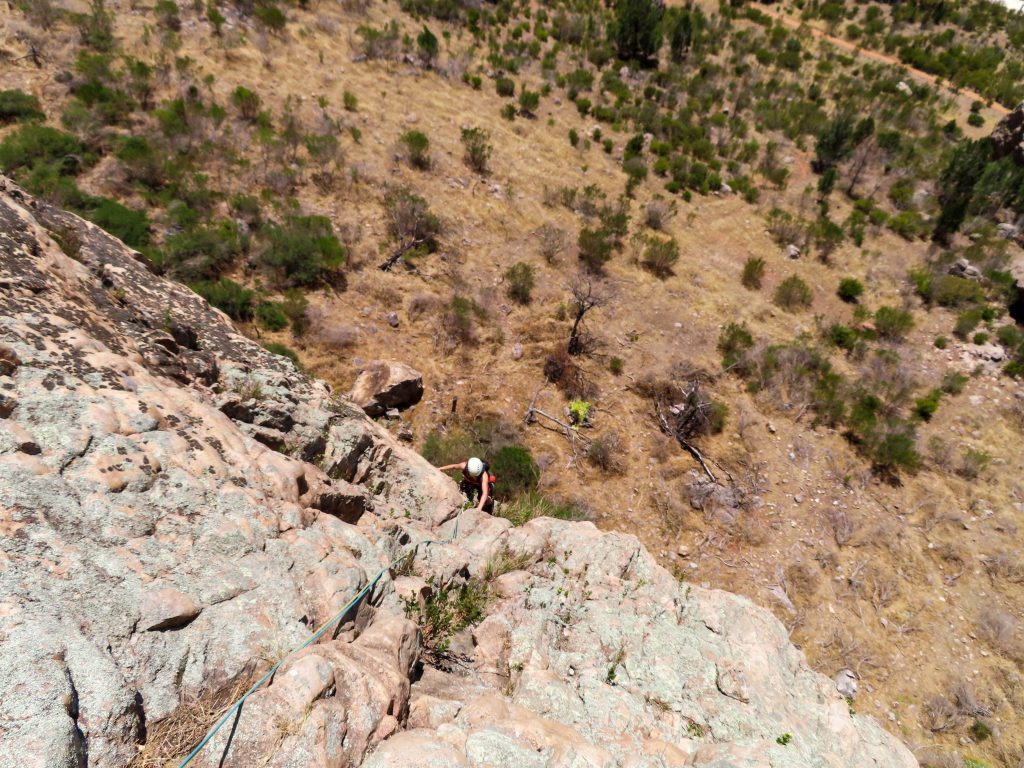
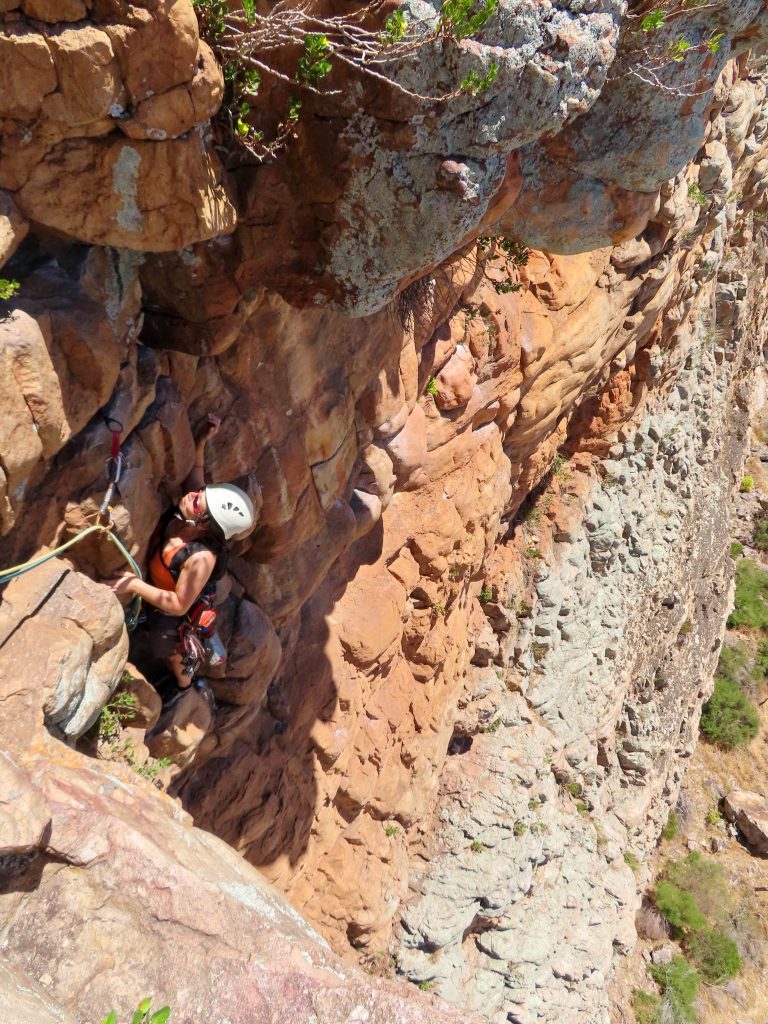
Shirley on pitches 1 and 2 of the Bard route (Dec. 2019).
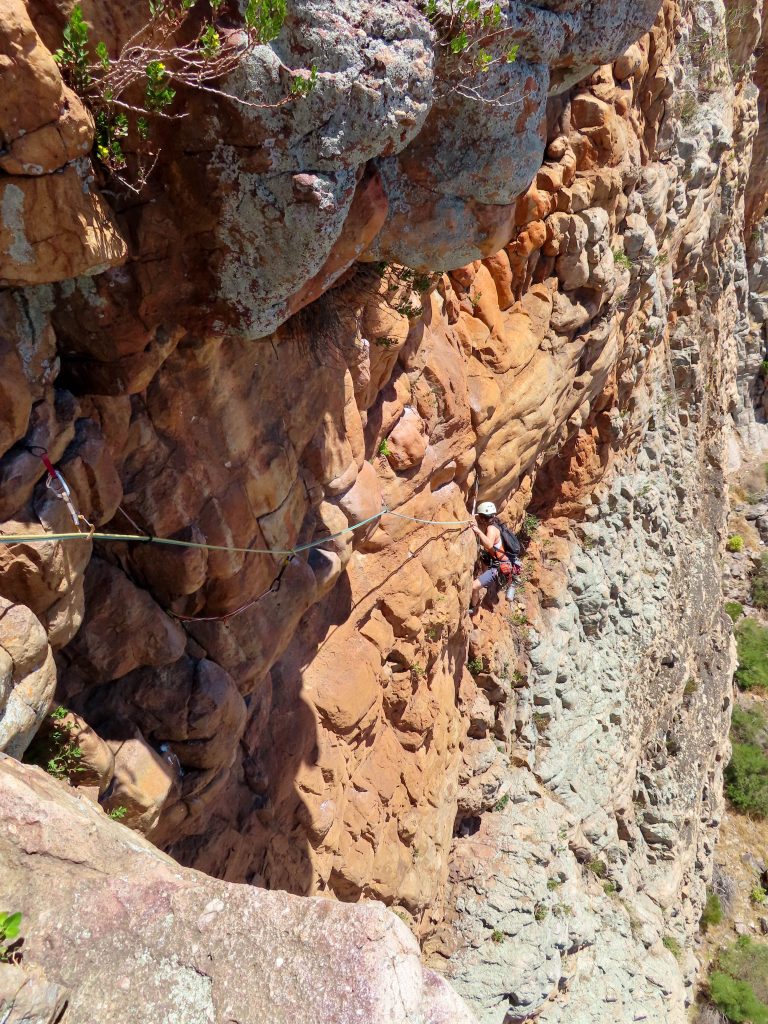
Shirley starting up pitch 3 of the Bard (Dec. 2019).
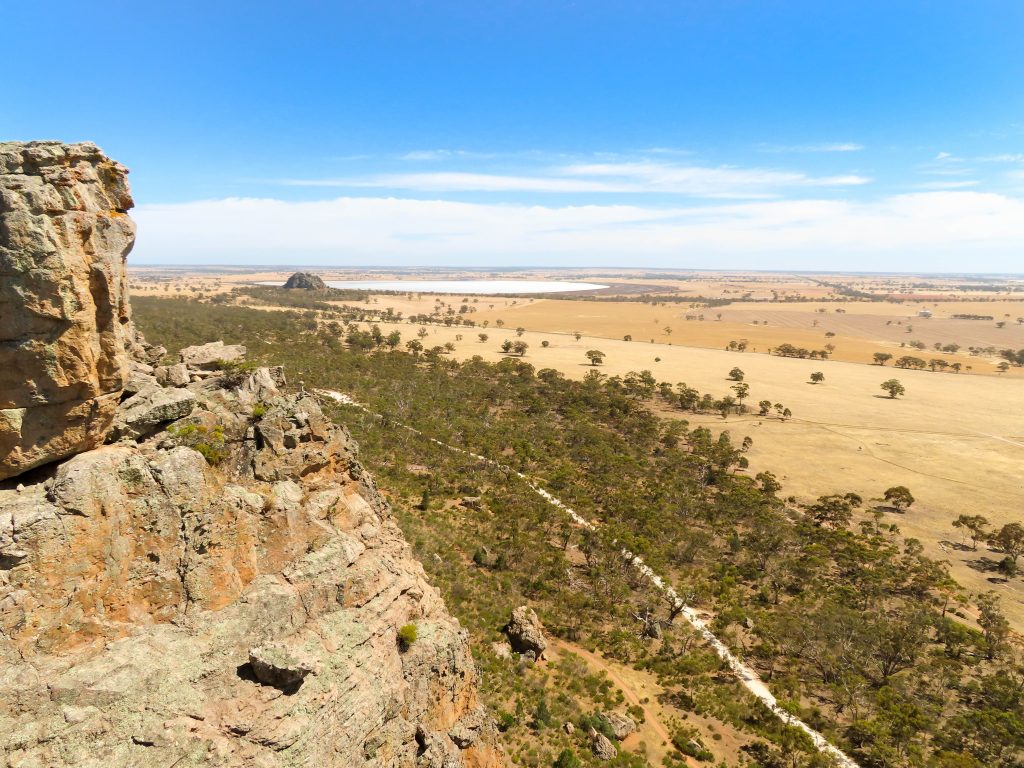
Views from low on the route (Dec. 2019).
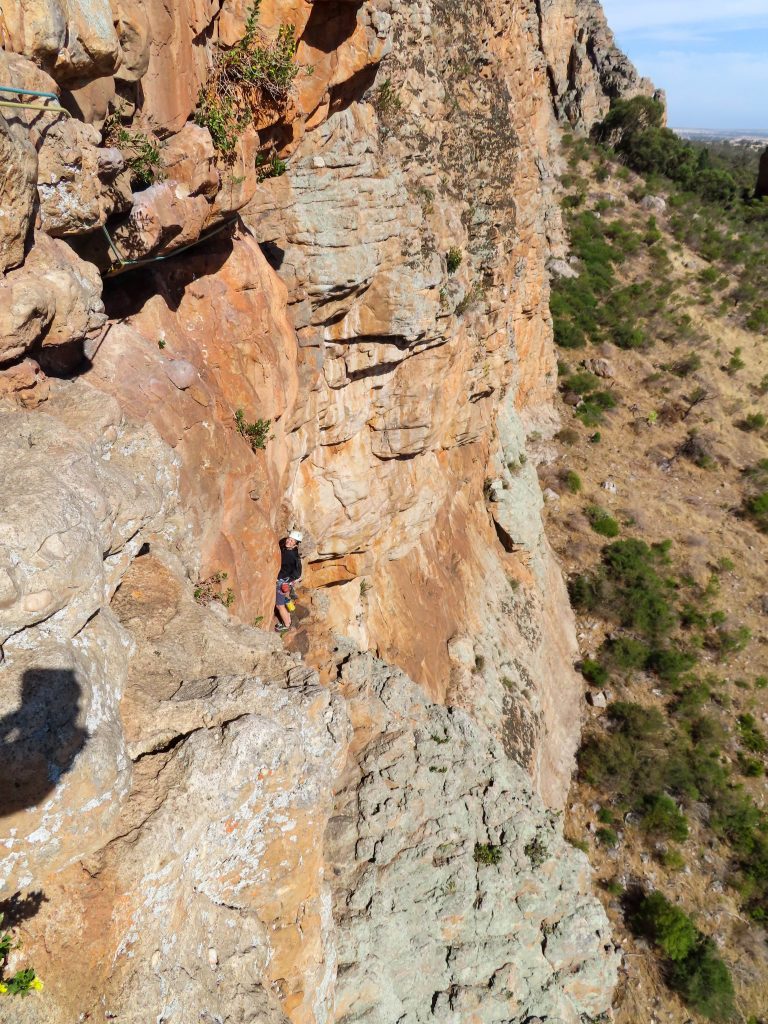
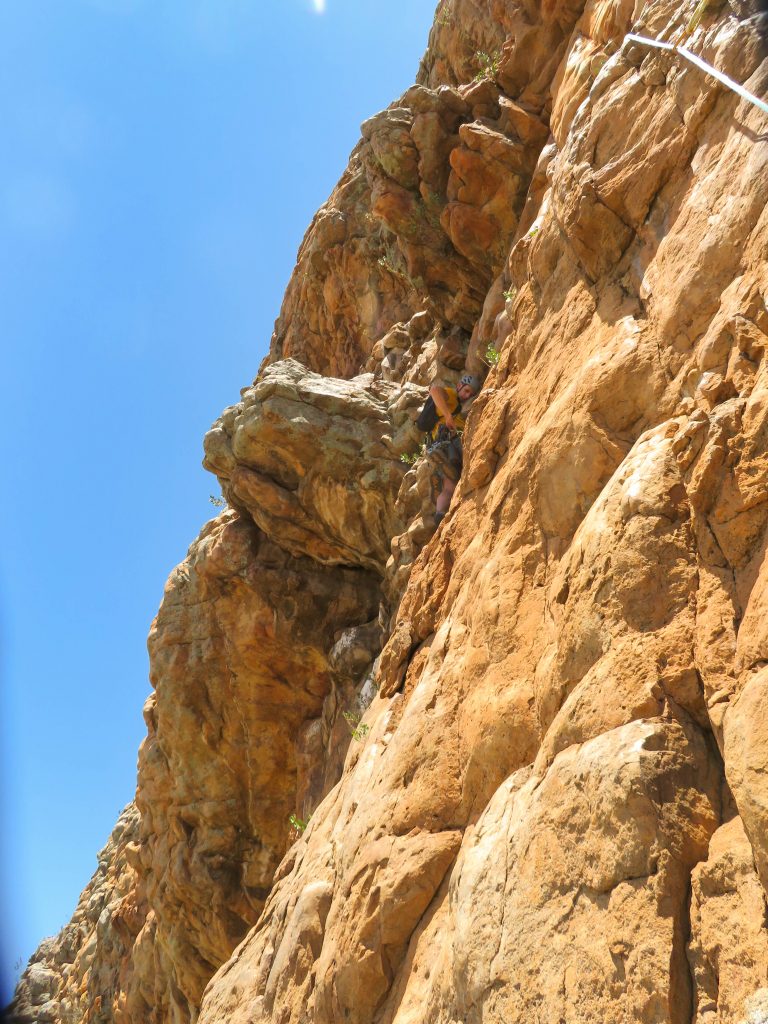
Shirley finishing up the traverse that is pitch 3 (Dec. 2019).
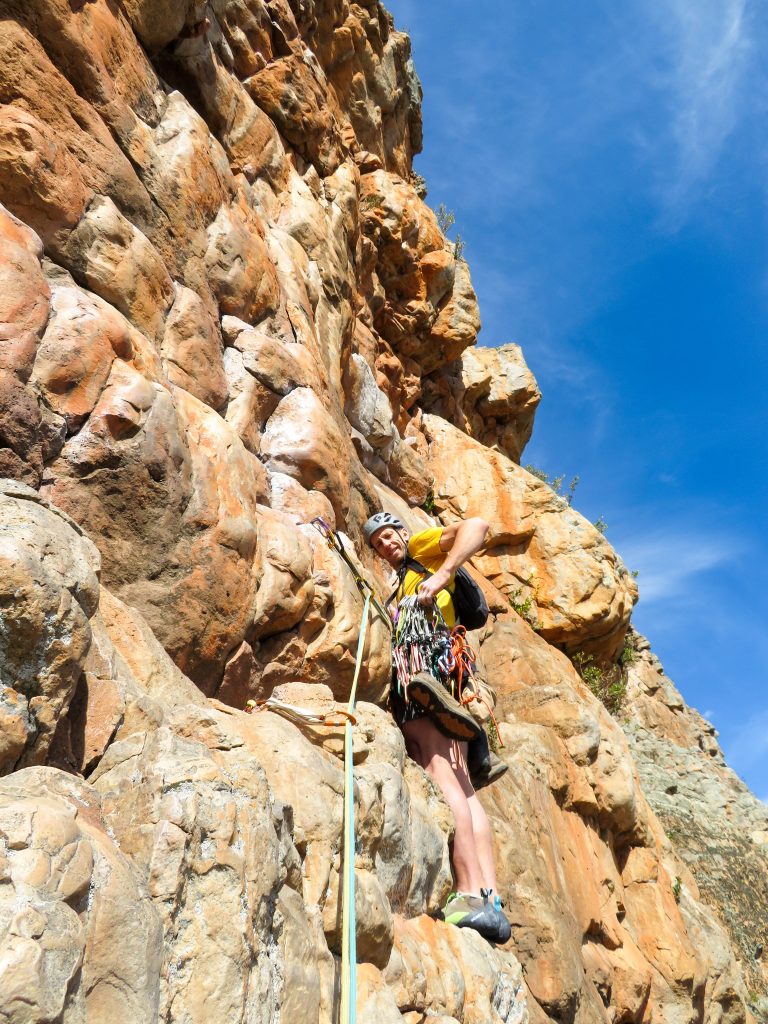
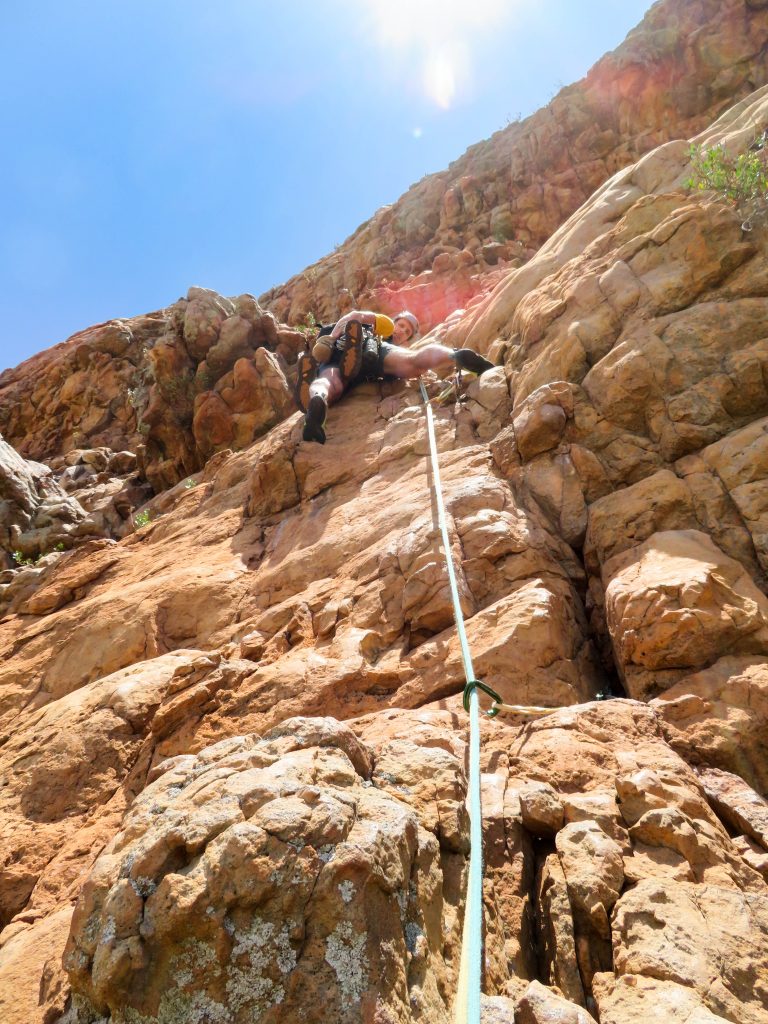
Starting up pitch 4 of the Bard (Dec. 2019).
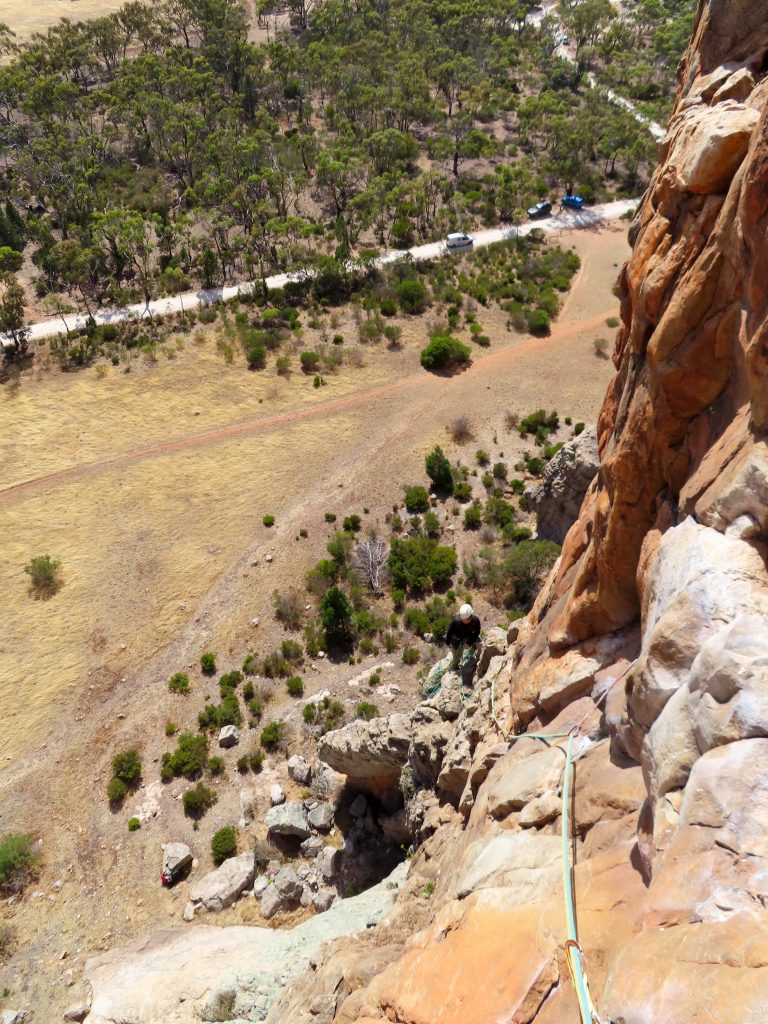
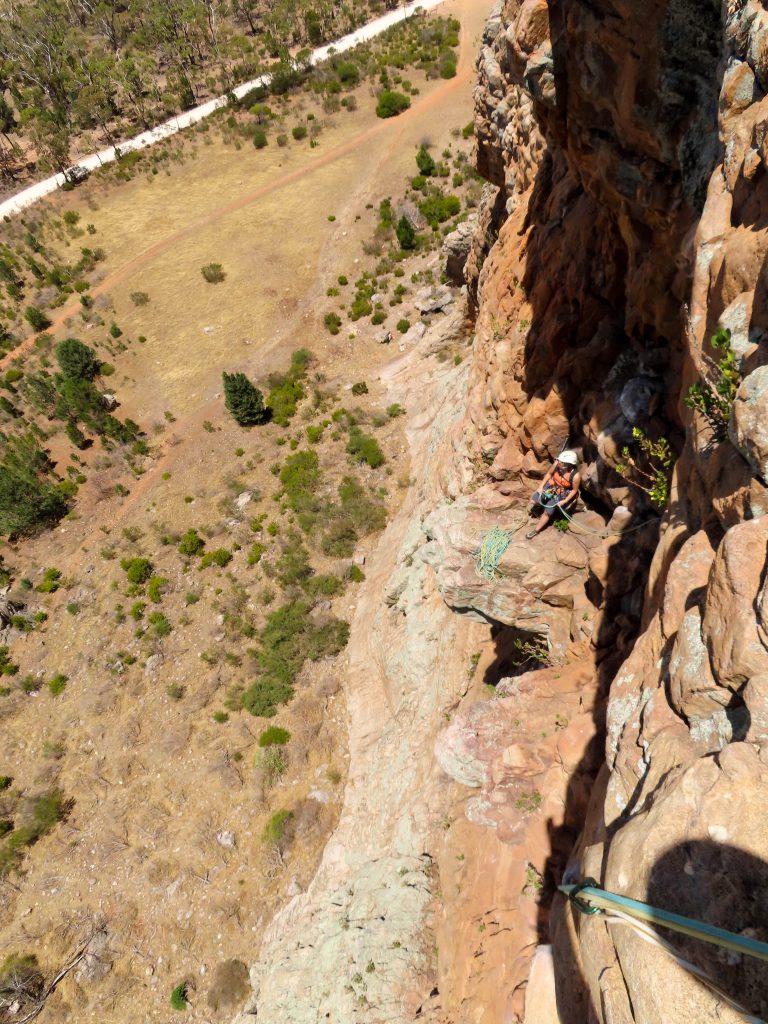
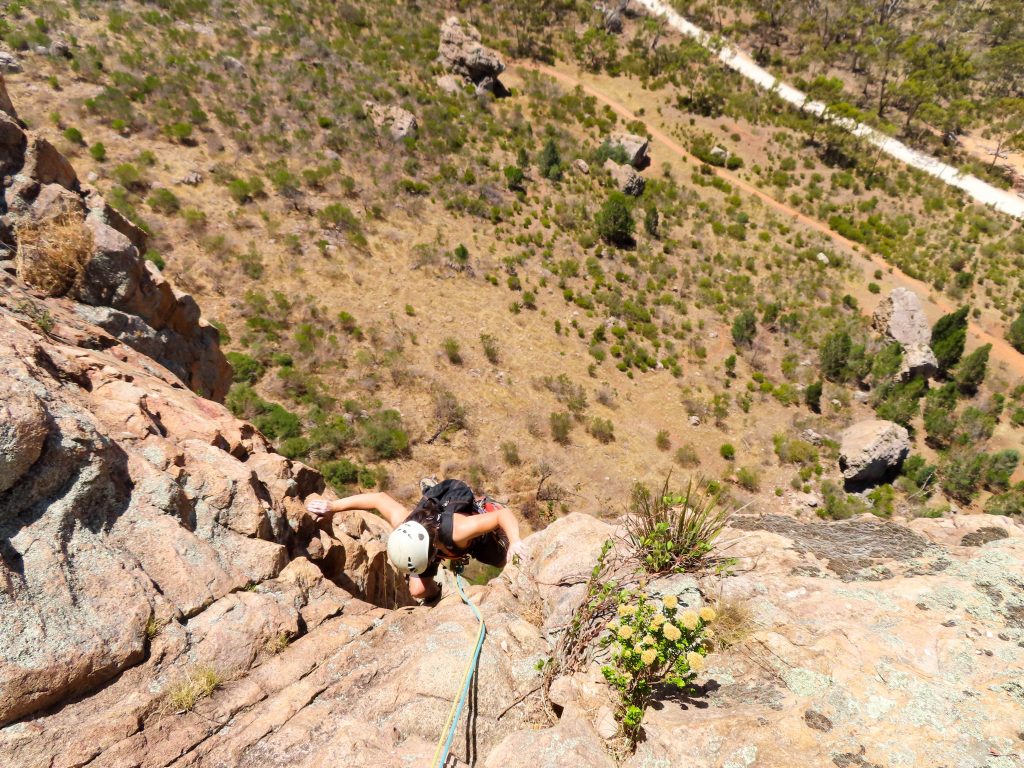
Looking back towards Shirley from the lead of pitch 4 (Dec. 2019).
Higher on pitch 4 (Dec. 2019).

Shirley topping out on the spacious ledge atop pitch 4 (Dec. 2019).
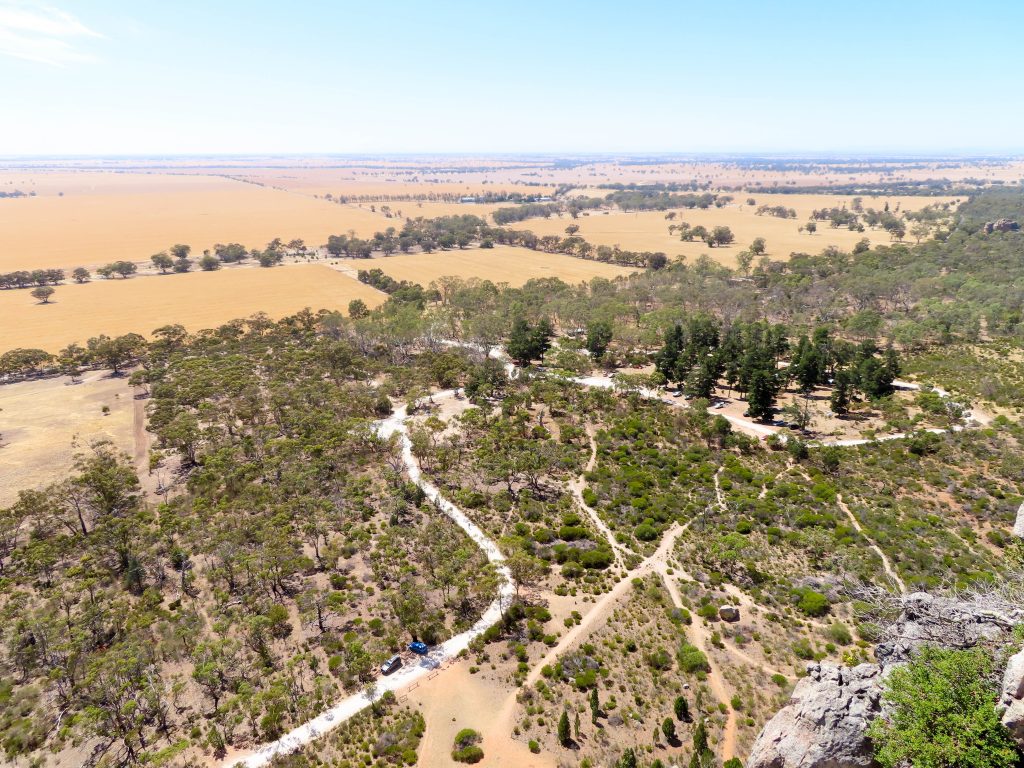
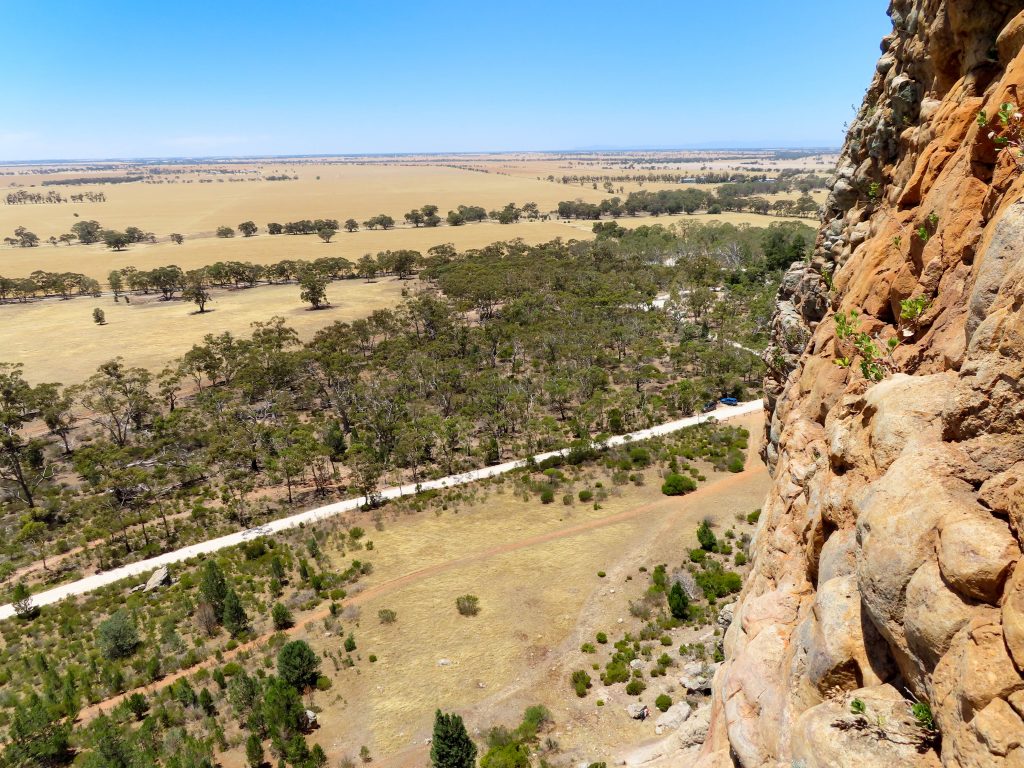
Looking towards the campground (Dec. 2019).
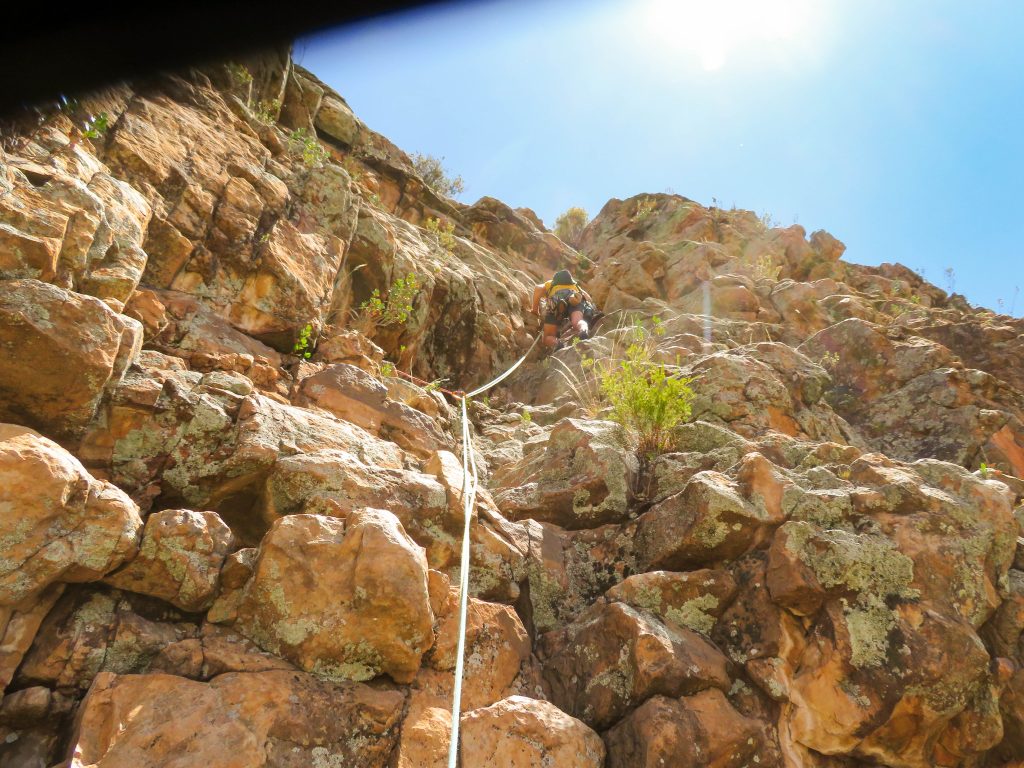
Leading pitch 5 of the Bard (Dec. 2019).
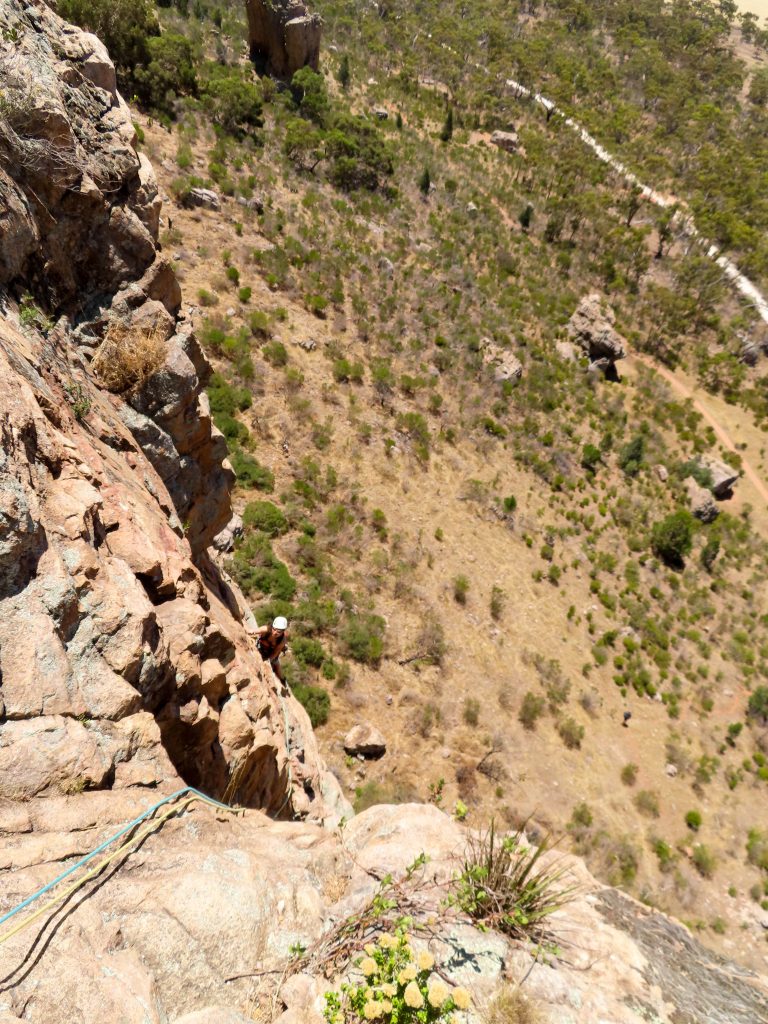
Looking back at Shirley from the lead of pitch 5 (Dec. 2019).

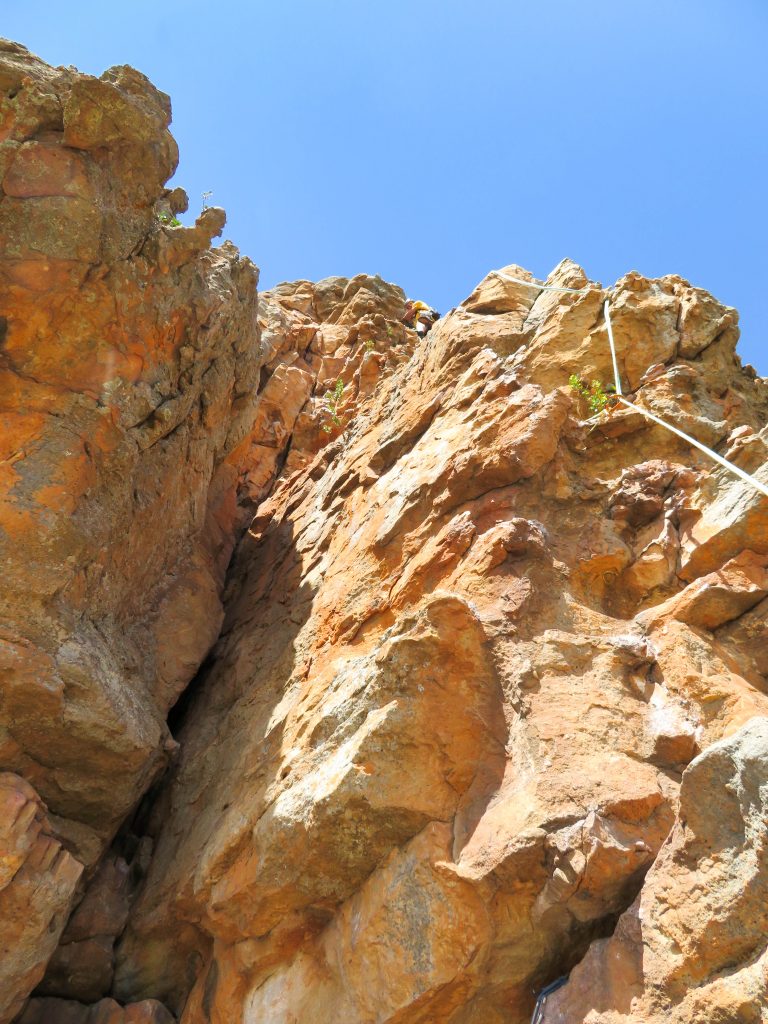
Shirley topping out on the Bard Buttress (Dec. 2019).
The ambiance of Mount Arapiles (Dec. 2019).
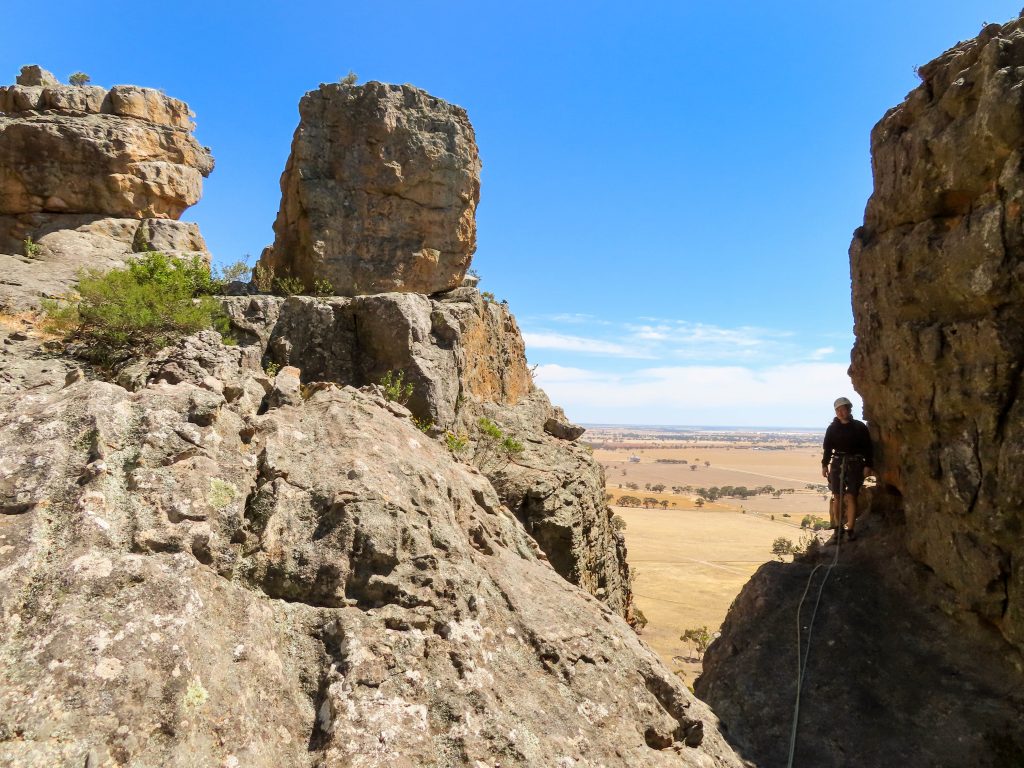
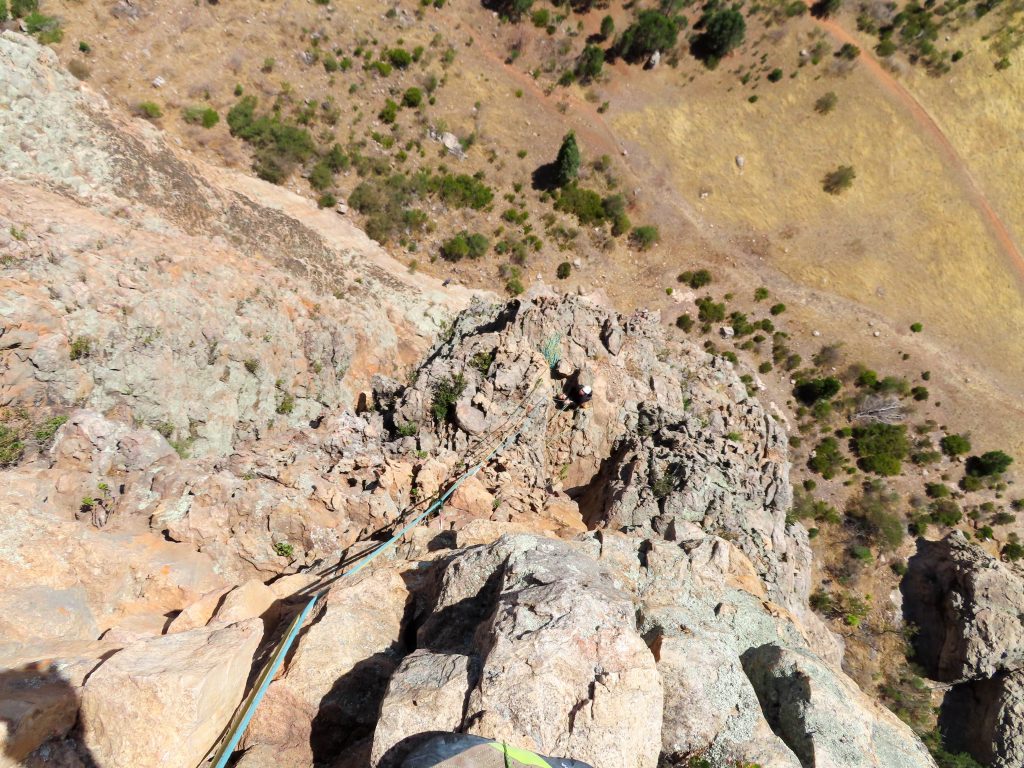
Making our way to the descent route from top of the Bard Buttress (Dec. 2019).
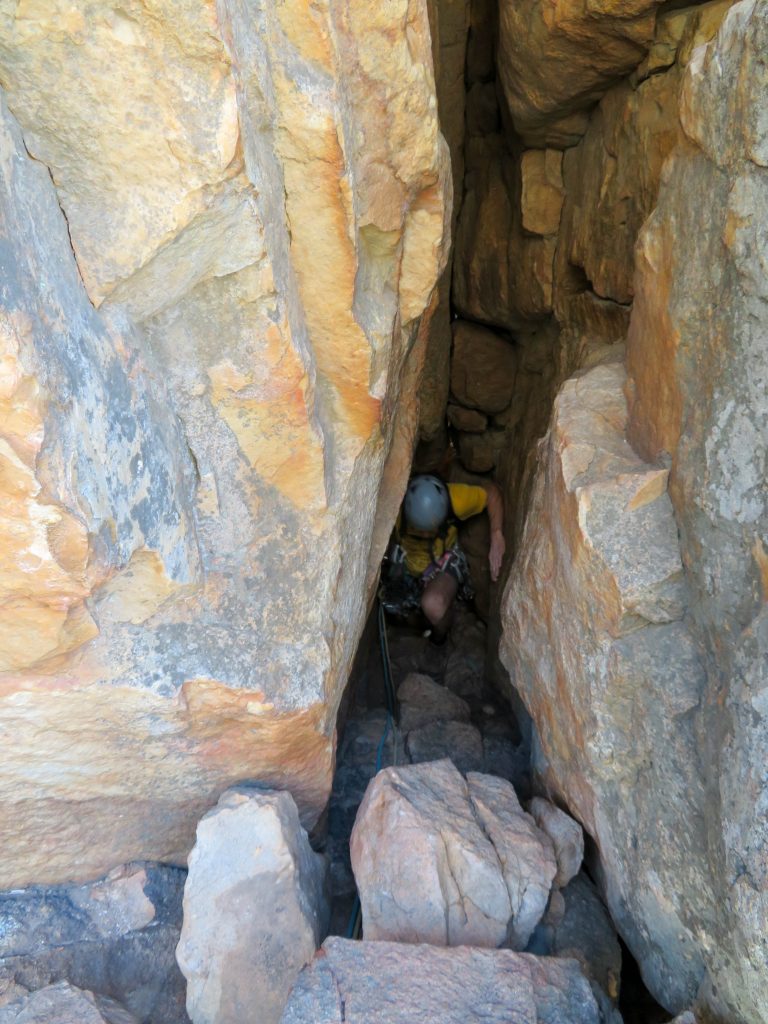
Scrambling (spelunking?) to the descent via ferrata (Dec. 2019).
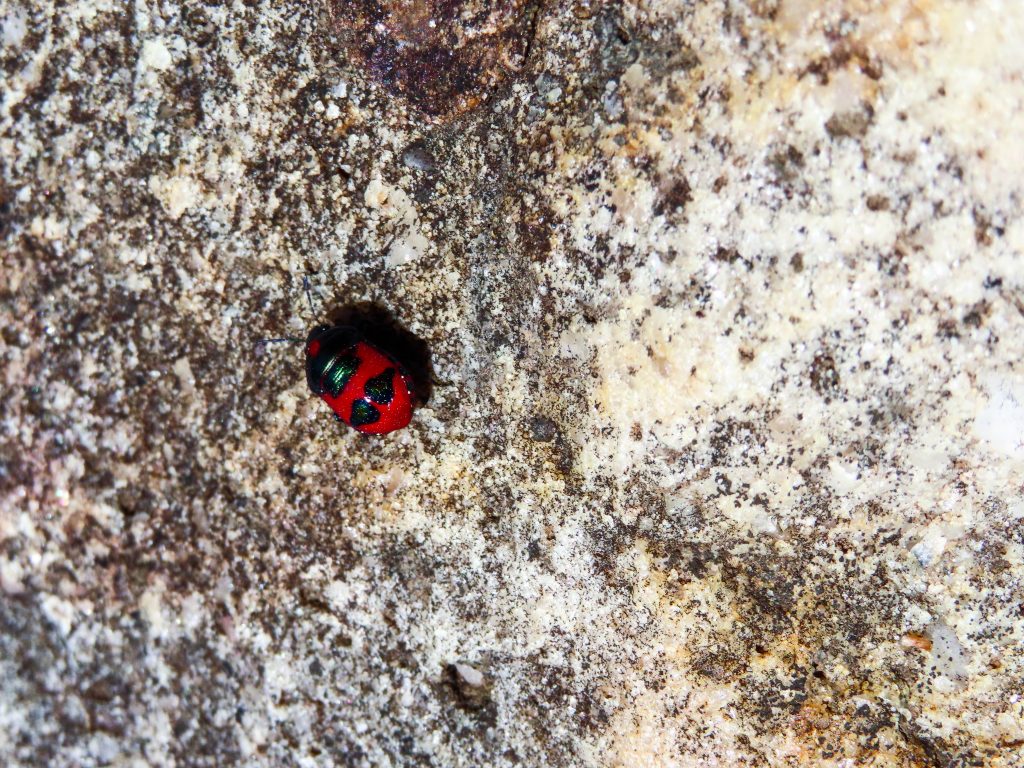
An Australian ladybug (Dec. 2019)?

Bard Buttress (left) and Tiger Wall (Dec. 2019).
Leading pitch 1 of the Resignation (Dec.2019).
Shirley on pitch 1 of Resignation (Dec. 2019).
Starting up pitch 2 of Resignation (Dec. 2019).
Higher on the same pitch (Dec. 2019).
Shirley on pitch 2 (Dec. 2019).
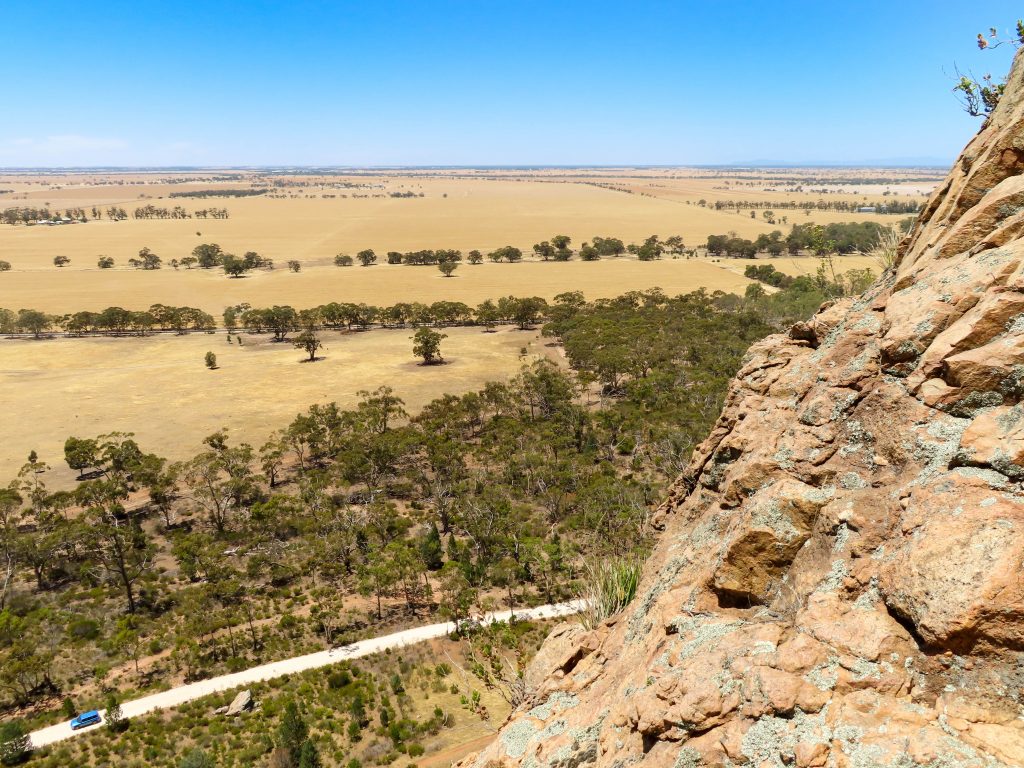
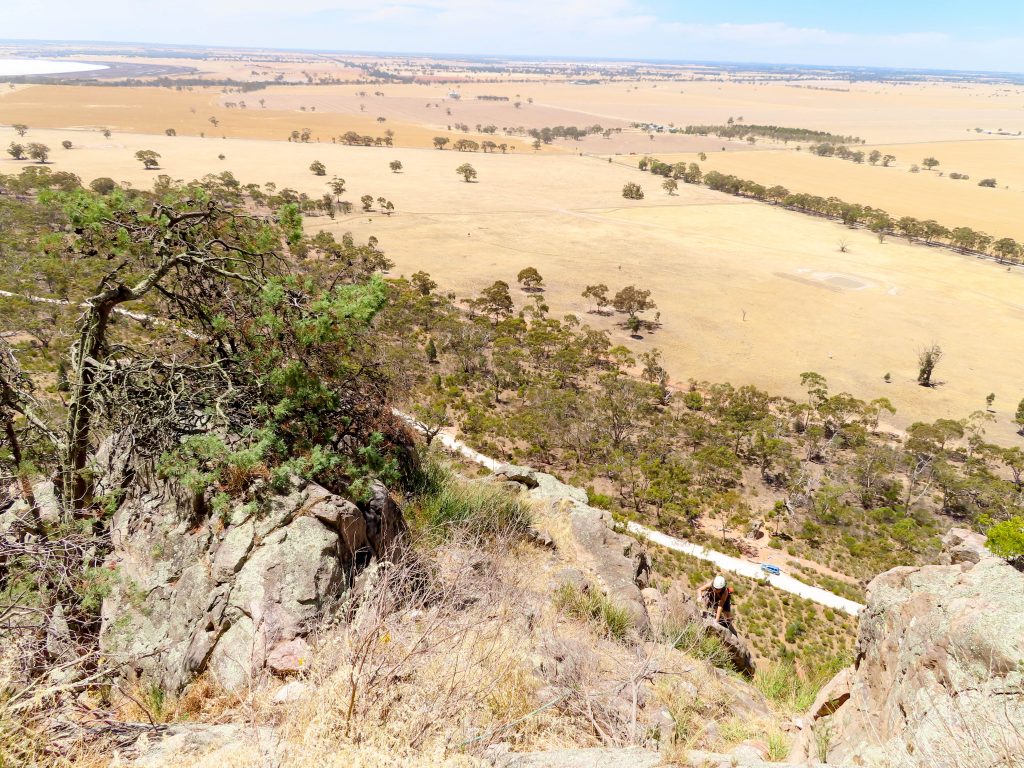
The outback-y views from the Resignation (Dec. 2019).
Shirley topping out on pitch 2 (Dec. 2019).
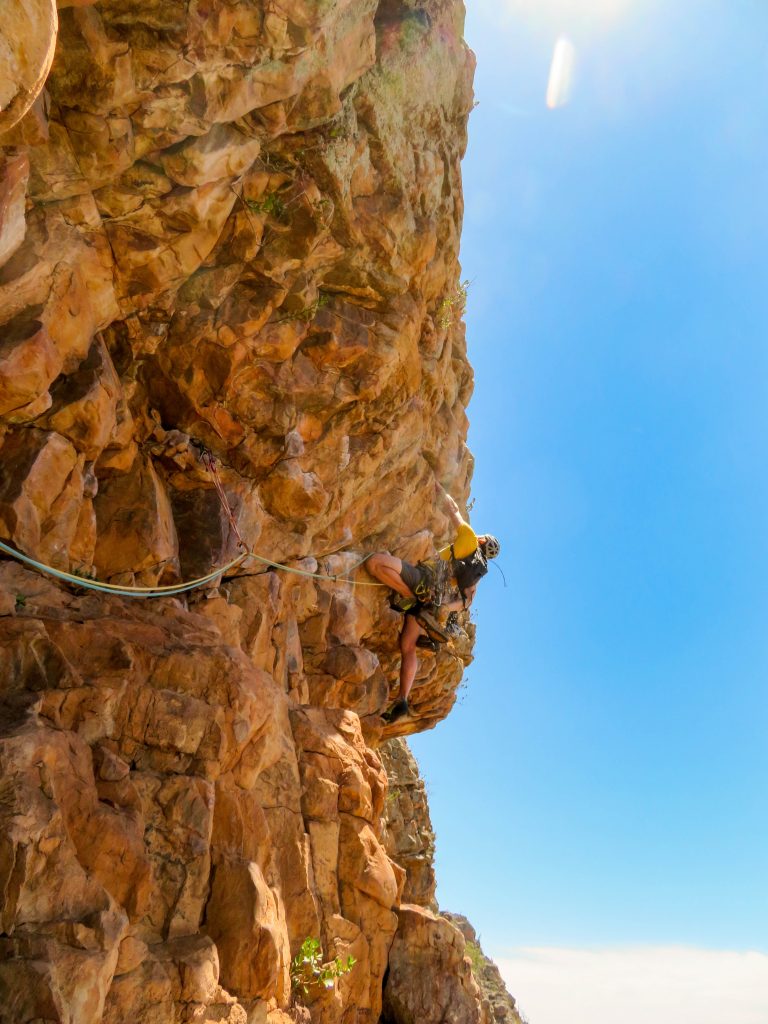
Leading the steep (juggy of course) pitch 3 of the Resignation (Dec. 2019).
Looking back at Shirley from above the bulge on pitch 3 of the Resignation (Dec. 2019).
Through the crux (Dec. 2019).
Shirley above the bulge on pitch 3 of the Resignation (Dec. 2019).
Views from the ledge atop pitch 3 (Dec. 2019).
Shirley arriving at the 3rd belay (Dec. 2019).
Leading the 4th and final pitch. The camera got a little banged up (Dec. 2019).
Shirley topping out on the route (Dec. 2019).
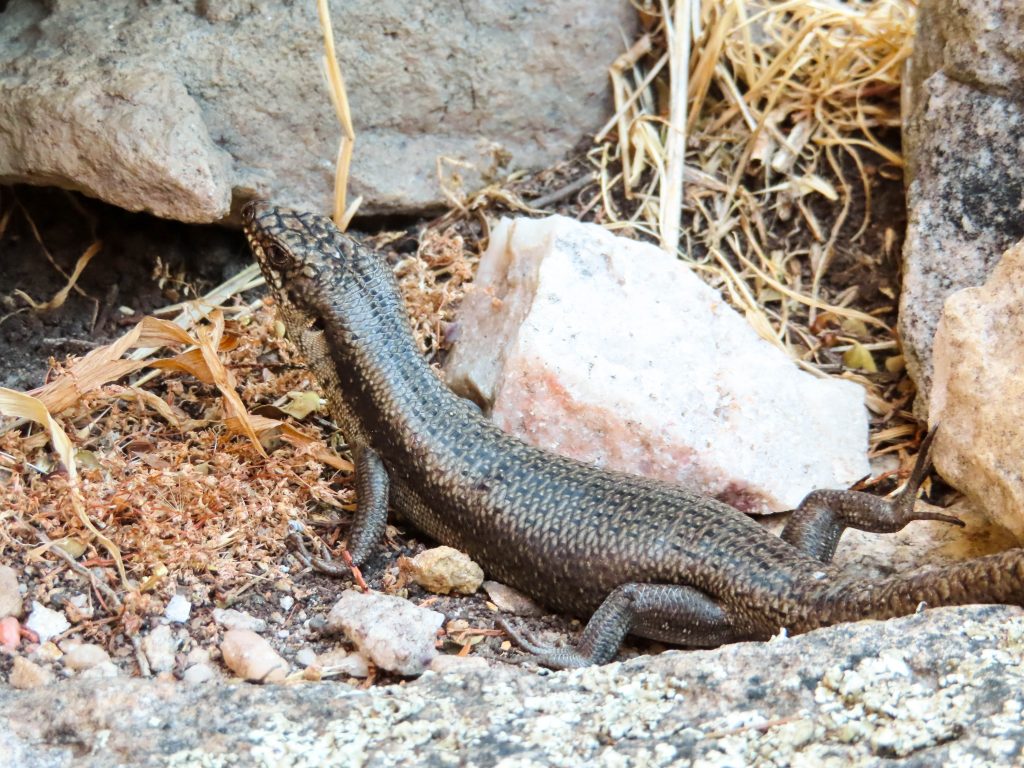
Arapiles fauna (Dec. 2019).
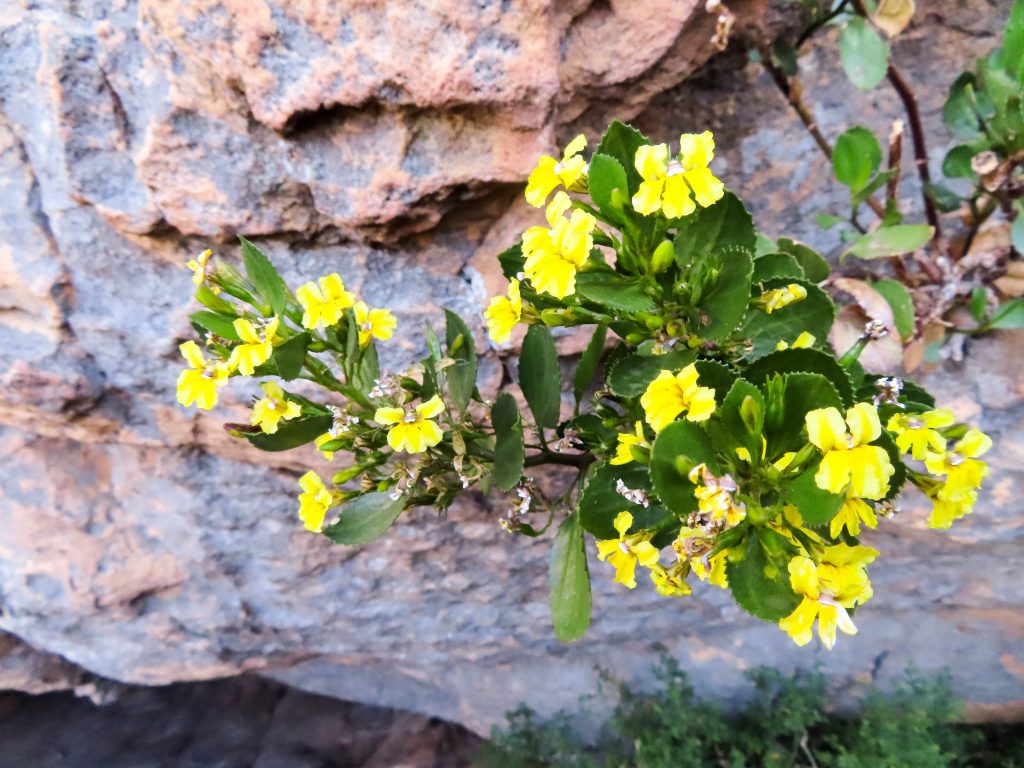
Arapiles flora (Dec. 2019).
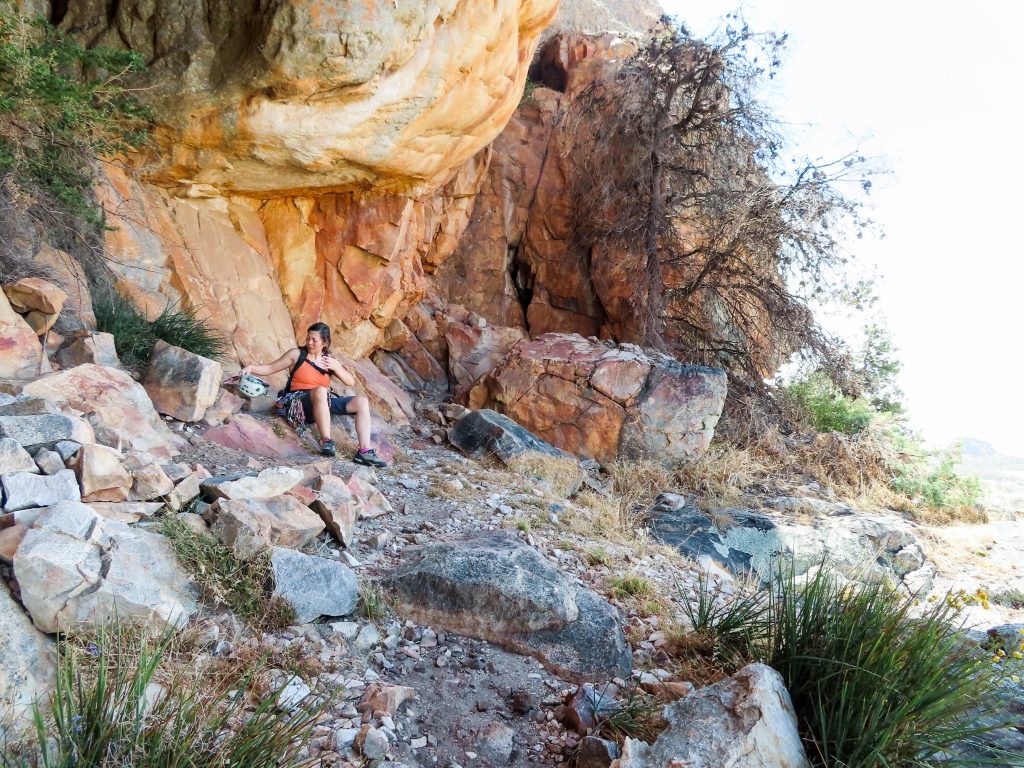
Trying to catch some shade (Dec. 2019).
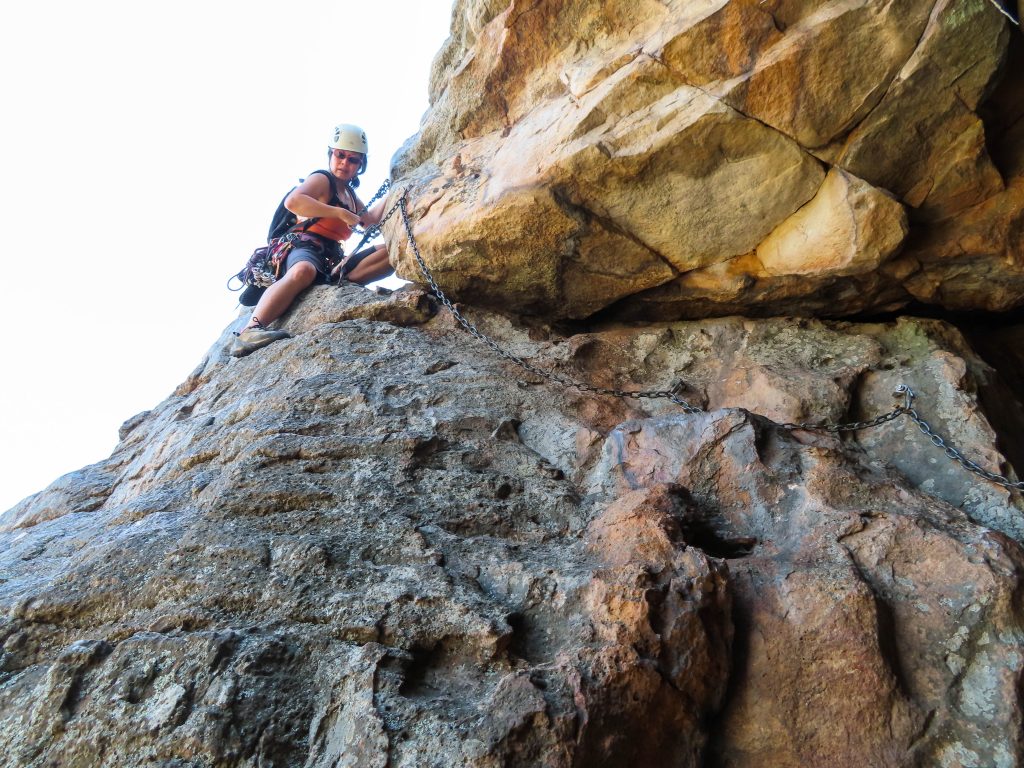
Shirley on the second lap of the day down the via ferrata (Dec. 2019).
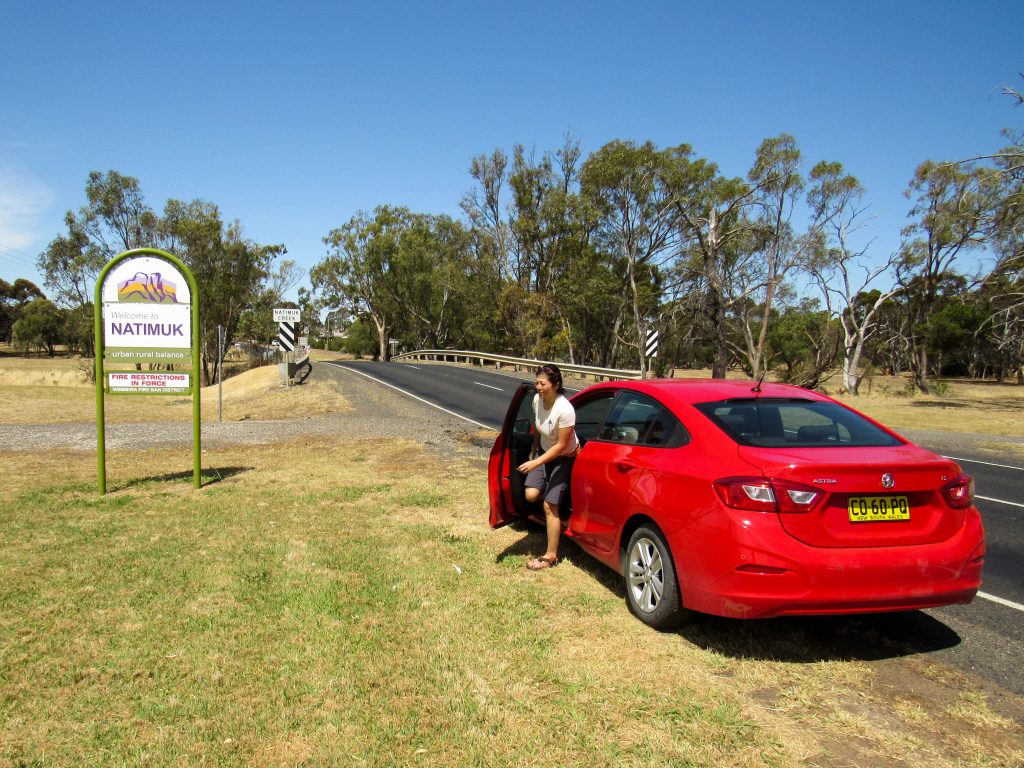
The little hamlet of Natimuk outside of Arapiles (Dec. 2019).
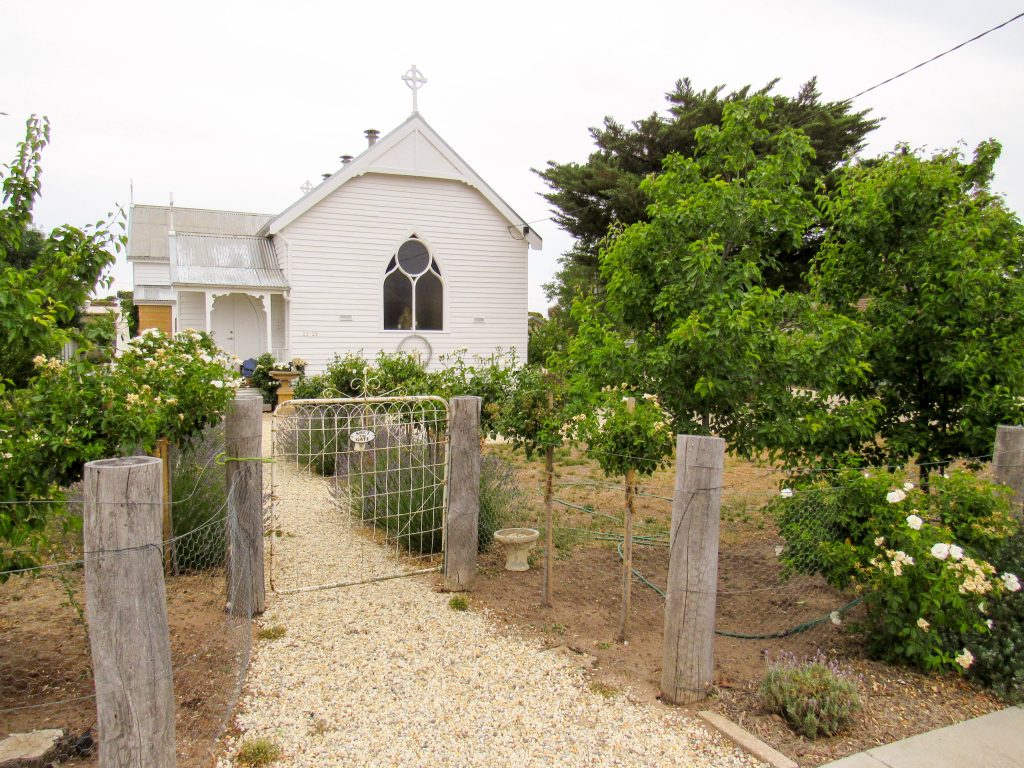
Natimuk (Dec. 2019).
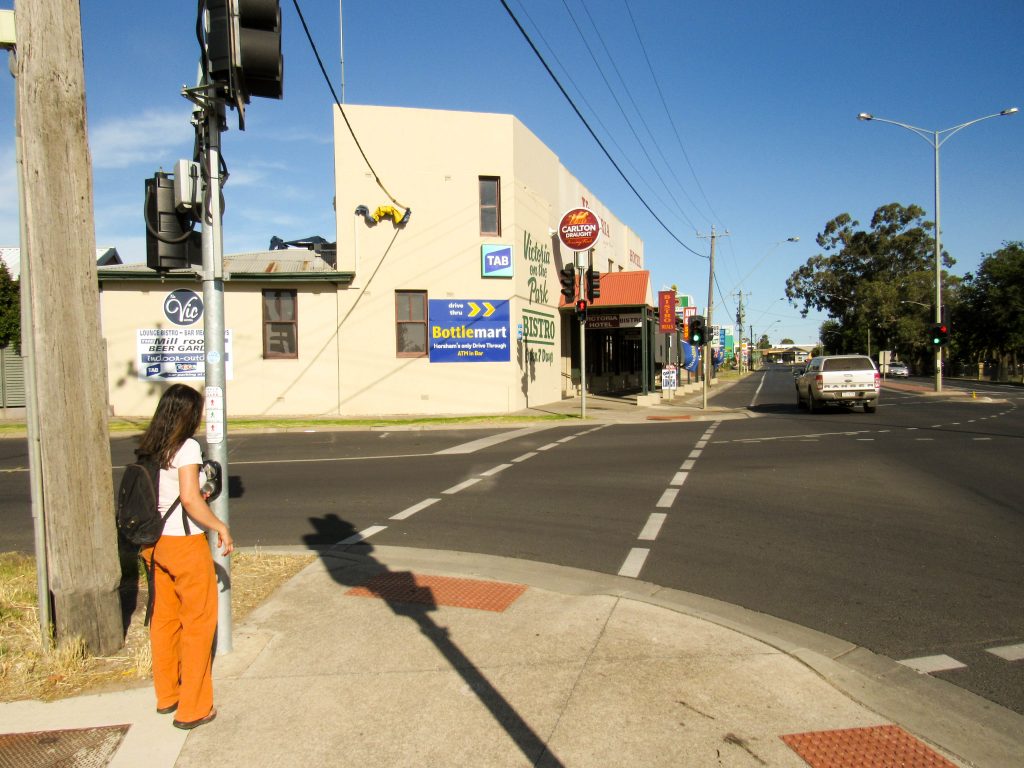
Looking for food and drink in Horsham, VIC (Dec. 2019).
Go to Arapiles Day 2.
Go back to Southeastern Australia Roadtrip.